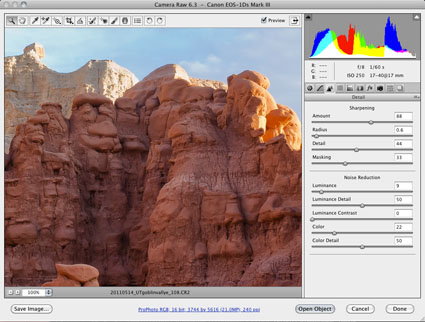
Capture Sharpening


Optimal image sharpening is best done in three stages— capture (do it during RAW conversion), creative (do it in Photoshop) and output (automate it).
Capture sharpening benefits all images. It compensates for inherent deficiencies in optical and capture systems. All lenses and sensors have specific characteristics and deficiencies. They don't all have the same characteristics or deficiencies.
To speed your workflow, default settings for a best starting point for capture sharpening can be determined for all images created with the same lens/chip combination and saved for subsequent use. To optimally sharpen an image, you'll need to modify these settings to factor in additional considerations—variances in noise (ISO, exposure duration, temperature), noise-reduction settings and the frequencies of detail (low/smooth to high/fine texture) in an image.


Phil
28.06.2011 at 08:43A great overview … I however use Lightroom .. could you comment on capture sharpening within Lightroom and could you also at some future time use a specific example and just run through what you might typically do with it relative to the article herein . many thanks …
johnpaulcaponigro
29.06.2011 at 19:38There’s no difference between Lightroom and Adobe Camera Raw, both used for capture sharpening.
The differences in workflow show up in creative and output sharpening.
Stay tuned for more on that in the coming months.