Controlling Blur FX With Photoshop

7_final_425

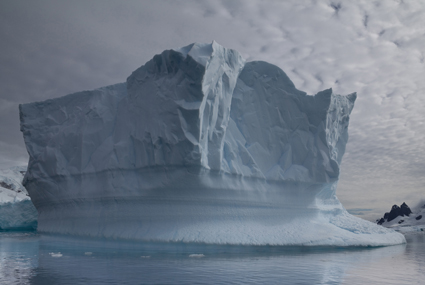
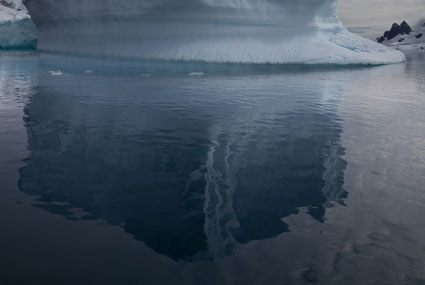
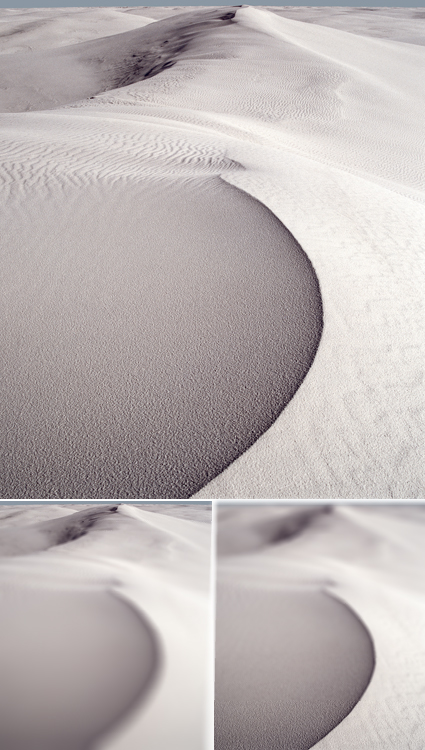
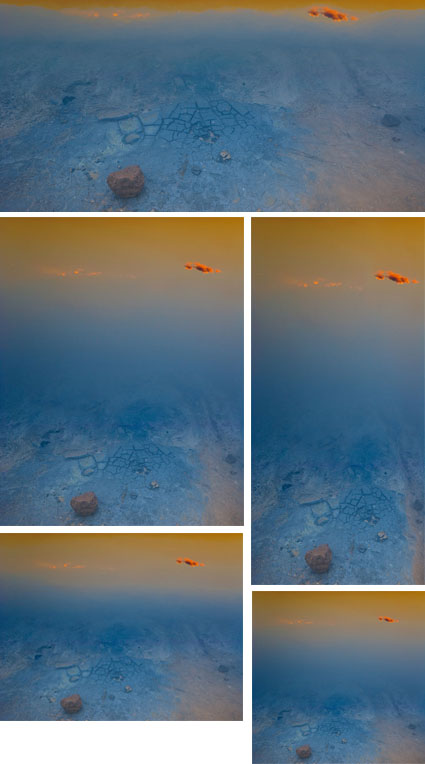
Photographers use blur (or bokeh) for a variety of reasons: to enhance space through depth of field; to add interesting visual artifacts; to simplify them; to change the quality of their expression. In the past, blur was controlled almost entirely through exposure; now it can also be controlled during post-processing, giving photographers an unprecedented array of options and ways to customize the look and feel of their images. Knowing what you can do, how far you can go, and when you can do it may change the way you shoot, one time, sometimes, or all the time.
There are many blur filters in Photoshop; Field Blur, Iris Blur, Tilt-Shift, Gaussian Blur, Lens Blur, Motion Blur, Radial Blur, Shape Blur, Smart Blur, Surface Blur (in order of appearance in the Filter: Blur drop down menu. The choices are extensive and it pays to familiarize yourself with your options by experimenting with them; you’ll find you have an extraordinary set of options that you can modify and combine creatively. If you only use the filters Gaussian Blur and Lens Blur, you’ll still have game-changing control at your fingertips, once you learn how to extend and modify them.
There are several important non-destructive strategies you can use to gain more control over all filter effects that will enable you to go further in your explorations and generate more sophisticated and compelling results Try one or all of the moves in this classic progression. Apply a filter to a duplicate layer and then modify its Opacity, Blend Mode, Blend If Sliders, and add a layer mask …
Read more on Digital Photo Pro.
Learn more in my digital photography and digital printing workshops.

Advanced Color Adjustment – Blending Channels

 
BlendBefore_425

 Before

BlendAfter_425

After

BlendChannels_palettes

Layer Styles

Blending channels is a powerful color adjustment strategy that can handle even the biggest challenges. It takes information from one channel and combines it with information from another. It’s great for repairing clipping in one or even two but not three channels. Rather than simply enhancing existing tonal values, blending channels reshapes one channel’s tonal structure with another’s. Consequently, in most cases, blending channels calls for a substitution of information by percentage, not a wholesale replacement of the deficient channel. You usually blend channels from different versions of the same image because blending channels from different compositions produces a highly altered effect.
Blending channels is complex. It often produces additional unintended color effects that may require further correction, such as shifts in hue that aren’t uniform across the tonal scale. Blending channels is neither the simplest nor the most direct path to color adjustment, but in certain situations (files that are exceptionally problematic), it may be the best path. The resulting benefits can be dramatic.
There are several ways to blend channels: Channel Mixer, Apply Image, Calculations and the most robust using channels as layers.
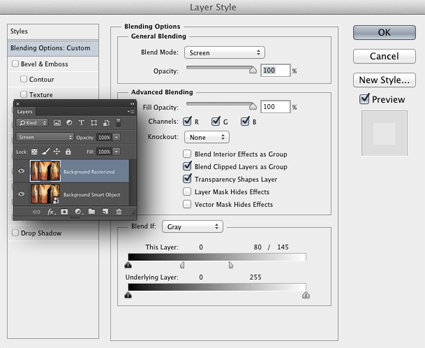
How do you do it? Duplicate a layer. Double click on the layer to activate Layer Styles (rasterize copies of Smart Objects to get this). Then check the channel you want to use, select a Blend Mode (typically Darken or Lighten and sometimes Multiply or Screen), adjust the Opacity, and use the Blend If sliders to constrain the effect or alternately a mask.
Read all the details on Digital Photo Pro.
Part I
Part II 
Learn more in my digital photography and digital printing workshops.

4 Ways To Divide The Frame


The four most important lines of any image are the ones that are often least recognized consciously – the frame. Second only to these are the lines that divide the frame, creating frames within the frame. Becoming more aware of how the frame can be used and how it can be divided will help you make more successful compositions.
There are many ways the frame can be divided. You can divide the frame horizontally, vertically, or diagonally; in each case the layers included define the virtual space presented. Different areas in an image can be divided differently. You can divide the frame (or a frame within the frame) multiple times; the more times the frame is divided the more packed and dynamic it becomes, progressively growing more design oriented and finally being reduced to pure texture. Each operation has significant consequences.
One of the most significant results of dividing the frame is the creation of specific proportions. (The combination of the individual aspect ratios of each element creates a new unified aspect ratio.) Much has been made of the ‘rule of thirds’. Dividing the frame into three parts (left/center/right or up/middle/down) is a simple and often useful strategy for making images more directed, by prioritizing one element over another, and dynamic, through imbalance. Too little has been made of other ratios. What of fourths, fifths, sixths, sevenths, or eighths? No musician would be content to only divide an octave into halves and thirds. Every proportion produces particular effects, which are further modified by placement (high/low or left/right) and content. Rather than a rule to be adhered to, proportion is a force to be explored expressively.
When it comes to controlling the division of the frame in your images, you have more options available to you than you might think. You can crop, retouch, distort, or composite. These four operations can be used in combination with one another. For instance, you may decide to first crop an image and then distort it to a standardized aspect ratio. Or, while maintaining a frame of the same aspect ratio, you might increase the scale of a selected area only and in the process crop a portion of it. Many other permutations are possible.
If you find these many new possibilities dizzying, you get it. The only way to understand this intuitively is to explore your options. The development of new possibilities encourages us to ask new questions and develop new habits. For what effect are you dividing the frame? To that end, how many different ways can you think of dividing the frame? My advice? Develop the habit of exploring your options before settling on final solutions, ones that help you create your strongest statements.
Read more at Digital Photo Pro.
See my related post Exploring The Expressive Possibilities Of Aspect Ratio.
Learn more in my digital photography and digital printing workshops.

3 Ways To Get More Resolution From Your Photographs


There are several ways to get more resolution out of your photographs. Remember these three words: upsample, stack and stitch. Which method you choose will depend on how you shoot a scene. Once you know these techniques, you can choose an exposure and processing method that's best for a given situation.

Upsample
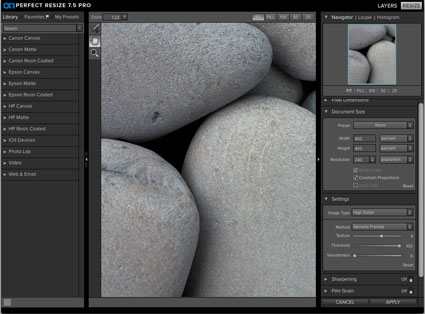
If you have only one exposure, your options are limited to upsampling or using software to create more pixels. While the information rendered by software is never as rich and sharp as information that's optically captured, it nonetheless can be both pleasing and convincing. Upsampling is the best method for images containing moving objects, as other methods require multiple exposures and may produce motion artifacts.

How far can you go? I could give you an overly simple answer: up to 300%. But the true answer is, it depends. Knowing what it depends on will help you choose a method, modify a routine and evaluate results to get optimal results for individual images. How far you can upsample an original depends on many factors found in the source, the destination and the statement you're making.


Insights Members can login to read the full article.
Email:
or Sign up

Extending Format – It’s For More Than Panoramic Formats


No one needs to learn to “think outside the box” more than photographers. The frame, literally a box, is often our greatest ally. Learning to see photographically is, in part, learning to see within the limits of this box and use them creatively. But there are times when this limits our vision unnecessarily. Once we’ve learned to see within the box, we then also need to learn to see outside the box—and start extending the frame with multiple exposures to perfect select compositions. Extending format techniques aren’t just for panoramic image formats. They can be used to give you the extra inch that can make all the difference in the world for your compositions …
Read more on Digital Photo Pro.
Learn more in my digital photography and digital printing workshops.

Beyond ETTR & HDR Tonemapping – 32 Bit In Lightroom

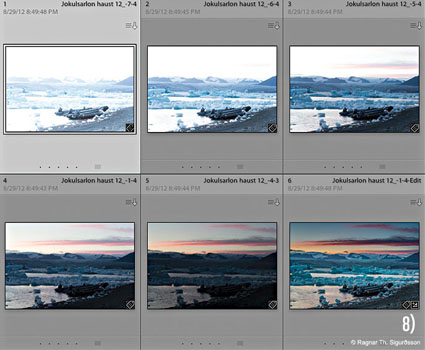
Image by Ragnar th Sigurdsson.

To one degree or another, we’ve all been underexposing our digital photographs, even if we’ve been exposing to the right (ETTR). Imagine a day when every ƒ-stop had as much data as the lightest ƒ-stop. It’s here now. Here’s how.

Make a series of bracketed exposures where each ƒ-stop in a scene is placed in the far right of the histogram or recorded with half the data in a single digital file. Combine all the exposures into a single 32-bit file using either the Merge To HDR Pro feature in Adobe Bridge/Photoshop or Lightroom. Save or import this 32-bit file into Lightroom (4 or higher) and apply adjustments with its Develop module to avoid many common tone-mapping artifacts.

You may be surprised to find that you’ll benefit from using this technique even for images with significantly more restrained dynamic ranges.

Read more on Digital Photo Pro.
Learn more in my digital photography and digital printing workshops.
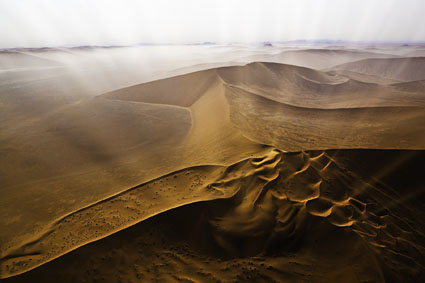
Exploring The Expressive Possibilities Of Aspect Ratio

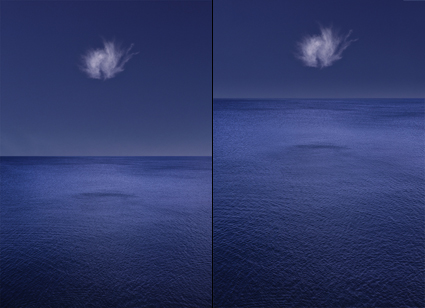
Distortions of the same image explore aspect ratio expressively

The proportion of an image’s frame is a fundamental part of its statement.
Unlike many documentary photographers who keep the proportion of their image frames constant to reduce their presence and suggest that their images haven’t been altered, I do the opposite for precisely the opposite reason, to more clearly highlight that my images have been altered by me. The question of whether an image has or has not been altered is a misleading question. Every image, whether documentary or artistic, has been altered, but to different degrees, in different ways, and for different reasons. Questions of method, extent, and intent are more revealing and interesting.
I use the proportion of the frame expressively. Because different proportions each add something different, I don’t standardize, I customize the proportions of my images. I distort the frame, crop the frame, and/or extend the frame through compositing and sometimes retouching, before settling on a final solution that creates the strongest statement.
How do you use aspect ratio in your images?
Read more on Digital Photo Pro.
Learn more in my digital photography and digital printing workshops.
Creative Sharpening – Double Pass & Hybrid


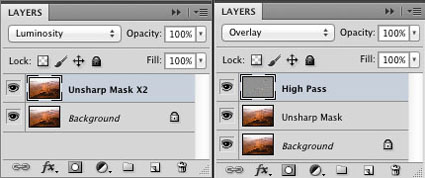
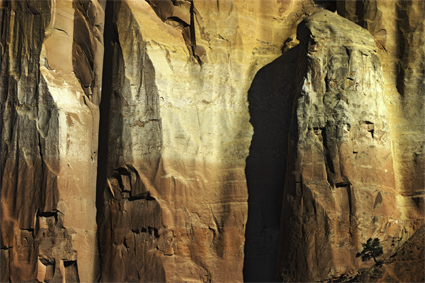
Different sharpening techniques make the world look different. A world of difference can be seen between the thin hard line of Unsharp Mask and the broad feathered line of High Pass Sharpening.Can you choose a combination of both? Yes, you can! You can choose the texture of one, the halo of another, and the line of yet another, applying them either globally or selectively. You can customize the look and feel of detail in any image or image area with astonishing precision and flexibility.


Insights Members can login to read the full article.
Email:
or Sign up

Output Sharpening


Image source, frequency of detail, subject, personal preference, output device, substrate or presentation device, and presentation size all play a role in sharpening.The art of sharpening gives you precise control over various image characteristics—contrast, saturation, contour (halo and line), texture and noise. It's best applied in three stages: capture, creative and output.

While there's an art to sharpening, which provides extraordinary creative freedoms, some aspects of sharpening are best automated, such as output sharpening.

Output sharpening is used to compensate for the softening of detail that a specific device produces. Ink on paper, whether applied with an offset press or an inkjet printer, is notably susceptible to this. When drops of ink hit paper, they deform on impact and spread more or less based on the absorption characteristics of the substrate. This is called dot gain; the dots gain size. Dot gain varies with the type of printer, ink and substrate used. It also can be impacted by environmental factors such as humidity. Output sharpening typically also factors in file resolution and the scale of the final product, which is used to determine an ideal viewing distance—though the actual viewing distance is usually variable.


Insights Members can login to read the full article.
Email:
or Sign up