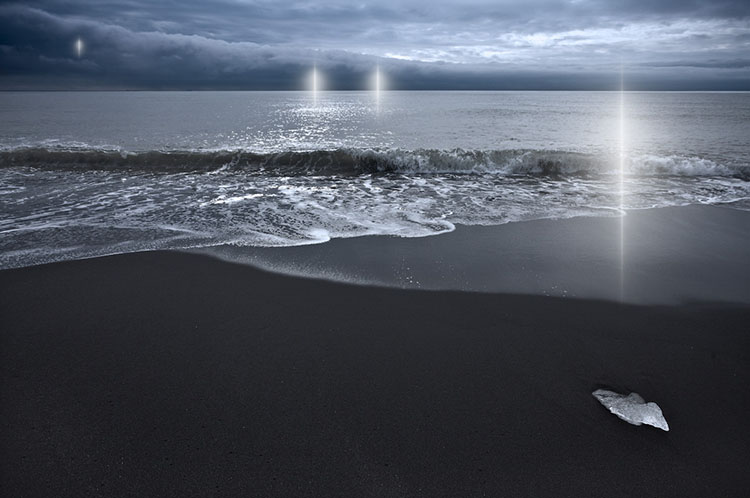
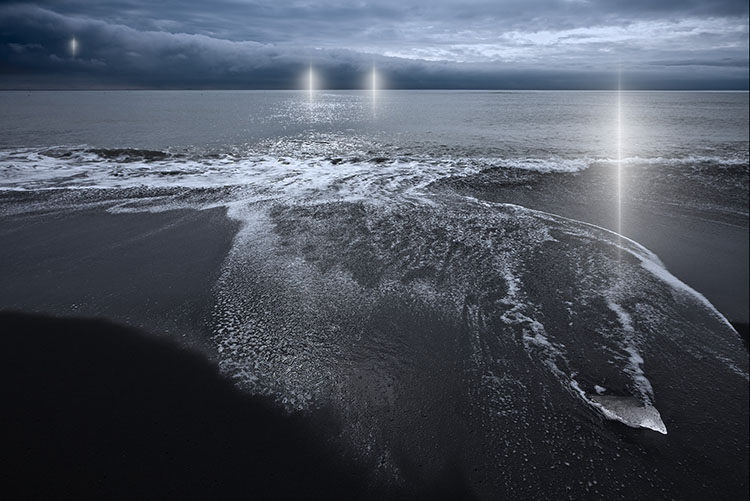
10 Benefits Of Building Bodies Of Work
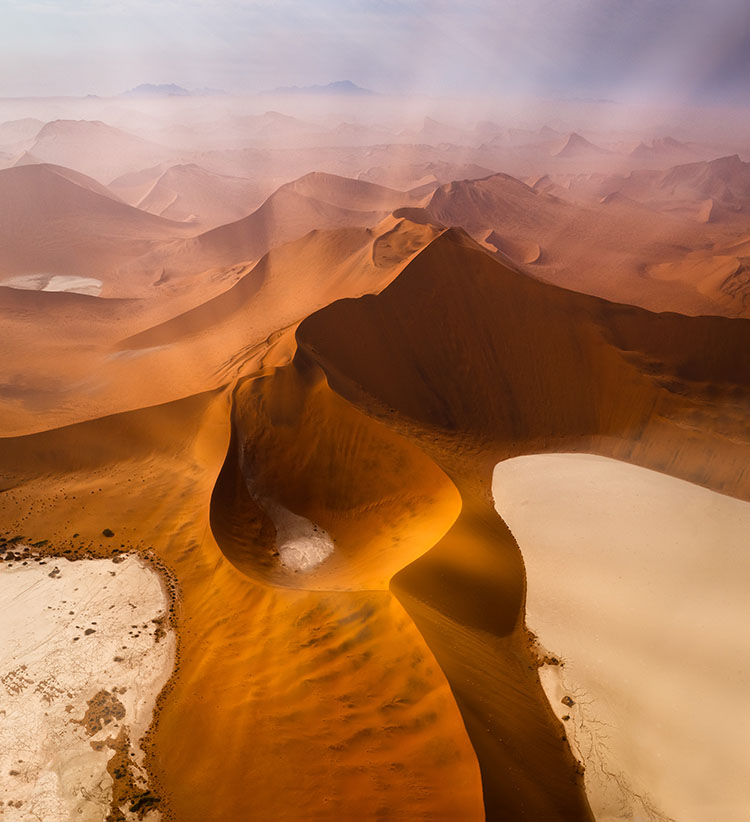
“There’s nothing worse than a sharp picture of a fuzzy concept.” – Ansel Adams

One image is an idea. A body of work is a way of thinking. A collection of singular (5-star) images doesn't create a body of work. Singular images prove your craft. A body of work proves your artistry.

Benefits Of Working In Series

The benefits of developing projects are many. When you learn to present your images as a focused series rather than a random collection of photographs, you'll feel more fulfilled and be more accomplished, developing a deeper sense of your goals, vision, and style. You'll be able to share your images with others more meaningfully and memorably, increasing the chances of publication, exhibition, sales, and collection.

More Images Make Images More Useful

How many images does it take to create a body of work? At least twelve. Think of what you can do with a number of images. 12 or more images can fill a portfolio box or an exhibition space. 12+ images can make an exhibition and/or fill a portfolio box. 24+ images can make a catalog. 36+ images can make a book. Thinking about these outcomes before you begin to shoot can be useful.

Less Is More

You want each body of work to be as strong as possible. Clarify the signal. Eliminate the static. It's better to present just 12 strong images than to bury those same 12 images amid a flood of weaker images. In any body of work, maintain a high percentage of your highest quality work (4 and 5-star images). This is particularly true of small bodies of work. With so few players to state, develop, and conclude a theme, you've got to make every one count. 

While weak work weakens strong work, less obvious smart or strongly felt work strengthens it. Images that don't represent your highest quality but still have integrity (3-star images) can be very useful for adding complexity, nuance, and context. Don't overlook these kinds of images, but limit them. Pockets of weaker images create eddies and lulls that can dilute or divert the flow of the main idea. Too many become distracting. To avoid this, punctuate or surround them with stronger images.

One of the benefits of developing a body of work is that you make relative comparisons between many of your images, learning which of your images are stronger or more interesting, what makes them that way, and how to make more in the future.

Theme

What separates a few great images with style (how you say what you say) from a body of work is vision (what you have to say), which gives style purpose. (See The Differences Between Vision & Style.) You'll find out what your voice (vision and style combined) is when you develop a body of work as it reveals your themes (enduring preoccupations). When you develop your themes, you go further and dig deeper. >


Insights Members can login to read the full article.
Email:
or Sign up

Why Singular Images Are So Important And Why They’re Not Everything

Call them 5-star images. They’re the images that make an instant impression, capable of grabbing a viewer’s attention amid a flood of other choices. Singular images are the ones that get the most likes on social networks, the top (and sometimes only) image on a webpage, the first and last images in a slideshow, the one used for a card to an exhibition or a poster promoting it, the cover plus the opening and closing pages of a book. Singular images are the heat.

Singular images are classically composed with strong graphic structures that are simplified and dynamic. The dramas they tell are easily grasped and digested. Color contrast (of luminosity, hue, and/or saturation) is high. Rarely will a singular image have technical flaws; they can afford no distractions. It’s rare that a singular image doesn’t exhibit these characteristics. For an image to be considered singular without them, it has to be exceptionally strong in other areas.

Some high-impact images don’t have legs. They sizzle and fizzle. They may be graphically compelling, but they may not offer anything exceptional beyond their execution. You may need to give images a waiting period to discover this. When determining whether an image’s payout is short or long, ask yourself some questions. Does the image sustain attention? Does it tell an interesting story? Does it make the viewer think? Does it work on multiple levels? Does it elude easy definition? Does it haunt the viewer long after it is seen? The very best singular images do it all. These are the truly great images.

It takes time to amass a number of singular images. Singular images often involve strokes of luck. No matter how talented, skilled, and prepared you are, it’s almost impossible to guarantee inspiration. But you can learn to recognize when it’s present and what it takes to cultivate and sustain it ...


Insights Members can login to read the full article.
Email:
or Sign up

How To Choose & Execute A Photo Project In Essay Form

“Photography communicates best when it tells a story and is presented in an essay form. In this Zoom class, David Brommer will use examples of his personal work as well as of other select artists to illustrate excellence in photo essay form. Concept, execution, and presentation will be discussed, as well as “project think tanking” in the Q&A following the lesson. This class will benefit Photographers who want to deepen their commitment to the art or those looking for an inspirational shot in the arm!”

View more from David Brommer here.

Enjoy our conversation here.

4 Tools You Can Use To Control Focus And Flow When Sequencing Your Images

Viewers search for significant changes between images presented together and the significance of the changes between them. It’s continuity. Every screenwriter needs to create it. Every storyboard needs to interpret it. Every director needs to guide it. Every editor needs to refine it. If you’re a still photographer, you may be called to do all of these things.

Continuity lies at the heart of the art of visual storytelling. The types of images selected and the transitions made between images presented in groups are powerful tools for visual communication. Sequences can provide useful comparisons and contrasts between separate images. They set a pace and rhythm for looking. Carefully orchestrated, they can create the illusion of moving in time, forward or backward, linearly or non-linearly. The best sequences make images, both collectively and individually, clearer, more meaningful, and more moving.

Photographers can use continuity to guide explorations on site and find more images; use a storyboard as a checklist to make sure no angle goes uncovered. Photographers can use continuity to find missing gaps or resolve challenging transitions in ongoing projects, update a storyboard and find out what you’ve got too much of and what you don’t have enough of, or find bridges to connect disparate images. Photographers can use continuity to edit, sequence, and present existing work more effectively; fine-tune an existing story to make it richer and more compelling or create a new one.

There are many classic strategies for sequencing images and creating transitions between them. They’re tools, not rules, that can be applied in many ways. How you apply them ultimately becomes a part of your style.


Because of persistence, this pair of images reads as one unit or a serial image.


Insights Members can login to read the full article.
Email:
or Sign up

6 Tools You Can Use To Improve Continuity Between Still Images

“Order, unity, and continuity are human inventions, just as truly as catalogues and encyclopedias.” –  Bertrand Russell

Continuity lies at the heart of the art of storytelling. The types of images selected and the transitions made between images presented in groups can be powerful tools for visual communication. Sequences can provide useful comparisons and contrasts between separate images and their contents. They set a pace and rhythm for looking. Carefully orchestrated, they can create the illusion of moving in time forward or backward, linearly or non-linearly. They can be used in extremely creative ways. The best sequences make both individual images and the journey created by presenting many images in sequence clearer, more meaningful, and more moving.

Continuity is key. Every screenwriter needs to create it. Every storyboard artist needs to interpret it. Every director needs to guide it. Every editor needs to refine it. If you’re a still photographer, you may be called to do all of these things.

Photographers can use continuity to guide and structure initial explorations on site as well as to resolve challenging transitions and find missing gaps while continuing to develop projects.

First, create a storyboard as a checklist to make sure no angle goes uncovered; this will stimulate you to come up with many more creative solutions, so you’ll have more images to choose from. Then, update your storyboard to find out what you’ve got too much or too little and find connections between disparate images. 

Photographers also can use continuity to edit, sequence, and present existing work more effectively; use the same skills to fine-tune a story in sophisticated and compelling ways.

Just like composing music, there are specific strategies you can use and many possible ways you can apply them to solve creative challenges. How you apply them may become as much a part of your style as composition and processing.

Here are some classic strategies for sequencing images and creating transitions between them.


Insights Members can login to read the full article.
Email:
or Sign up

Tips To Help You How To Sequence Your Images Like A Pro

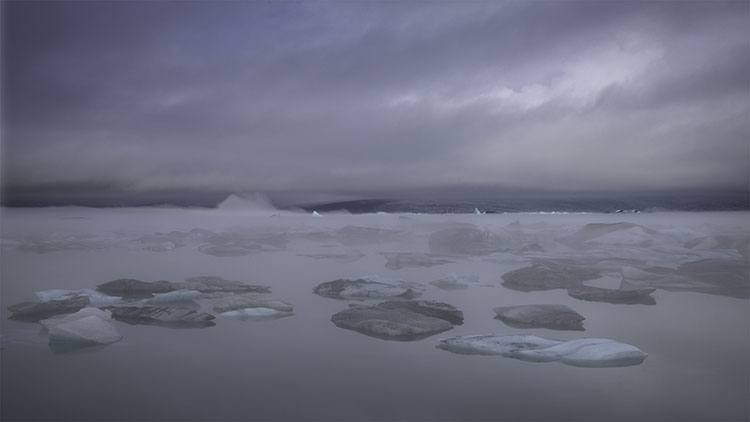
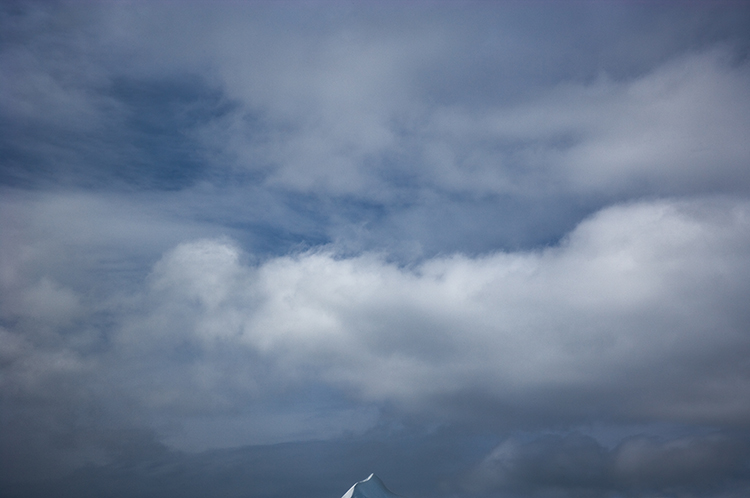
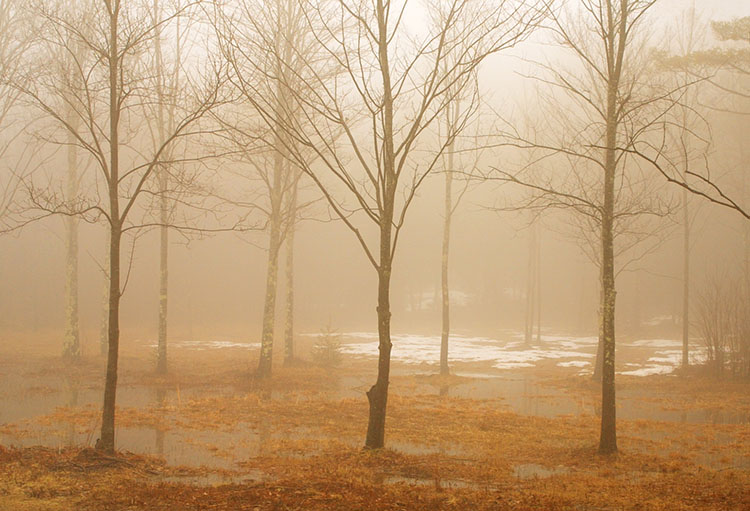
Clouds roll in.

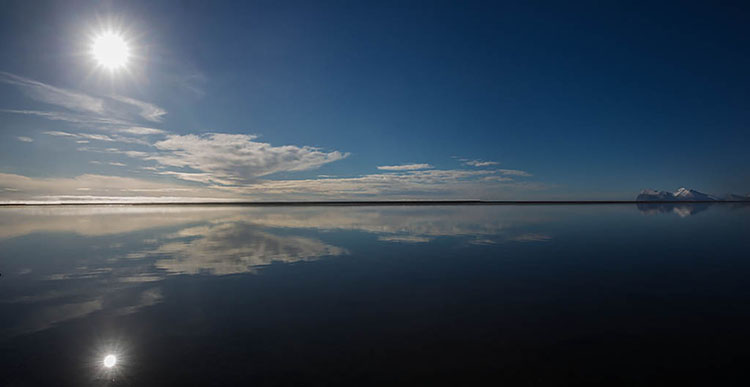
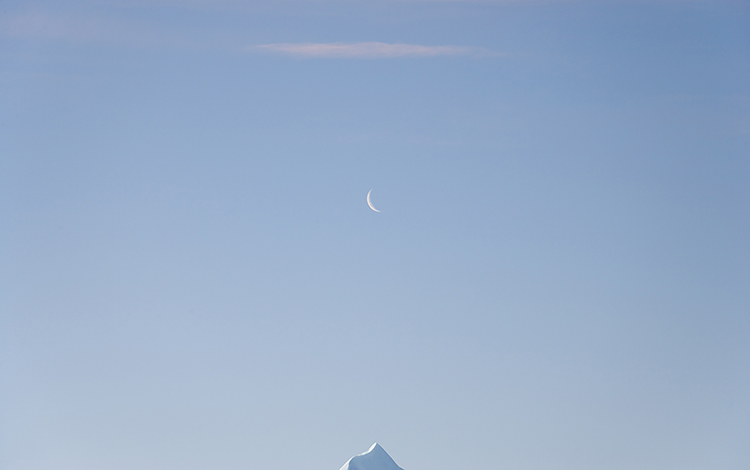
The sky clears.

Sequence can enhance images and may even change the stories they tell.


Sequence

How you present your images can be as important as which ones you select. It’s the art of sequencing (and it is an art), which involves specific techniques that you can learn. What are some of the guiding principles involved? Here are a few.

Quality

Start strong. Finish strong. Make getting there interesting. Whether a symphony, a novel, or an exhibit, it’s good advice for arranging any creative project.

Identifying your strongest image is essential. It sets the highest level of quality, against which all others will be measured. It alone may help you create an appropriate structure for the rest of your work. This singular image is often used to lead a body of work (in the announcement of your project and possibly as the first images seen in the sequence), becoming the most frequently viewed image.

While you may want to arrange your images from strongest to weakest for your own information, you certainly don’t want to present them to other people this way. Instead, you want to tease out your strongest images along the way, sustaining attention toward a strong finish.

While not every image you include in a project needs to be equally strong, a majority of images included should be representative of your best work. The rest should be almost as good. Use lesser images only when they help illustrate essential points that would otherwise be overlooked or add complexity and dimension.

No amount of arranging will make up for the lack of high-quality work. It may be easier to build mass into a project by including lesser amid stronger works; this is rarely an effective strategy. Quality makes the primary impact. Volume is secondary. Even if taken to an extreme, a large dose of average work is far less impressive than a small dose of high-quality work.

To sequence a project, you can use the metaphor of building a fence. The strongest pieces can be thought of as posts. The less strong pieces can be thought of as rails. You want to start and end with the very strongest pieces to create a strong structure. You want to periodically reinforce runs of less strong units with one or more stronger units. You don’t want long runs of rails without posts, or the structure may fail. A fence made only of posts becomes something else entirely, a wall with no variation or grace. The number of strong pieces you include determines how long your fence can be before it gets weak or falls apart.

Story

It’s helpful to identify the story you’re telling. This will impact not only your selection of images but also your presentation of them. Think of each individual picture as a chapter in a book. Simple phrases and sentences can help you. You can logline the entire story, and you can also logline single images (if not every image, then key images that mark transitions) to better understand the function they serve.

Read More

Use The 8 Classic Shots Of Photo Essays To Tell Better Stories

Every picture tells a story. Combine pictures to form an essay, and your storytelling options multiply. This is one way to tell a more complete story, add depth, complexity, counterpoint, nuance, show change over time, and so much more. A photo essay transcends a single lucky shot. It demonstrates commitment, focus, versatility, and skills of another order. 

Essays have definite structures, with a clear beginning, middle, and end – often with standard components that flesh out and advance a story in critical ways. Journalists excel at this type of storytelling. Sometimes they even use cinematic conventions, components, and strategies. Moviemakers storyboard their creations before filming commences. Cinematographers and film editors ultimately develop their own styles with how they handle these devices, and they can also become a part of your style.

Identifying the necessary components of an essay is the first step. Once you know the types of images you need to tell your story, you’ll know what to shoot while you’re on location and maybe even when you need to be there. If you don’t identify these elements beforehand and make sure you come back with each of them, you may find you lack critical pieces. There will be holes in your story. And you may have to return to finish it – if you can. 

Even if your work isn’t narrative, learning these skills will help you create more images, be more versatile, make stronger comparisons and contrasts, and create more effective continuity and transitions between images.

These are the classic elements used to structure a photo essay presented in order of appearance.

1 Introduction
2 Set the Stage
3 Identify the Main Character
4 Significant Detail
5 Human Interest
6 Decisive Moment
7 Outcome
8 Conclusion 

You could say all other images included in an essay are just variations of these few types of images. I’d be surprised if exceptions couldn’t be found, but they would be exceptions. These are worth committing to memory and ultimately making second nature. If you do, you’ll become a more capable and versatile photographer.

What is the function of each image type? 


Insights Members can login to read the full article.
Email:
or Sign up

Use The Power Of Storyboarding To Structure Your Photographic Explorations

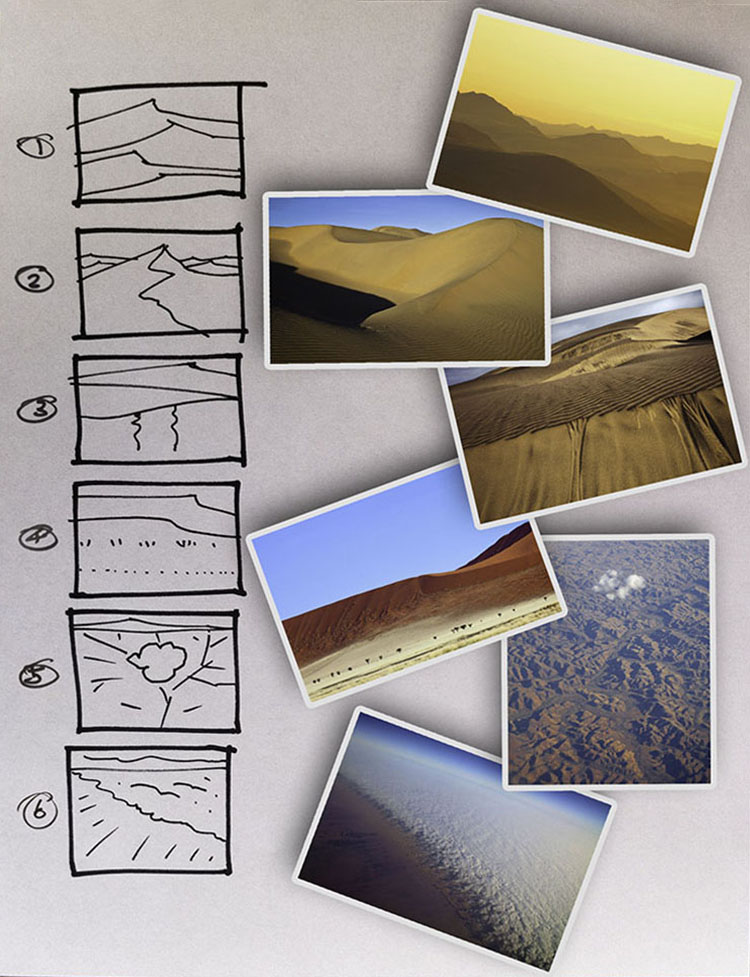
The first time I went to Namibia I used this storyboard to find more ideas and structure my thinking.

Find out how it worked out at the end of this article.


Movies are rarely shot without storyboarding them. Consider storyboarding your still photography projects too.

A storyboard is a hand-drawn map or timeline that identifies the various types of images needed to advance a story and the transitions between them. They identify the beginning, middle, and end of a story and the shots needed to move from one to the other. Storyboards create a guiding structure or framework that can help focus and strengthen your work. 

You can use storyboards to structure your thinking when you’re developing still photography projects. Storyboards can help you do many different things, including finding out what your story is, generating ideas, identifying the shots you need, creating stronger relationships between separate images, and telling your story in more compelling ways.

Creating a storyboard doesn’t take long. You can create a simple storyboard in as few as two sketches – before and after or beginning and end. Then you can continue adding more frames to develop your story further.


Insights Members can login to read the full article.
Email:
or Sign up

How To Break The Rules & Unlock New Creative Possibilities

Stuck? Experiment! How? Try this.

List all of the rules of photography. Then break them. 

Doing this will offer two profound benefits. 

One, you'll develop a better understanding of and versatility with the medium.

Two, you’ll deepen your understanding of your personal goals and voice (vision and style).

If an experiment fails to produce interesting results, you’ll have proven confirmation that what you’re doing is working for you. If an experiment succeeds by producing results that are exciting to you, you’ll develop a new relationship with the medium and maybe even find a personal breakthrough. 

Often you’ll need to try an experiment more than once. Try each experiment long enough to see whether they’re working or not; many of these things won’t feel natural at first.

I recommend making this kind of experimentation a lifelong practice. No matter how accomplished you are, discoveries await you.

Here’s a list to get you started …


Insights Members can login to read the full article.
Email:
or Sign up

Reversal / Do The Opposite – It’s The Most Powerful Way To Innovate

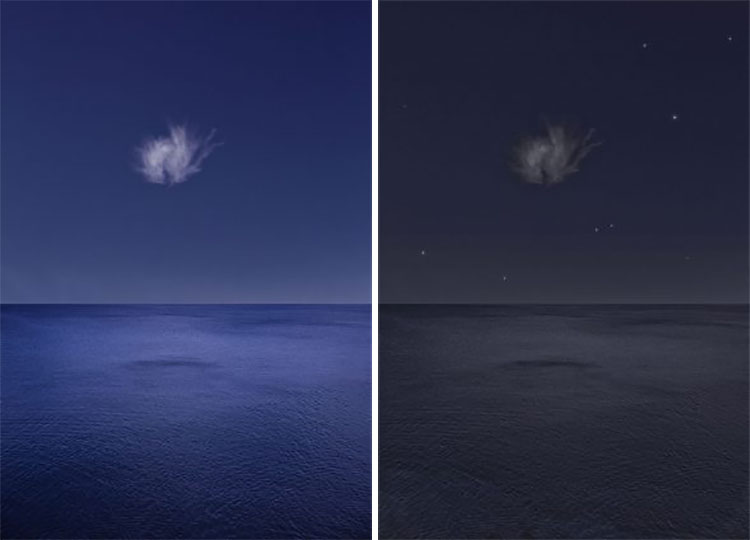
Day / Night

Looking for something new? Do the opposite of what you normally do. Use the power of reversal; it’s a powerful strategy used by countless creatives. 

The principle of reversal is similar to the photographers’ 180-degree rule. You shoot in one direction. You’re so focused on one thing you don’t see all the other possibilities around you. You force yourself also to look 180 degrees in the opposite direction. You discover new vistas. It’s a good habit. Extend this. Identify the ways of seeing you typically engage. Now list other ways of looking and try them. You’ll quickly discover new ways of seeing that will reenergize you and make your work more vital.

Our minds are conditioned to think in terms of opposites, so ideas for reversal come easily to us.

On – Off

Dark – Light

Day – Night

Vertical – Horizontal

Up – Down

In – Out

Active – Passive

Moving – Still

Dynamic – Stable

Whole – Incomplete

Repaired – Broken 

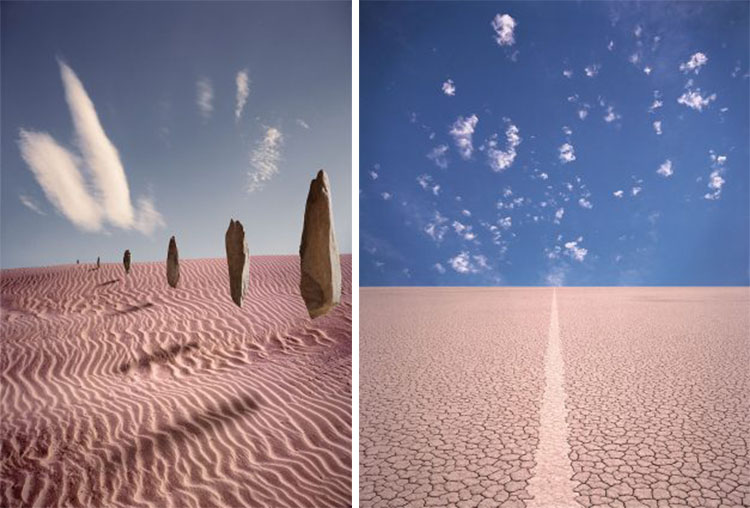
Full – Empty

Some – None

Many – One

Altered – Unaltered


Full / Empty

Try putting a prefix of un or anti on any word (even if the results are not in the dictionary), and you’ll instantly find a different perspective. Then reverse that perspective. Inverting twice doesn’t always return you to the same point. New things can be gained in translation.

The possibilities are so limitless they can be overwhelming.

Break the challenge down into useful chunks. 

Physical Processes

You can make reversals in your physical process. 


Insights Members can login to read the full article.
Email:
or Sign up