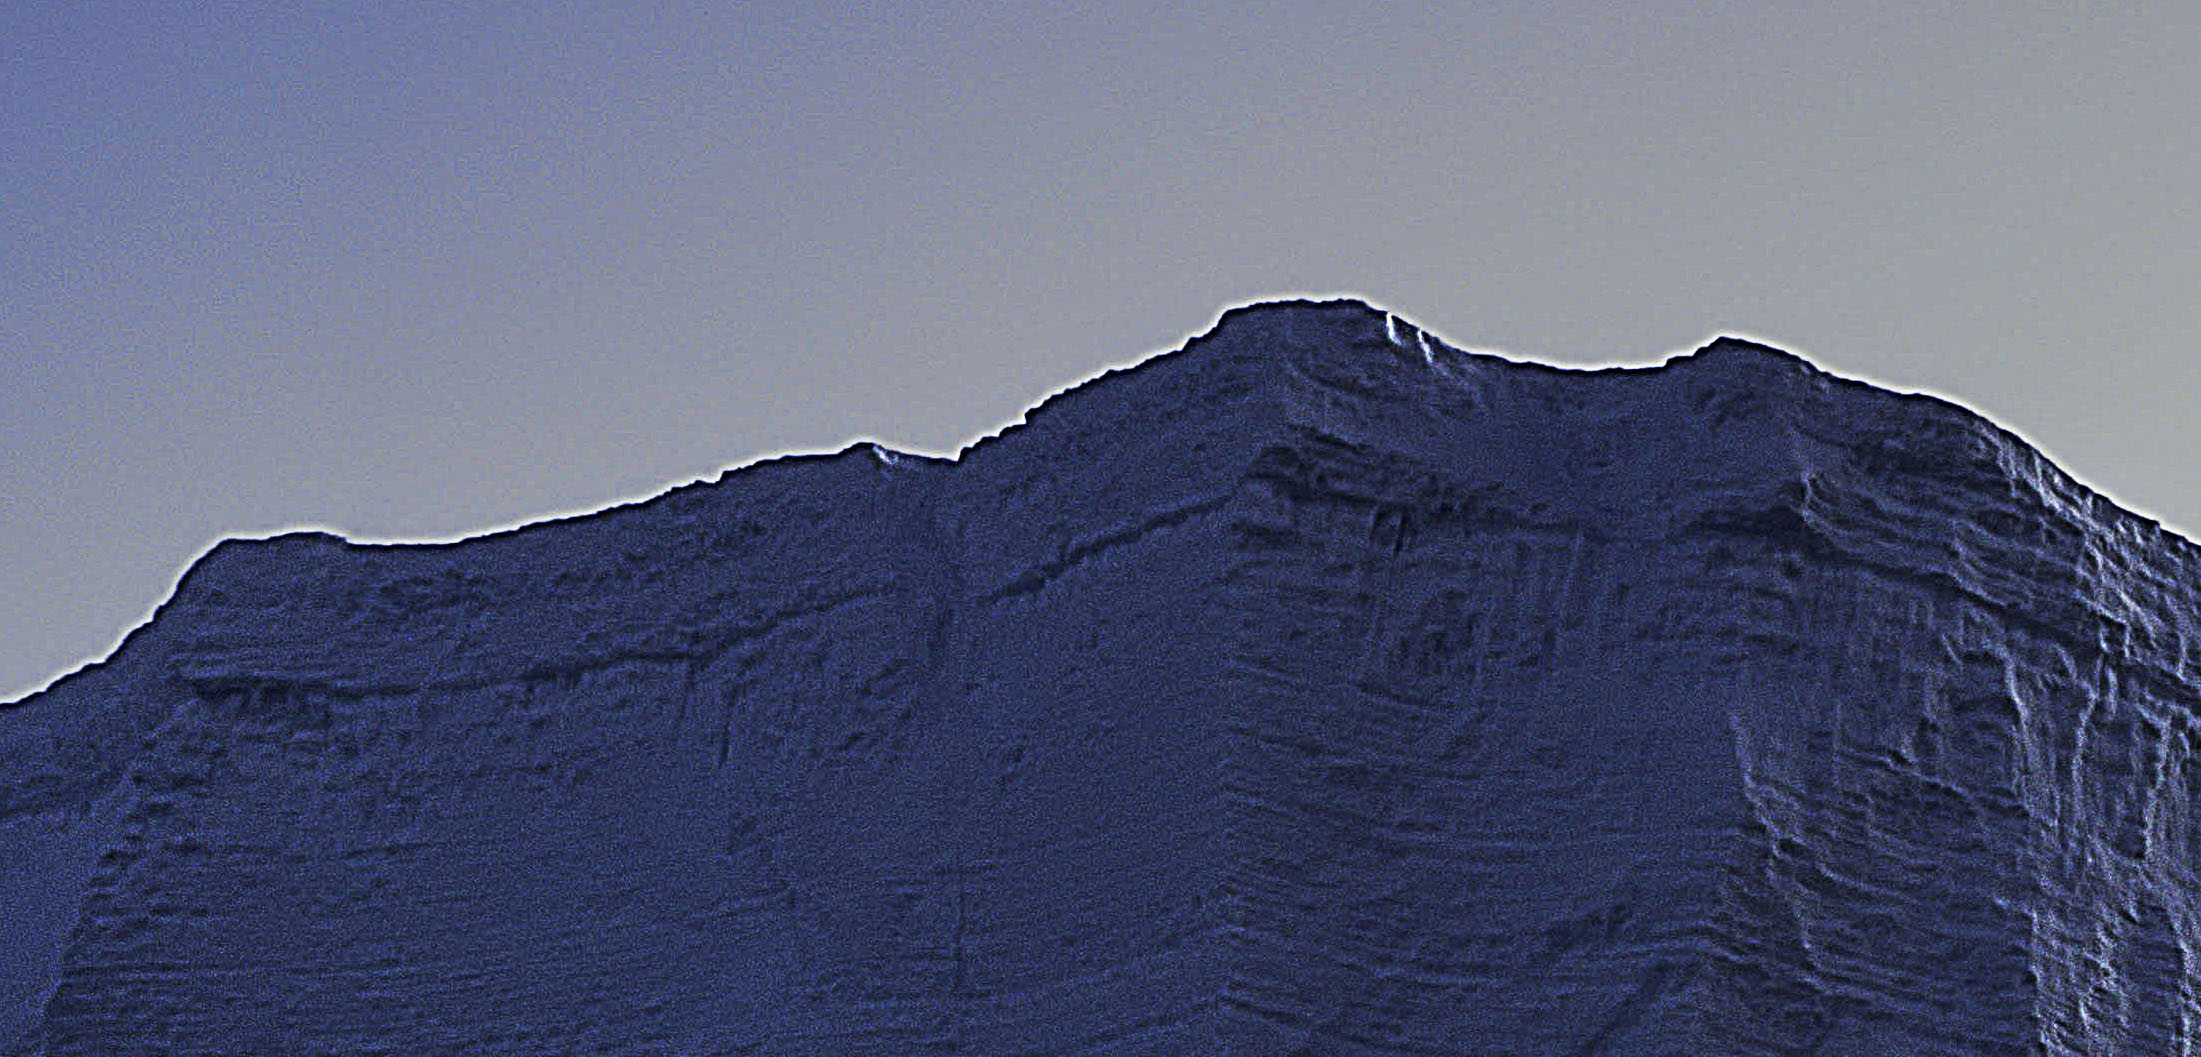
How To Choose An Optimal Setting For Photoshop’s High Pass Filter

Photoshop’s filter High Pass is one every user should know. It can be either an edge sharpener or a unique luminosity contrast enhancer that produces a three-dimensional effect, unlike any other tool.

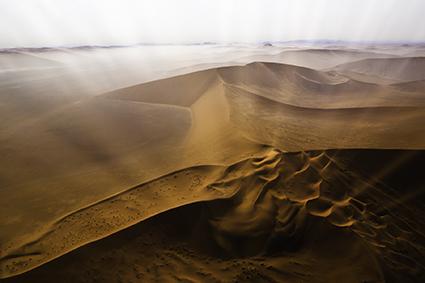
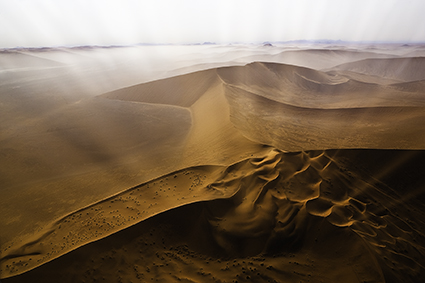
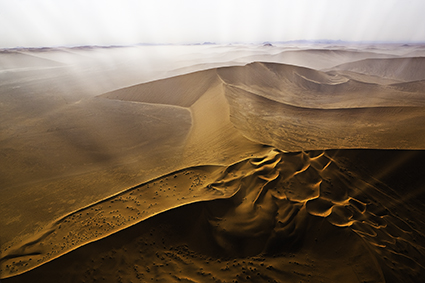
With only one slider, Radius, the differences between low and high settings can be found in the way they handle frequencies of detail: low (smooth spaces and planes), medium (broad lines and moderate texture), and high (fine lines and texture).

When you use low Radius settings, the High Pass filter adds contrast to the edges of lines. As the setting rises it brings out first coarse and then medium texture, accentuating fine texture, often confused with noise, much less.

When you use high Radius settings, the High Pass filter moves beyond sharpening and becomes tonal enhancement. The halos (light lines) and lines (dark lines) it produces become so broad and feathered that rather than only contour contrast (Think edges and thin lines.) they instead accentuate broader image contrast (Think planes chiseled by a sculptor.).  In short, images filtered with high High Pass settings look contrastier and more three-dimensional, as if all the planes in an image are dodged and burned.

Low or high, how do you choose?


Insights Members can login to read the full article.
Email:
or Sign up

High Pass Sharpening

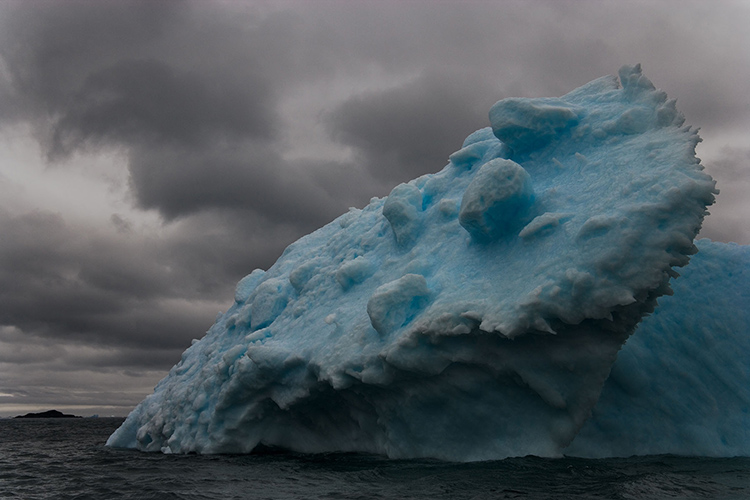
before

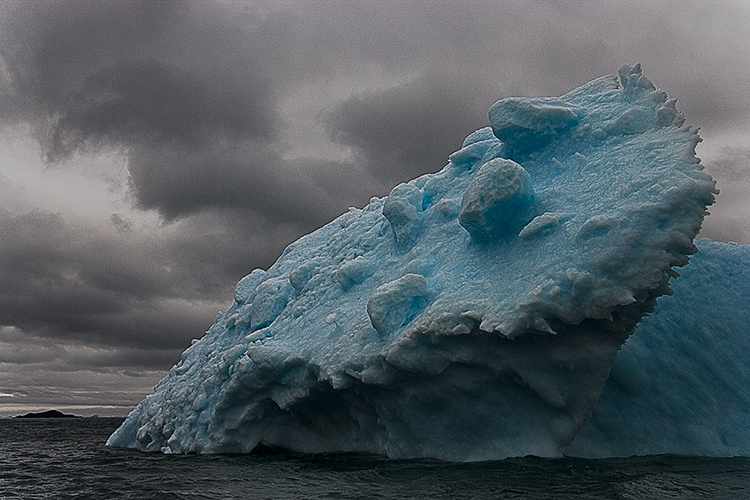
after

Photoshop’s often overlooked filter High Pass is one every user should know. It can be either a unique luminosity contrast enhancer or a sharpener.

High Pass sharpening enhances edges with a softer halo and line and little or no accentuation of texture and noise. It bypasses many artifacts that trouble insensitive applications of Unsharp Mask.

High Pass sharpening requires layers so it’s only possible in Photoshop (not Lightroom or Camera Raw).

High Pass sharpening laid the foundation for Lightroom’s Print Sharpening, but in Photoshop it can also be used for creative sharpening, which can be combined with other sharpening effects and applied selectively.

Take these steps to apply High Pass sharpening.


Insights Members can login to read the full article.
Email:
or Sign up

Halos & Lines In Your Photographs – How To Avoid Or Quickly Fix Them

halo and line on horizon

Nothing screams digital artifacts more than halos and lines. Bright and dark lines around the edges of objects make straight photographs look altered, and altered photographs look poorly crafted. Rarely, if ever, a good thing, their insensitivity to both contours and textures within images is supremely distracting. It's easy to eliminate these dealbreakers if you know what to look for, how to avoid them, and, when necessary, eradicate them.

Know What To Look For

First, know what to look for. If halos and lines exist, you'll find them along the edges of shapes and, sometimes, the spaces objects surround. They're most pronounced when the inside and the outside exhibit more contrast. Halos, the bright lines, are obvious; the brighter, thicker, harder halos are the more obvious, while darker, thinner, softer halos are less obvious. Lines, the dark lines, are less obvious. As they get darker, thicker, and harder, they become more obvious. 

Know How To Look For It

Halos are harder to spot in higher-resolution images that must be zoomed in (100% screen magnification) to be seen accurately. The worst is seeing them after an image is printed on a large scale. This time-consuming and expensive mistake can easily be avoided by looking closely at images before processing is finished.

Don't Produce Them

Second, know how they're produced. The quickest way to produce halos and lines is with digital sharpening, whether that's the Detail panel in Lightroom or Camera Raw, filters in Photoshop like Unsharp Mask and High Pass, or third-party plug-ins like Nik. The point here is not to avoid these tools but rather to apply them in ways that don't or minimally produce these artifacts. The next quickest way is to use any contrast tool that accentuates them; sliders in the Light panel, Curves, Texture, Clarity, and Dehaze should be monitored too. These tools won't produce halos, and if you don't have halos and lines, these tools won't accentuate them. (Careful, at high settings, Clarity and Dehaze may produce very thick, feathered halos and lines, and when they've gone too far, these artifacts look more like sloppy masking than over-sharpening. These are much harder to fix than hard lines around contours, so try not to produce them.)

See my articles on High Pass, Clarity, and Dehaze for more.

If any tool produces halos while you're processing, reduce the settings until they don't (Remember to zoom in to check this before moving on.) It's easier not to produce them than to cure them. If you discover halos and lines long after they were produced, find the slider or layer that produced them and change those settings. (In Photoshop, it's critical to adopt a flexible workflow using smart filters, adjustment layers, and layers so that you can do this quickly and easily. If you start building too many effects into flattened layers, you'll have to redo the whole thing.)
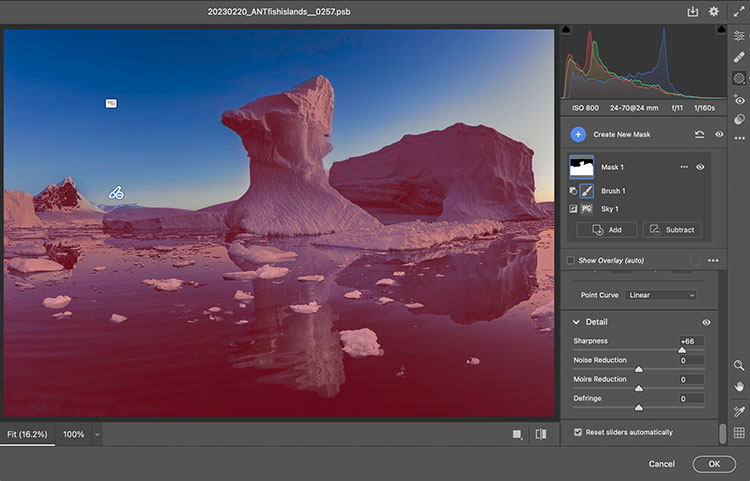
adjustment in Camera Raw masked

Mask Them

Sometimes, the artifacts produced by sharpening and contrast enhance images positively inside contours, but along contours, they look terrible. Consider applying the effect and masking it away from the contours in this case. Horizon lines are one of the most important image elements to monitor. This contour typically has more contrast than any other, not only in luminosity but also in texture, which means halos are more easily seen in the lighter, smoother sky. 

Insights Members can login to read the full article.
Email:
or Sign up

The Art Of Creative Sharpening

Download your free copy now!


Master the look and feel of detail in your images.


3 Things Sharpening Can Do For Your Images 

Sharpening Workflow

Capture Sharpening

Creative Sharpening 

Output Sharpening

Detail Frequency

Unsharp Mask 

High Pass Sharpening 

High Pass Contrast Or Sharpening – How To Choose An Optimal Setting

The Texture Slider 

The Differences Between Dehaze, Clarity, High Pass, Texture and Sharpening 

HDR For Detail Enhancement 

The Advantages Of Sharpening With Layers

 Hybrid & Multi-Pass Sharpening 

Controlling Halo & Line Independently

How To Avoid Or Quickly Fix Halos & Lines

How To Avoid Common Over-Sharpening Artifacts

Edge Masks 


Sign up for Insights for news of new content!

How Does Lightroom’s New Texture Slider Compare To Clarity and Sharpness ?

01_Dehaze_Maximum

Maximum Dehaze

02_Clarity_Maximum

Maximum Clarity

03_Texture_Maximum

Maximum Texture

04_Sharpening_Maximum

Maximum Sharpening

05_Texture_Negative

Negative Texture

06_Clarity_Negative

Negative Clarity

Think of Adobe Lightroom Classic and Camera Raw’s new Texture slider as producing an effect that lies somewhere between the Clarity and Sharpness sliders.

It’s closer to Sharpness so when you apply it, rather than looking at the full image, zoom in to 100% to evaluate the detail accentuation it produces. So, use it more for detail enhancement than contrast.


Insights Members can login to read the full article.
Email:
or Sign up

Creative Image Sharpening With HDR Software

SharpeningCompared

Unsharpened / Hybrid / Strong HDR

HDR software is most typically used to render shadow and highlight detail, but it can also be used to enhance tonal separation and detail in any range of tones, even in images with extremely low contrast. The very same tools that are used to compensate for HDR side effects can be used to sharpen any image.

When multiple bracketed exposures are merged into a single processed file, shadows and highlights that exceed the dynamic range of a camera’s sensor are compressed into the dynamic range of a digital file, taking the mid-tones with them. Depending on the HDR software used, a variety of tools are available to restore contrast and separation in mid-tones. If used aggressively, these tools produce the telltale signs of contemporary or grunge HDR artifacts – halos and texture accentuation. These are the very same artifacts that digital sharpening routines use more conservatively to make images appear sharper - only they look different.

Unlike the hard halo and line produced by the filter Unsharp Mask and more like the soft line produced by the filter High Pass, HDR sliders can give you still more points of control over line and texture, each with a slightly different flavor.


Insights Members can login to read the full article.
Email:
or Sign up

What In The World Is Detail Frequency ?

refraction73_MG_1171

High frequency

refraction74_20100809__ICEjokulsarlon_0148

Medium Frequency

refraction6420080816_iceland_reykjanes_0496

Low Frequency

Frequency is a term that’s being used more and more. That’s because new tools offer you more control over frequency than ever before. Noise reduction, sharpening, and HDR all offer unprecedented control over the look and feel of detail in our images. Frequency is used to describe the amount of detail packed into a given area of an image. This is measured by the amount of tonal variation between rows or columns of pixels. Imagine measuring an image with a line that passes across it (horizontally from left to right or vertically from top to bottom). The mean or average tonal value along lines can be charted and then compared to values from other measurement lines, especially those nearest to each other.


Insights Members can login to read the full article.
Email:
or Sign up

3 Things Creative Sharpening Can Do For Your Images

Refraction LXIX 2

Of the three stages in a sound sharpening workflow – capture sharpening, creative sharpening, and output sharpening – creative sharpening is the stage that has the most impact. The goal of creative sharpening is to give an image a specific look and feel. There are at least three things creative sharpening can do for your images.

One, creative sharpening can prioritize; it can direct attention to specific areas of an image.

Two, creative sharpening can enhance; qualitative aspects of images like texture and line, can be amplified to produce stronger responses.

Three, creative sharpening can be used to accentuate different qualities of light; a great deal of detail is carried by the luminosity component of color and changing it changes the overall appearance of light within the image.

Used consistently creative sharpening can produce a distinctive style that is more easily recognizable to viewers. (Remember, sharpening is a way to enhance details and it may also be used with its counterpart blurring to make effects appear even stronger by comparison.)


Insights Members can login to read the full article.
Email:
or Sign up

Creative Image Sharpening – Double Pass Versus Hybrid

1_Sharpen_No

Before sharpening

2_Double_USM

Unsharp Mask only

3_Hybrid_USMHighPass

Unsharp Mask and High Pass filters combined

Different sharpening techniques make the world look different. A world of difference can be seen between the thin hard line of Unsharp Mask and the broad feathered line of High Pass Sharpening.

Can you choose a combination of both? Yes, you can! You can choose the texture of one, the halo of another, and the line of yet another, applying them either globally or selectively. You can customize the look and feel of detail in any image or image area with astonishing precision and flexibility.


Insights Members can login to read the full article.
Email:
or Sign up

The Advantages Of Sharpening With Photoshop’s Layers

1_sharp_refraction_LXXIII1 copy

2_sharpenedlayerstack copy

Layers have Blend Modes and can be masked

3_layerstyle copy

Double click a layer to activate its Blend If sliders  

There are many reasons to use layers when sharpening your digital images.

How do you do this? Simply duplicate the Background layer and sharpen the new layer.

Eliminate Saturation Shifts
Layers can be used to eliminate saturation shifts. Change the Blend Mode of a sharpening layer from Normal to Luminosity. Color noise will also be reduced this way.


Insights Members can login to read the full article.
Email:
or Sign up