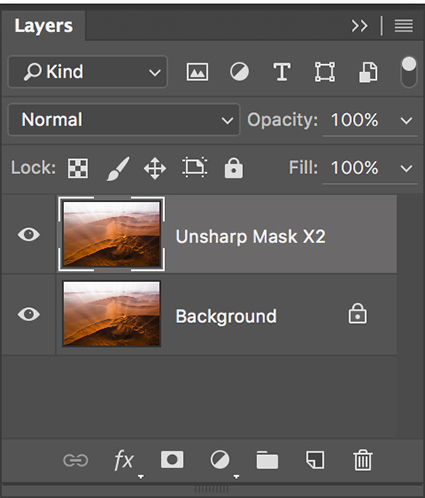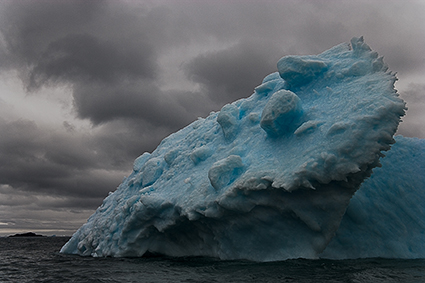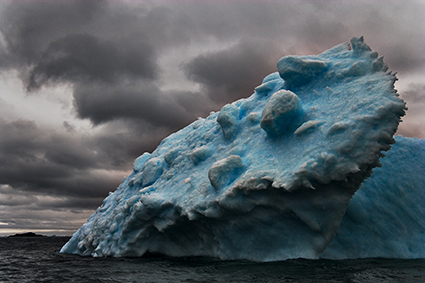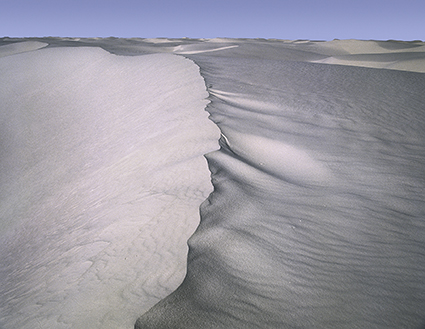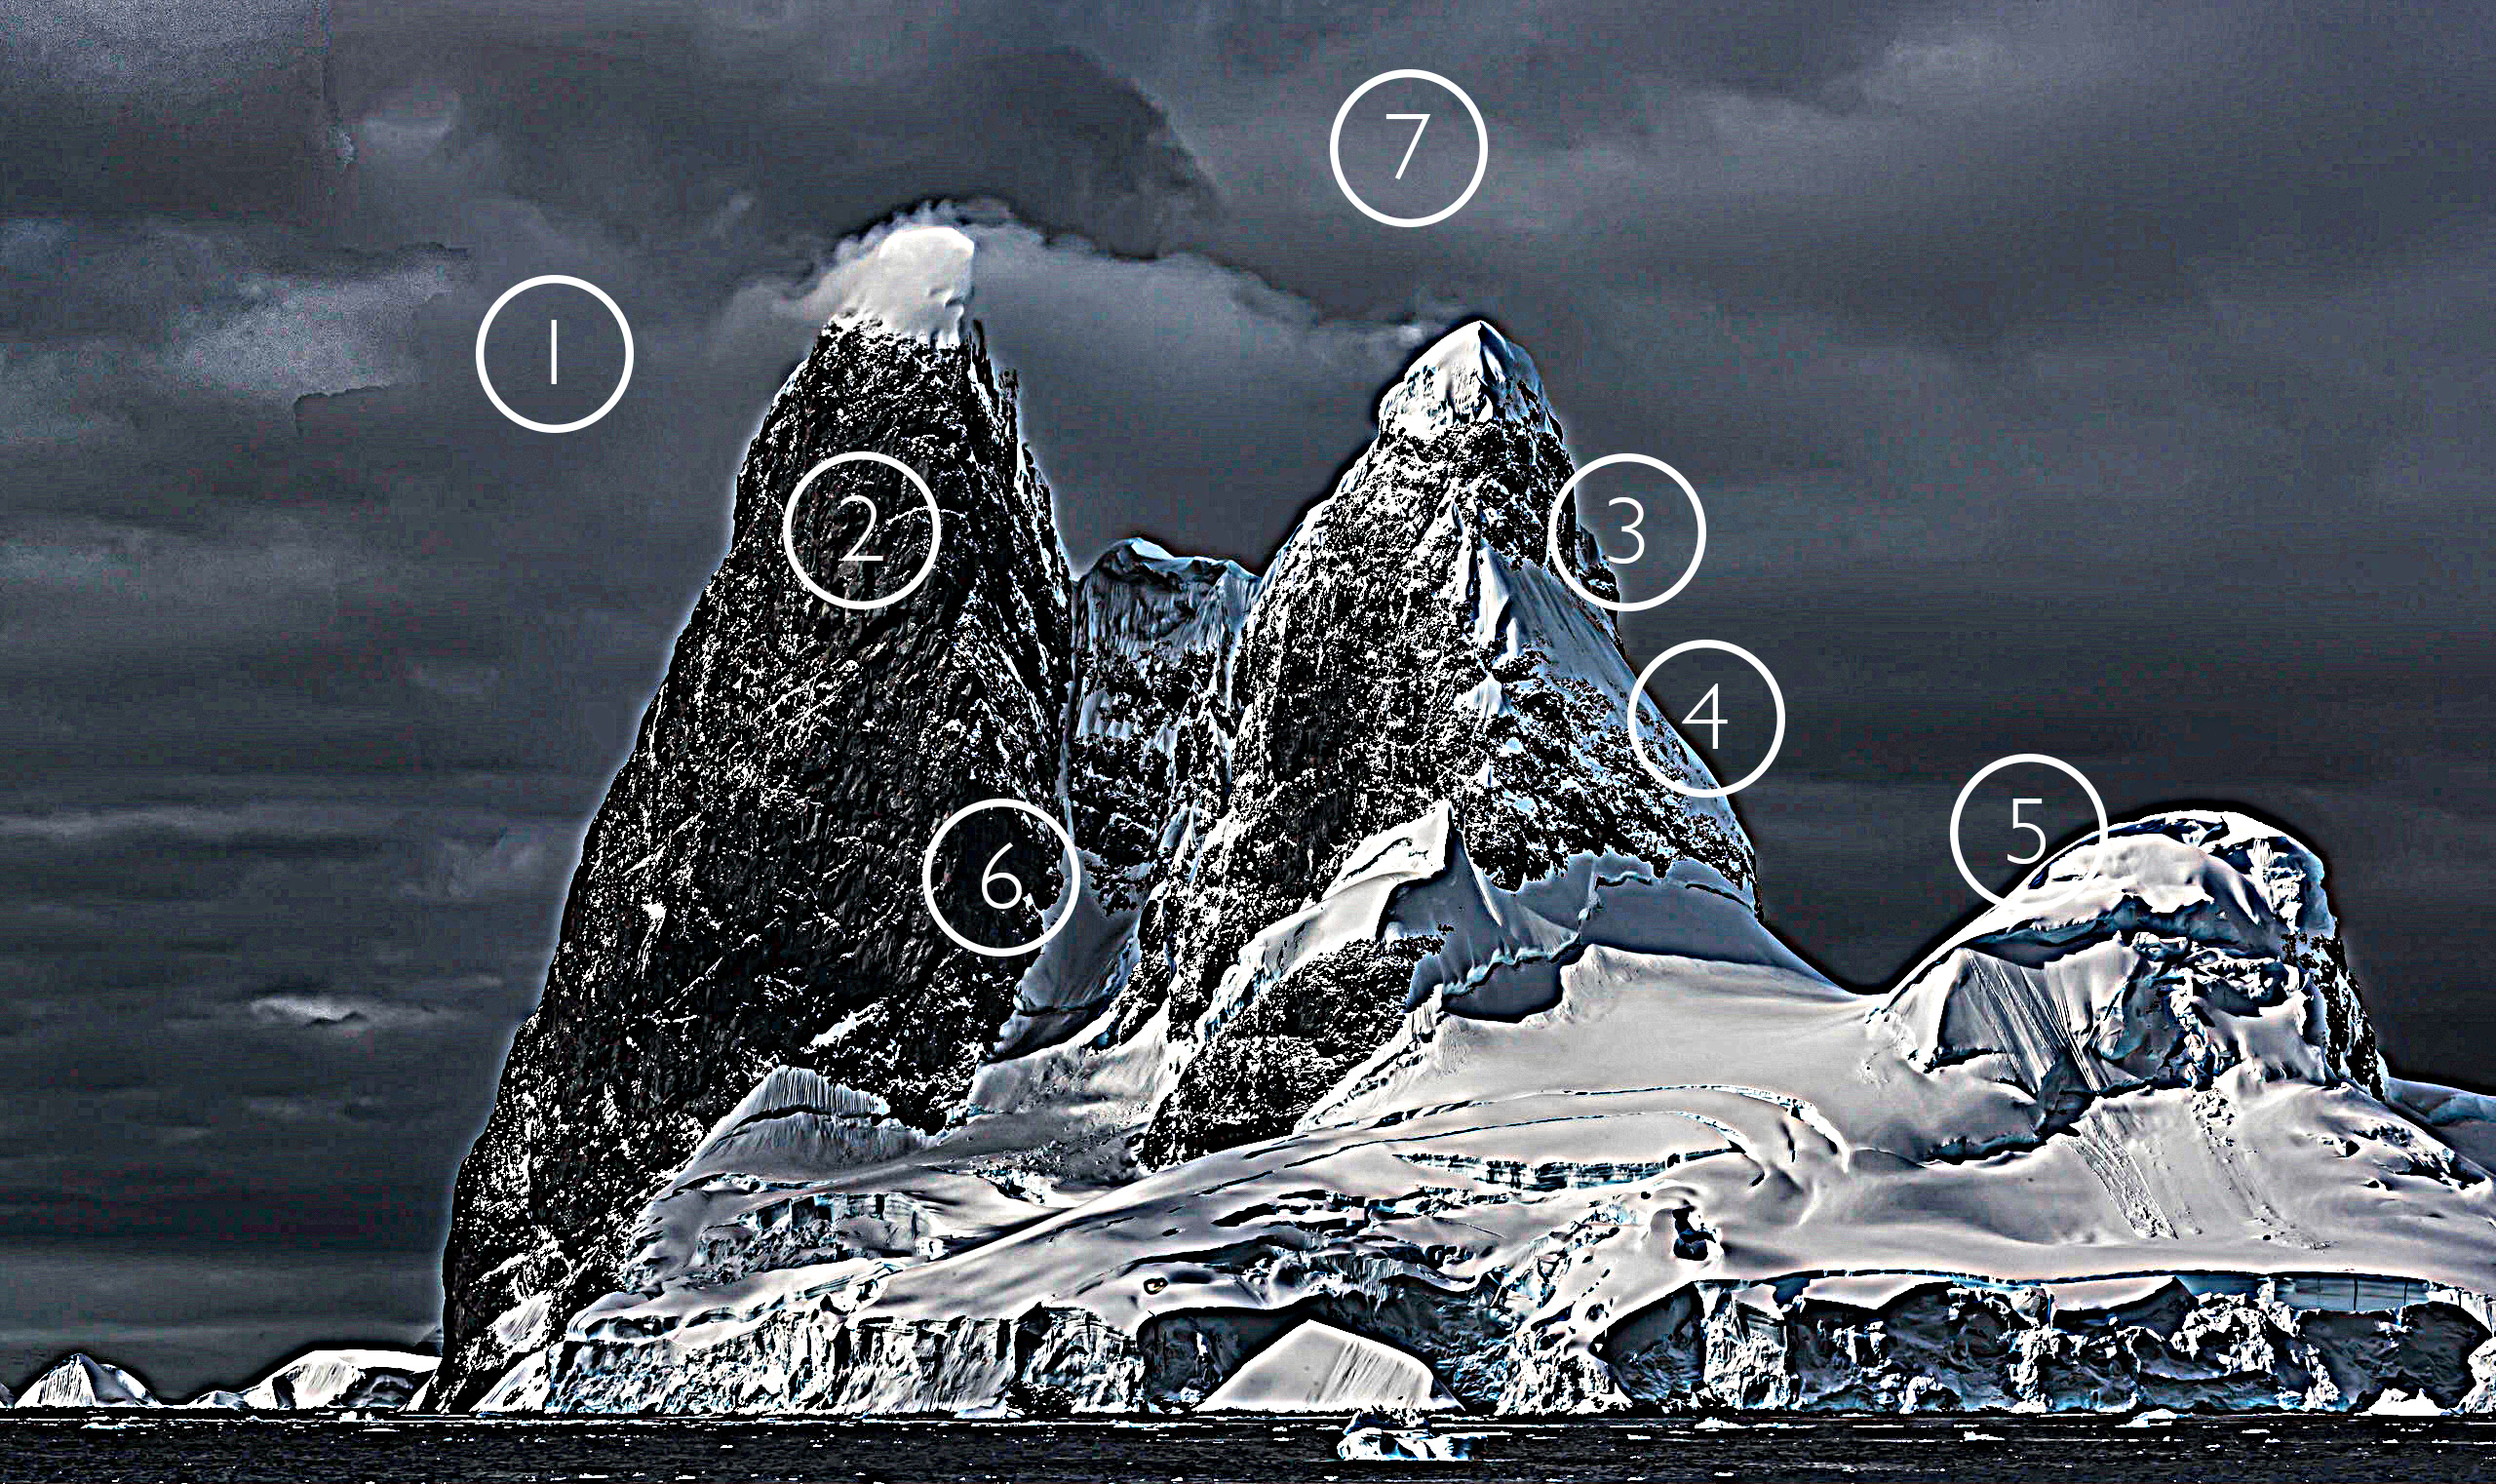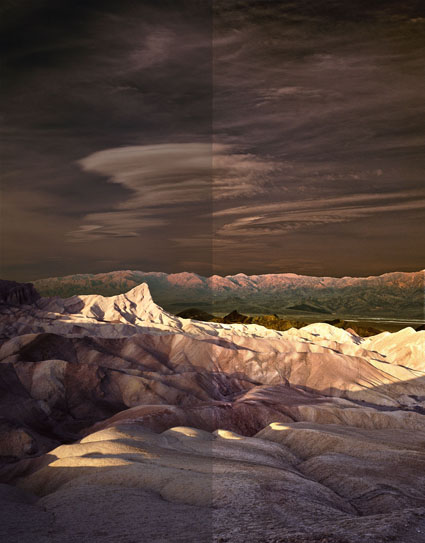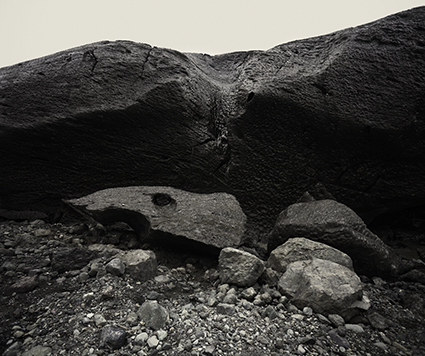
Creative Detail Enhancement with HDR Software

 
HDR software is most typically used to render shadow and highlight detail, but it can also be used to enhance tonal separation and detail in any range of tones, even in images with extremely low contrast. The very same tools that are used to compensate for HDR side effects can be used to sharpen any image.
When multiple bracketed exposures are merged into a single processed file, shadows and highlights that exceed the dynamic range of a camera’s sensor are compressed into the dynamic range of a digital file, taking the midtones with them. Depending on the HDR software used, a variety of tools are available to restore contrast and separation in midtones. If used aggressively, these tools produce the tell tale signs of contemporary or grunge HDR artifacts – halos and texture accentuation. These are the very same artifacts that digital sharpening routines use more conservatively to make images appear sharper - only they look different.


Insights Members can login to read the full article.
Email:
or Sign up

Capture Sharpening With Lightroom & Adobe Camera Raw 

01_CaptureSharpen

02_CaptureSharpen
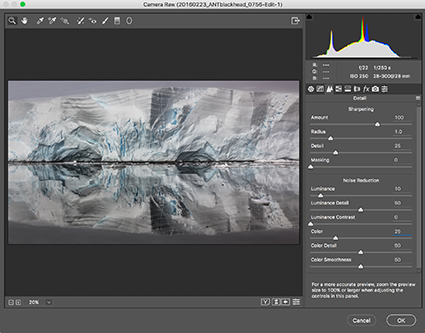
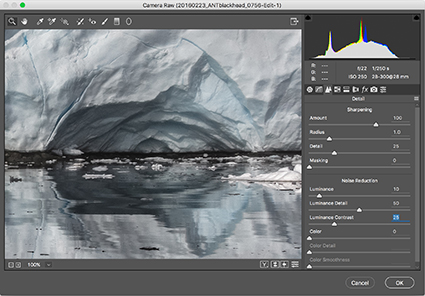
Adobe Camera Raw's Detail panel

Optimal image sharpening is best done in three stages – capture (Do it during Raw conversion.), creative (Do it in Photoshop.), and output (Automate it.).

This article covers the first stage of sharpening – capture sharpening.

Capture sharpening benefits all images. Capture sharpening compensates for inherent deficiencies in optical and capture systems. All lenses and sensors have specific characteristics and deficiencies. They do not all have the same characteristics or deficiencies.

To speed your workflow, default settings for the best starting point for capture sharpening can be determined for all images created with the same lens/chip combination and saved for subsequent use. To optimally sharpen an image, you’ll need to modify these settings to factor in additional considerations – variances in noise (ISO, exposure duration, temperature), noise reduction settings, and the frequencies of detail (low/smooth to high/fine texture) in an image.


Insights Members can login to read the full article.
Email:
or Sign up

Advanced Creative Image Sharpening Techniques – Double Pass & Hybrid

1_Sharpen_No

No sharpening.

2_Double_USM

Double pass Unsharp Mask sharpening.

4_Hybrid_HighPass

Hybrid Unsharp Mask and High Pass sharpening.

Different sharpening techniques make the world look different. A world of difference can be seen between the thin hard line of Unsharp Mask and the broad feathered line of High Pass Sharpening.
Can you choose a combination of both? Yes you can! You can choose the texture of one, the halo of another, and the line of yet another, applying them either globally or selectively. You can customize the look and feel of detail in any image or image area with astonishing precision and flexibility.
2_Double_USM
2b_Sharpen_DoublePass


Insights Members can login to read the full article.
Email:
or Sign up

Creative Sharpening With Photoshop’s High Pass Filter

2_LowRadiusHighPass_

A low High Pass filter setting.

3_HighRadiusHighPass

A high High Pass filter setting.

There are three methods of sharpening in Photoshop that we should all be aware of – luminance, edge, and High Pass sharpening. In this order, the three methods become progressively more complex and go to greater lengths to reduce the accentuation of noise.

To minimize the accentuation of noise, luminance sharpening requires that the filter Unsharp Mask’s Threshold setting be set precisely. When this is not enough, edge sharpening adds a mask that targets the contours of an image, allowing more aggressive sharpening with fewer side effects. Like, edge sharpening, High Pass sharpening (named after the filter used to produce the effect) targets contours in an image, but it does so without the need for a mask; a mask which is more complex to produce. Unlike edge sharpening, the contour accentuation it produces is soft, feathered, and wide. The effect is substantially different and can be used for many creative effects. High Pass sharpening is very similar to the effects of ACR and Lightroom’s Clarity slider, but it offers more control and more varied effects.


Insights Members can login to read the full article.
Email:
or Sign up

Creative Sharpening With Photoshop’s Unsharp Mask

3b_usm_lowradius
Precise sharpening can improve almost any image. It helps to know when to apply it, what type of sharpening to apply, how to apply it, and where to apply it.

Forget the filters Sharpen, Sharpen More, and Sharpen Edges. They’re just default settings of Unsharp Mask. Even Smart Sharpen offers few advantages over Unsharp Mask; it’s particularly useful for compensating for trace, but not substantial, amounts of motion blur. My advice? Start with the classic and master it.

Why is a filter that makes images appear sharper called Unsharp Mask? In analog chemical photography, unsharp masks are made with out-of-focus negatives that are registered with an original positive image. During exposure, the blurring adds contrast around contours, making images appear sharper. Digital unsharp mask works the same way, it uses blurring algorithms to add contrast to contours, again making images appear sharper.

What are the ideal settings for Photoshop’s Unsharp Mask filter? There are no ideal settings that will accommodate all images – or image-makers. Settings will be influenced by resolution, ISO, subject, and practitioner. As creative sharpening is primarily an aesthetic decision, individuals are likely to prefer different amounts and types of image sharpness. When it comes to the effects Unsharp Mask generates, there is a general range of believability most viewers share, but whether you play it safe or push the envelope is entirely up to you. You can craft your own sharpening style. To do this, you have to know how the tool works and what to look for.

What are the controls Unsharp Mask offers? Unsharp Mask offers only three controls – Amount, Radius, and Threshold.
What do they do? Amount controls contrast; a higher setting will create a brighter halo, darker line, and contrastier texture. Radius controls how thick halos and lines get. Threshold suppresses the effect in adjacent pixels, base on their relative luminosity; with a very low setting only adjacent pixels that are very close in color will be affected; with a very high setting, many more color values will be affected.


Insights Members can login to read the full article.
Email:
or Sign up

When & How To Sharpen – The Creative Image Sharpening Workflow

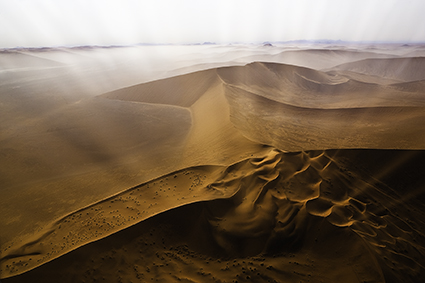
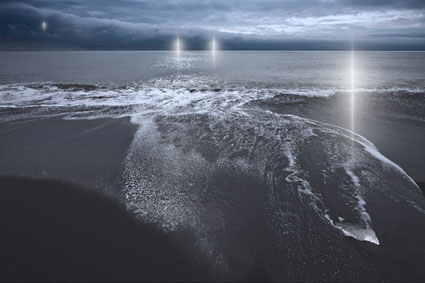
X_20100810_0257-Edit
When To Sharpen

The vast majority of photographic images benefit from sharpening.

Before you decide how and when to sharpen images, you need to decide why you’re sharpening them.

The goal of sharpening is to enhance detail rendition without producing distracting visual artifacts.

You’ll find many conflicting philosophies and their accompanying strategies for sharpening images. The seemingly conflicting advice can be hard to reconcile.

Should you sharpen once or multiple times? Should you sharpen differently for different subjects? Should you sharpen differently for different sizes? Should you sharpen differently for different presentation materials or supplies? Should you view your files at 100% or 50% screen magnification?

Capture source, output device, substrate or presentation device, presentation size, subject, and artistic intention all play a role in sharpening. The characteristics and solutions for many of these factors can be objectively defined for everyone; at least one of these factors, perhaps the most important, your artistic vision, can only be decided individually.

So, if sharpening is a complex subject, how do you simplify your sharpening workflow to one that’s practical without compromising quality?
Bruce Fraser and Jeff Schewe offer the best advice in their definitive volume on sharpening, Real World Image Sharpening, which I highly recommend you read. Instead of sharpening your images for you, they teach you how to sharpen.

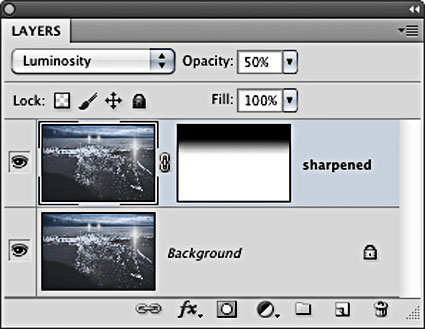
Their philosophy of sharpening is the soundest in the industry, which is why it has been adopted by so many in the industry. They recommend that images be sharpened in a progression of three stages; once for capture sharpening, a second time for creative sharpening, and a third and final time for output sharpening. The objectives and methods of each of these stages vary considerably. When mastered, the whole process can be streamlined to achieve sophisticated results with a minimum investment of time.
Here's a quick synopsis ...
Insights Members can login to read the full article.
Email:
or Sign up

How To Avoid Common Over-Sharpening Artifacts

over sharpened

You can easily see the artifacts digital sharpening produces by intentionally overdoing it.

Here are the seven most common digital sharpening artifacts.

1         Noise
2         Exaggerated Texture
3         Visible Light Halos
4         Visible Dark Lines
5         Loss of Highlight Detail
6         Loss of Shadow Detail
7         Increased Saturation

These artifacts can be reduced in one or more ways. Here’s a list of options for each.

1         Noise
Raise Unsharp Mask’s Threshold.
Use High Pass sharpening.
Blur High Pass layers.
Mask select image areas.

2        Exaggerated Texture
Reduce Unsharp Mask’s Amount.
Use High Pass sharpening.
Blur High Pass layers.
Mask select image areas.

3       Visible Light Halos
Reduce Unsharp Mask’s Radius to make halos thinner.
Reduce Unsharp Mask’s Amount to make halos darker.
Set the Blend Mode of the Unsharp Mask filter or layer it is applied to Darken.
Use High Pass sharpening for softer more feathered contour accentuation.

4        Visible Dark Lines
Reduce Unsharp Mask’s Radius to make halos thinner.
Reduce Unsharp Mask’s Amount to make halos darker.
Set the Blend Mode of the Unsharp Mask filter or layer it is applied to Lighten.
Use High Pass sharpening for softer more feathered contour accentuation.

5         Loss of Highlight Detail
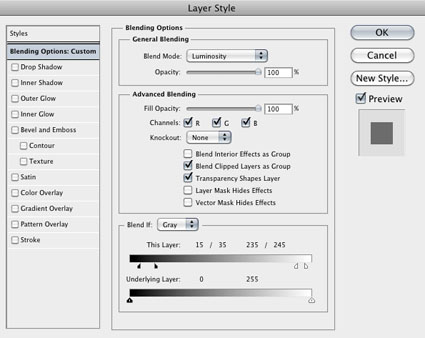
Use a sharpened layer’s Layer Styles / Blend If sliders to recover it.
Mask the highlights.

6        Loss of Shadow Detail
Use the Blend If sliders in Layer Styles to recover it.
Mask the shadows.

7         Increased Saturation
Change the blend mode of the filter or sharpened layer to Luminosity.
Desaturate High Pass layers.


Insights Members can login to read the full article.
Email:
or Sign up

How To Avoid Over Sharpening

Antarctica CLXXI
Identifying and developing a sensitivity for the artifacts digital sharpening produces will help you choose a sharpening method and what settings to use during any stage of your sharpening workflow. You can easily see the artifacts digital sharpening produces by overdoing it. Apply a filter like Unsharp Mask at maximum strength and look closely at what happens.
Following are the seven most common digital sharpening artifacts.
1. Noise
2. Exaggerated Texture
3. Visible Light Halos

4. Visible Dark Lines
5. Loss of Highlight Detail
6. Loss of Shadow Detail
7. Increased Saturation
These artifacts can be reduced in one or more ways.
Read more on Digital Photo Pro.
If you know what to look for, you’ll know what path to choose and how far down it to go. Training your eye for what to look for and understanding the upper limits of what other people find to be naturalistic, or at least not distracting, is the first step to developing your unique sharpening style. The second step is learning how to produce certain effects and avoid others with the tools at your disposal. Once you’ve taken these steps, you can take the third and final step, knowledgeably putting craft in the service of your vision to make compelling visual statements. Enhancing detail is one area of expertise that’s well worth mastering for all photographers.
Learn more in my digital photography and digital printing workshops.

Creative Sharpening With HDR Software


HDR software is most typically used to render shadow and highlight detail, but it also can be used to enhance tonal separation and detail in any range of tones, even in images with extremely low contrast. The very same tools that are used to compensate for HDR side effects can be used to sharpen any image.
When multiple bracketed exposures are merged into a single processed file, shadows and highlights that exceed the dynamic range of a camera’s sensor are compressed into the dynamic range of a digital file, taking the midtones with them. Depending on the HDR software used, a variety of tools are available to restore contrast and separation in midtones. If used aggressively, these tools produce the telltale signs of contemporary or grunge HDR artifacts: halos and texture accentuation. These are the very same artifacts that digital sharpening routines use more conservatively to make images appear sharper—only they look different.
Unlike the hard halo and line produced by the filter Unsharp Mask and more like the soft line produced by the filter High Pass, HDR sliders can give you still more points of control over line and texture, each with a slightly different flavor.
Find details on using Adobe Photoshop and NIK’s HDR Efex Pro.
Read the full article on Digital Photo Pro.
Find more sharpening resources here.
Learn more in my digital photography and digital printing workshops.

Creative Sharpening – Double Pass & Hybrid


Different sharpening techniques make the world look different. A world of difference can be seen between the thin hard line of Unsharp Mask and the broad feathered line of High Pass Sharpening.Can you choose a combination of both? Yes, you can! You can choose the texture of one, the halo of another, and the line of yet another, applying them either globally or selectively. You can customize the look and feel of detail in any image or image area with astonishing precision and flexibility.


Insights Members can login to read the full article.
Email:
or Sign up