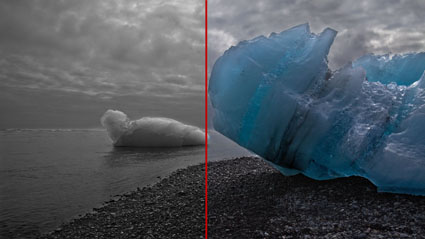
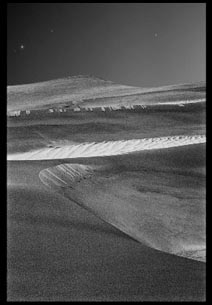
Epson Advanced B&W Photo

Black and white printing presents several significant challenges; the ability to produce a neutral color, the ability to maintain that neutral appearance under different light sources (reduced metamerism), the ability to attain graybalance (consistent color throughout the entire tonal scale); the ability to achieve a very dark black (high Dmax) without sacrificing shadow detail (low dot gain), and longevity. All of these things are now easily attainable.

Black and white inkjet printing has come of age. In past years, there have been many compelling solutions for making black and white prints with inkjet technology; some have been fraught with problems (third party quadtone ink sets clog easily) and others have been expensive (ColorByte's ImagePrint RIP). Today, superior quality inkjet printing is both affordable and easily achieved.


Insights Members can login to read the full article.
Email:
or Sign up

Try Setting Your Camera to Preview in B&W


Many people find it easier to see composition in black and white. If you’re one of them, try setting our camera’s preview to black and white. When you do this, seeing line, shape, form, and relative light and dark relationships may become easier. Doing this will also help you get a better sense of how an image will look in black and white. Remember though, the saturated hues in your image can be converted to black and white as either light or dark, so the relative tonal distribution of your image is quite fluid – and seeing the hues in the image (whether with your naked eye or on the camera’s LCD) will inform you how fluid you can expect it to be, where it will be fluid and where it won’t.
Setting your camera’s preview to black and white will only affect the JPEGs your camera creates; your Raw files will still be in full color.
Find more digital photography online resources here.
Learn more in my Digital Photography Workshops.

What’s Unique About B&W

.

Learn what’s unique about black & white and how to best adjust and print it.

Read more in my Black & White lessons.
Learn more in my digital photography and digital printing workshops.

Scanning Black & White Originals


Here’s a simple formula for scanning black and white originals (film or prints). Scan in Grayscale (there’s no benefit to scanning in RGB), in 16 bit, and at the native resolution of a scanner (upsample in Photoshop only if needed, not during scanning). Make sure sharpening is turned off. Test a scanner’s lookup tables for negatives; if they clip shadow or highlight detail scan negatives as transparencies and invert in Photoshop.
Get my free download here.
Find out more about black and white in my DVD Black & White Mastery.
Find out more about black and white in my Workshop Black & White Mastery.
Special discounts are available until January.

Achieving the Blackest Black


The blackest black in print is achieved with today’s inkjet materials. Epson Exhibition Fiber printed on Ultrachrome K3 or UltraChrome HDR produces a 2.65 dmax; silver gelatin selenium toned produces a 2.35 dmax. You get this extraordinary black when printing through the printer driver’s Advanced Black & White mode; print the same image through a standard color color management route and you’ll only get a 2.4 dmax. Also, matte papers yield weaker blacks, roughly 1.85 dmax.
Get my free download on Epson’s Advanced Black & White mode here.
Find out more about black and white in my DVD Black & White Mastery.
Find out more about black and white in my Workshop Black & White Mastery.
Special discounts are available until January.

Many Ways to Convert Color to Black & White


There are over 14 ways to convert color to black and white.
1    Raw Conversion
2    Convert to Grayscale
3    Convert to Lab then convert to Grayscale keeping the L channel
4    Desaturate
5    Channel Mixer
6    Black & White Adjustment Layer
7    Dual Adjustment Layers - Dual Hue / Saturation
8    Dual Adjustment Layers - Hue / Saturation with Selective Color
9    Dual Adjustment Layers - Hue / Saturation with Channel Mixer
10    Triple Adjustment Layers - 3 Channel Mixers
11    Gradient Map
12    Calculations
13    Apply Image
14    Channels as Layers
Some of these methods aren't optimal. Some are equal. Some are superior.
Which should you use?
It depends on the image.
Sometimes a simple solution will do just as well as a complex one.
Sometimes you need the power of a more complex solution.
Here are my four favorites, ascending from simple to complex.


Insights Members can login to read the full article.
Email:
or Sign up

What Do We Mean By Black and White Images?


There are many types of black and white images. Here are six.
1    Neutral
2    Monochrome (uniformly warm or cool toned)
3    Duochrome (split-toned – i.e. warm highlights cool shadows)
4    Polychrome (tinted – i.e. handcolored)
5    Full Color – neutral subject
6    Full Color – black, gray, and/or white subject
They’re all black and white images, but they’re very different types of black and white images and the differences are important.
This is just a taste of the unique perspective (born of traditional training in both painting and photography) that you’ll find in my work, on my website, on my DVD, and in my workshops.
Get my free download here.
Find out more about black and white in my DVD Black & White Mastery.
Find out more about black and white in my Workshop Black & White Mastery.
Special discounts are available until January.