Extending Dynamic Range With Two Exposures

merged_425

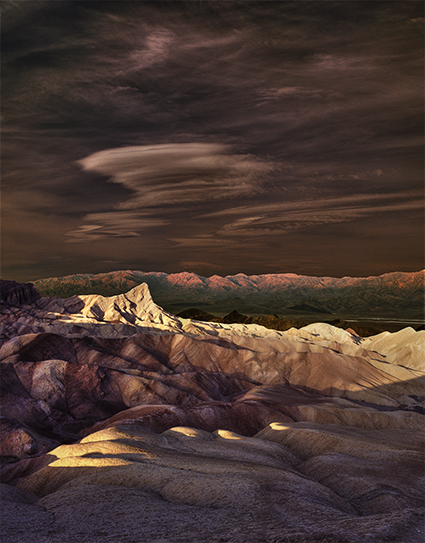
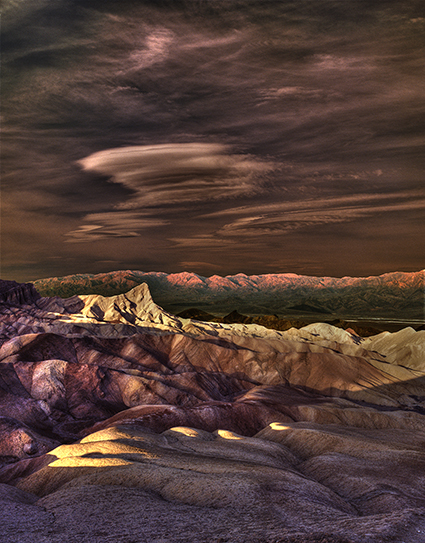
Two exposures blended

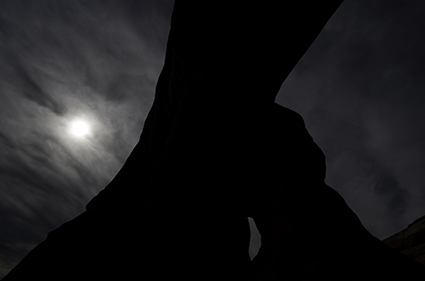
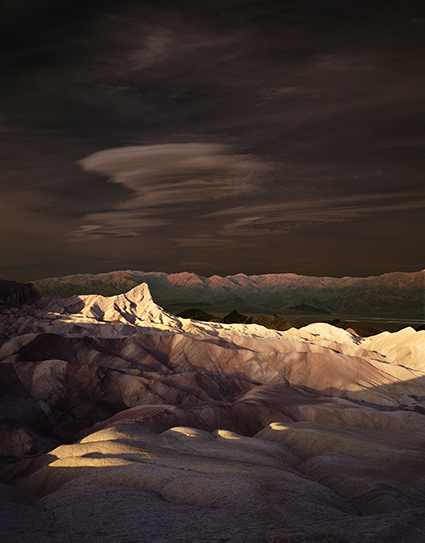
dark_425

Dark exposure

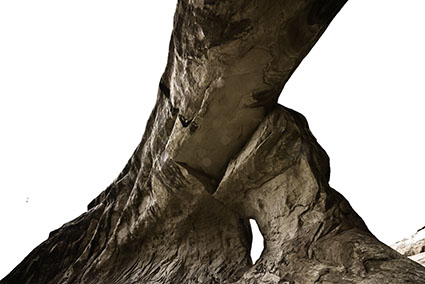
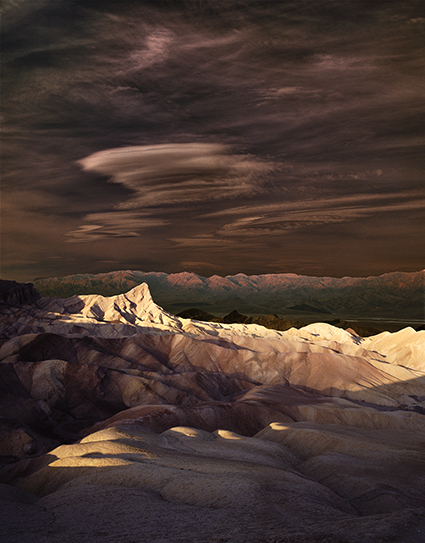
light_425

Light exposure

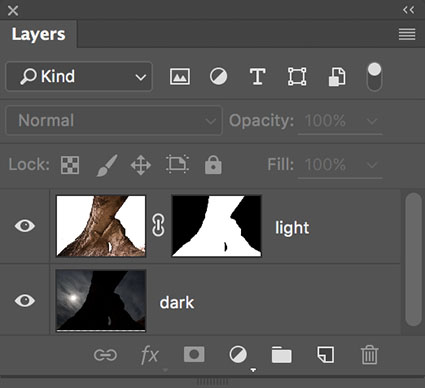
2HDR_layerstack

The layer stack

Sometimes Two Exposures Are Optimum

There are a variety of ways to extend the dynamic range of a camera. The four classic ways are selective adjustment, double processing a single file, layering two exposures, and merging multiple exposures with HDR software routines.

Layering two exposures produces the best results when a scene has areas of dramatically different brightness separated by clear contours, like but not limited to horizons. For these types of scenes, layering two exposures avoids artifacts that are common in HDR merges, such as saturation distortions, midtone compression, localized vignetting, and detail / noise exaggeration artifacts.

Make Two Exposures Each Optimized For Select Areas

To exceed the dynamic range of a camera’s sensor (or film) you need to make at least two exposures. During exposure(s), rather than rather than striking a compromise between very different brightness values, instead optimize one exposure for each area of brightness, the highlights and the shadows. For each area, expose to the right. Monitor clipping differently. The exposure for the highlights will be clipped in the shadows. The exposure for the shadows will be clipped in the highlights. (If this is not the case, then you may be able to use a simpler technique such as selective adjustement or double processing.)

For this technique you only need two exposures, a very dark and a very light one, but to be on the safe side, make additional exposures in between them. It doesn’t matter which end of the tonal scale (dark or light) you start with. Simply work your way up or down from one to the other. Remember, using a tripod, locking down zoom lenses, and turning off auto focus will all help you register the two exposures more easily.


Insights Members can login to read the full article.
Email:
or Sign up

How Many Exposures Do You Need For HDR ?

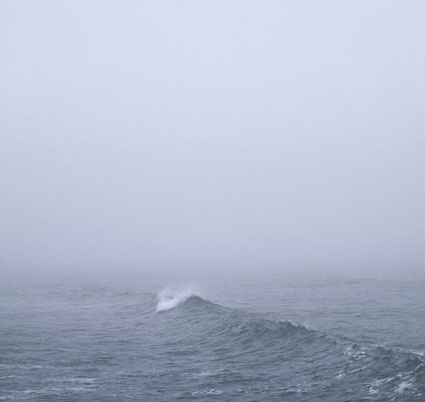
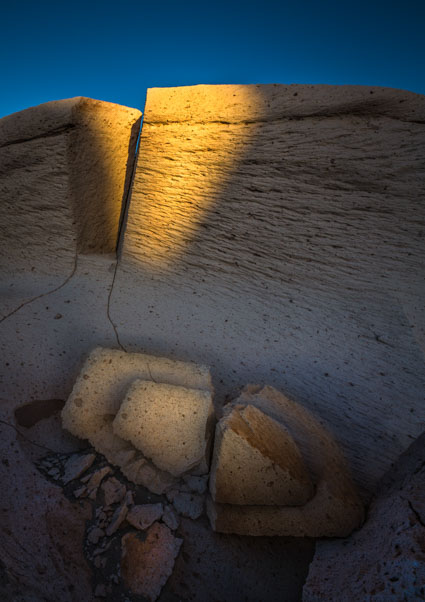
Condensation X - Prelude

1 exposure - scenes like this won't benefit from HDR

Incubation II

3 exposures - scenes like this may be made with 1 exposure but benefit from more

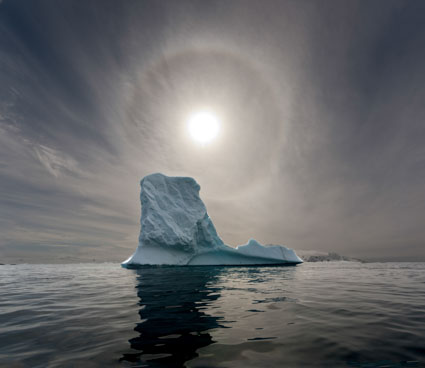
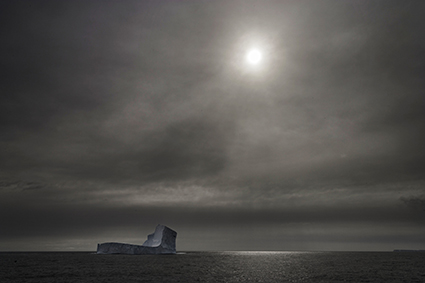
Antarctica CXXX

5 exposures - scenes like this require HDR

How many exposures do you need for HDR images?

It depends.

It depends on the contrast ratio of the scene you’re photographing.

Ideally, you’d make one exposure per stop of dynamic range in the scene. In your first exposure place the shadows in the top stop of the histogram (to the right), without clipping. Then in subsequent exposures reduce exposure in one stop increments, making a new exposure each time, until the highlights are placed in the top stop without any clipping. Then stop. Making more exposures is unnecessary and won’t improve image quality.


Insights Members can login to read the full article.
Email:
or Sign up

The Aesthetics Of HDR – Choose Your Preferred Look

Oriens_LDR

image without HDR software processing

Oriens_halfHDR

image with HDR processing in sky only

Oriens_HalfHDRGlobal

image blending 50% normal and 50% HDR processing

oriens_simulatedhdr_pmatix

image with heavy HDR processing using Photomatix

HDR imagery is expanding today’s photographic aesthetics. Identifying the characteristics of contemporary HDR images will help classicists and pioneers alike. The basic ingredients are desirable for both sensibilities, but in varying combinations and to different degrees.
Pronounced Shadow and Highlight Detail
Preserving significant amounts of shadow and highlight detail even in images containing extreme contrast ranges is something long sought after and continually improving in photography. Prior limitations in the medium have established a conventional appearance for photographs than now needs to be reconsidered, first in light of the way the eye sees at a glance, second in light of the way the eye sees adaptively over time, and third in light of the way we might like to represent a scene expressively. Excessive recovery can alter large-scale contrast ratios unnaturally and in extreme cases may yield localized solarization.
Accentuated Edge Contrast
In an effort to preserve midtone separation after extreme dynamic range compression edge contrast is accentuated. This produces dark lines and bright halos, typically feathered rather than hard edged. As they intensify they begin to drive images away from a classic smooth continuous tone appearance.


Insights Members can login to read the full article.
Email:
or Sign up

Get More Detail With Double Raw Conversion

20051203ANDP0232_final

final image double processed

light

image processed light

dark

image processed dark

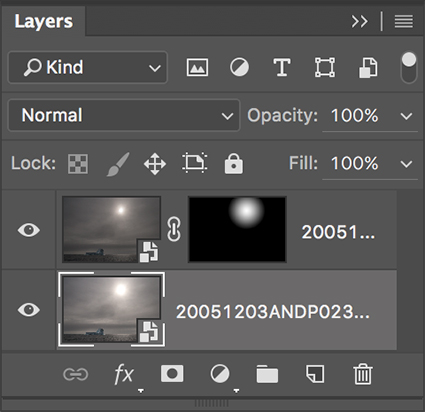
LayerStack_425

the Photoshop layer stack used to blend dark and light together

HDR Without Bracketing
If you need to make an image of a relatively high contrast scene that challenges but does not exceed the dynamic range of your camera (or film), consider double processing. Make two derivative files from one original, one dark and one light. Layer the two together. And blend the best information from each. This practice can substantially improve the quality of the information in your file. Even small changes can make a big difference. Remember, this technique is for challenging files, not for every file. If you can achieve ideal results with Raw processing alone or one layer only - do. Keep it simple, when you can.


Insights Members can login to read the full article.
Email:
or Sign up

Creative Detail Enhancement with HDR Software

 
HDR software is most typically used to render shadow and highlight detail, but it can also be used to enhance tonal separation and detail in any range of tones, even in images with extremely low contrast. The very same tools that are used to compensate for HDR side effects can be used to sharpen any image.
When multiple bracketed exposures are merged into a single processed file, shadows and highlights that exceed the dynamic range of a camera’s sensor are compressed into the dynamic range of a digital file, taking the midtones with them. Depending on the HDR software used, a variety of tools are available to restore contrast and separation in midtones. If used aggressively, these tools produce the tell tale signs of contemporary or grunge HDR artifacts – halos and texture accentuation. These are the very same artifacts that digital sharpening routines use more conservatively to make images appear sharper - only they look different.


Insights Members can login to read the full article.
Email:
or Sign up

Evaluating Histograms


Review Histograms After Exposure

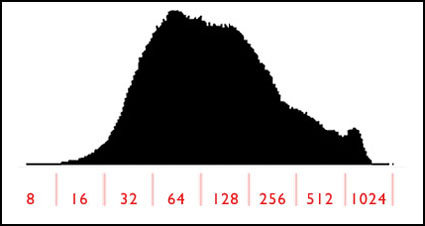
One big advantage of shooting digitally is the ability to view a histogram in the LCD screen on the back of your camera body. A histogram is a graph of the relative distribution of the data in your image from shadows on the left to highlights on the right. You can use a histogram to evaluate not only the tonal distribution but also the quality of your exposures. By viewing the histogram immediately after exposure, you can determine if you need to make additional exposures at alternate settings to get better exposures. Simply program your camera to display a histogram immediately after exposure. You'll find this immediate feedback will result in much higher success rates.


Insights Members can login to read the full article.
Email:
or Sign up

Evaluating Histograms


Learn which color tools are essential, exotic, or redundant.
Then master the first two.
Here’s a short excerpt from my DVD.

Learn more in my DVD Photoshop Color Tools.
Learn more in my digital photography and digital printing workshops.