The Cheat Code To Always Get Perfect Skin Tones With Photoshop

“Discover the incredible power of color palettes to always get the perfect skin tones in Photoshop! In this tutorial, learn how to get smooth and rich skin tones using sampling and Curves. We’ll also learn how to even out skin tones and prepare our image for retouching.”

00:00 What We’ll Learn
00:17 Example 1 – The Process
07:05 Example 2 – Easy Images
09:32 Example 3 – When it Doesn’t Work
10:23 Even Out Skin Tones
13:14 Finishing Touches
15:04 Quick Recap

Find more of Unmesh Dinda’s content here.
Learn more in my digital photography and digital printing workshops.

Turn Any Color To Any Color In Photoshop

“Discover the Best Techniques to Change Any Color to Any Color in Photoshop! Whether you want to change blue to red, black to white, or white to anything you can think of, we will cover it all in this tutorial. Using the power and the right amount of Curves, Hue/Saturation, and Masking, learn easy ways to change color in every situation.”

00:00 The Problem with One Technique
00:34 Color to Color
03:41 Similar Color to Color
05:07 Color to Black or White
07:48 Major Announcement
08:23 White to Color
10:41 White to Black
12:35 White to Dark Color
13:01 Black to White
14:08 Black to Color

Find more of Unmesh Dinda’s content here.
Learn more in my digital photography and digital printing workshops.

The Top 6 Softwares To Fix Blurry Photos Compared

What’s the best tool to fix blurry photos? In this video, we compare the top 6 software and platforms to sharpen extremely blurry portraits and photos. From old noisy images to recovering out-of-focus areas, we will test it all. We‘ll also discuss which one is the best and learn a Photoshop trick to colorize black-and-white images. I hope this video helps. Thanks so much for watching 🙂

00:00 Intro
00:39 Topaz Photo AI
02:43 Remini
04:35 Fotor
05:44 Luminar Neo
07:19 On1 NoNoise AI
08:00 Canva
09:09 The Main Comparison
09:53 Image 1 – Noisy Old Photo
11:42 Image 2 – Slight Portrait Blur
14:43 Image 3 – Missed Focus Portrait
16:03 Colorizing the Photo
16:19 Which is the Best?

1. Topaz Photo AI: https://pix.live/photoai (Free trial available)
2. Remini: https://pix.live/remini (Free version leaves watermark and is limited)
3. Fotor: https://pix.live/fotor (Free version leaves watermark)
4. Luminar Neo: https://pix.live/luminartrial (Free trial available)
5. On1 NoNoise AI: https://pix.live/on1nonoise (Free trial available)
6. Canva: https://pix.live/canva (Can use for free)

Find more of Unmesh Dinda’s content here.
Learn more in my digital photography and digital printing workshops.
How To Use Photoshop’s Select and Mask To Cut Out Smooth Edges

“How to use Select and Mask in Photoshop to cut out smooth edges. Colin Smith explains how Photoshop Select and Mask works part 2 of 2.” View part 1 of 2 here.

00:00 Intro
00:12 Making the selection around the car
01:02 Manually fixing details (The tools)
02:10 Additional Tools – Object selection and Lasso
03:02 Global Refinement Tools
03:33 Smooth Tool
03:45 Feather and Contrast. How they work in Photoshop
04:50 Shift Edge
06:17 Making further refinements with Masks

Find out more from Colin Smith at Photoshop Cafe.
Learn more in my digital photography and digital printing workshops.

How To Select And Mask Hair And Fur With Photoshop 2024

“How to cut out hair and fur in Photoshop, with perfect edges. Colin Smith completely explains Select and Mask in this Photoshop Masterclass. Part 1 of 2.”

00:00 INTRO
00:34 Cutout, bringing into Select and Mask
01:34 Viewing Modes
02:58 Awareness Modes
03:33 How Select and Mask Works
05:29 Best Way to refine hair selections
07:31 Fixing Jaggies and Smudgies
09:22 Saving selections
10:14 Fixing Smooth Edges
11:13 Combining different refinements
13:17 Fixing Fur

Find out more from Colin Smith at Photoshop Cafe.
Learn more in my digital photography and digital printing workshops.

Adjust Depth Of Field With Lens Blur In Adobe Camera Raw & Lightroom (Early Access)

“With the help of artificial intelligence, Adobe Camera Raw & Lightroom Classic can automatically generate a synthetic depth map based on the content of an image, enabling photographers to change the focus plane and quickly create a “narrow” or “shallow” depth of field in an image. The video below demonstrates how to use Lens Blur, apply a Bokeh effect, visualize and customize the Depth Map, and use the Refinement brush.”

Find more from Julianne Kost here.

Learn more in my digital photography and digital printing workshops.

How To Use Photoshop’s New Gradients – Plus Make A Rainbow On Your Way

“Colin Smith shows you tips in the new Photoshop gradients to give you precise control and have fun making a rainbow.” Learn more about all of the gradient controls along the way.

Find out more from Colin Smith at Photoshop Cafe.
Learn more in my digital photography and digital printing workshops.

Recover Impossible Blown Out Highlights in Photoshop!

“Recover highlights easily, even if the details are completely lost, with the latest features in Photoshop! n this video, we will learn how to target and precisely select clipped highlights, use Generative Fill to create details, and explore classic Photoshop techniques like Blend Modes and Masking to blend the details perfectly!”

Follow up with …

“Overexposed? Entirely Blown Out Highlights in a White Dress? Easily “Recover” Details With a Simple Photoshop Trick! Using 2 Ingredients: A Reference & a Blend Mode, learn how to easily create the details for the blown-out areas. In this tutorial, we will learn how to use a reference texture image along with Multiply to cover up the areas with no details, and save the day!”

You can use these techniques for shadows too.

Find more of Unmesh Dinda’s content here.
Learn more in my digital photography and digital printing workshops.
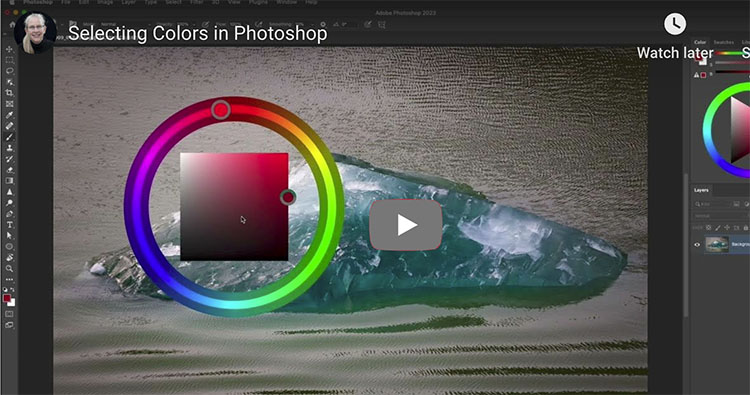
How To Color Grade For Emotion In Your Photographs – Plus Use Presets To Explore Options Quickly


“Give your photo a storytelling edge, instill mood and emotions, and transform a nice photo into a cinematic one.”

“Discover how to save time editing photos with one-click transformations in this tutorial with Adobe’s Principal Evangelist Julieanne Kost (@jkost) who shares her top tips for creating, using and downloading presets in Adobe Lightroom.”

For more check out Julieanne’s blog.
Read more in my Color Adjustment resources.
Learn more in my digital photography and digital printing workshops.
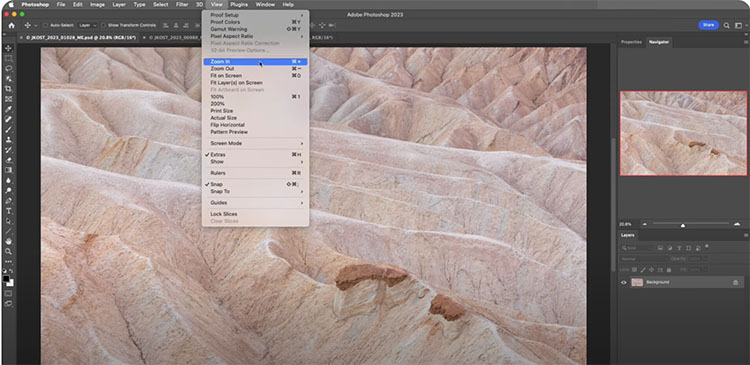
Everything You Need to Know About Point Color in Adobe Camera Raw

“The new Point Color feature in Lightroom and Adobe Camera Raw enables more powerful and precision color editing than even before. In this video you’ll learn how to use Point Color to make adjustments based an all three dimensions (Hue, Saturation, and Luminosity). While Point Color is designed to be easy to use (you can simply sample a color and start making adjustments), this in-depth video also points out key differences between Point Color and Color Mixer and demonstrates how to use the range sliders to achieve the exact color adjustments that you’re after. Point Color is available both when making edits to the entire image and when adjusting only a portion of an image using masking.”

For more check out Julieanne’s blog.
Read more in my Color Adjustment resources.
Learn more in my digital photography and digital printing workshops.