Free Desktop Calendar – January 2012
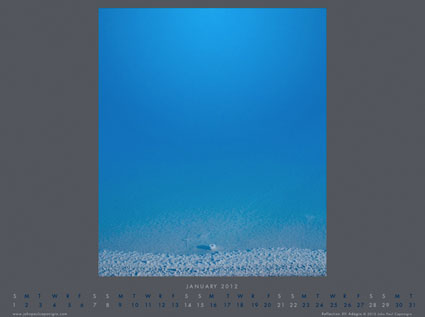
My free desktop calendar for January 2012 is now available.
Download it here.
Enjoy!
Bambi Cantrell, Douglas Dubler, Greg Gorman, Jay Maisel, Steve McCurry, Jeff Schewe – On Printing
Bambi Cantrell, Douglas Dubler, Greg Gorman, Jay Maisel, Steve McCurry, and Jeff Schewe share their thoughts and feelings on their work and how they relate to it when it’s printed.
View my Epson video interview here.
Find out more about Epson Focal Points here.
John Paul Caponigro On Printing – Epson
In this video, I share my thoughts and feelings on photography and printing.
Find out more about printing here.
Read other interviews here.
Read my artists statements here.
John Paul Caponigro On Color – X-Rite
In this video, I share my thoughts and feelings on photography and color.
Find out more about color management here.
Read other interviews here.
Read my artists statements here.
John Paul Caponigro Interview – The Coast Of Maine
Years ago, I had a wide ranging conversation with Rob Draper on the thinking and process behind my art.
Antarctica Alumni Success Stories
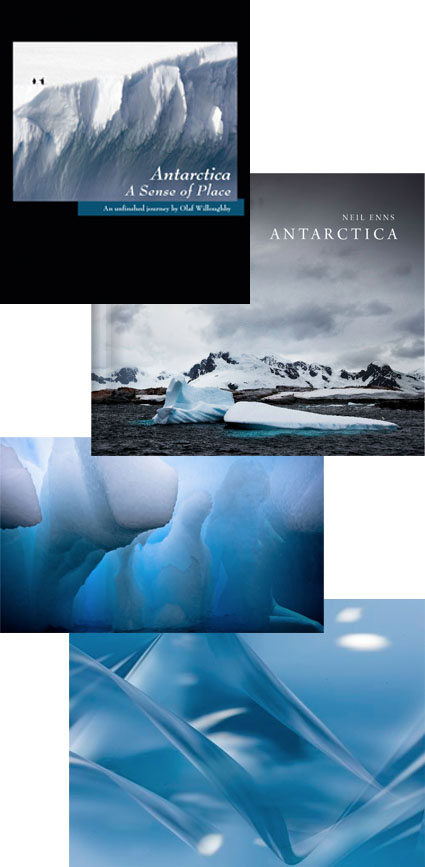
Our Antarctic alumni have produced some pretty impressive images and done some very fine things with them!
Find out about their images, projects, and stories in this series of posts.
New Antarctica 2011 Images
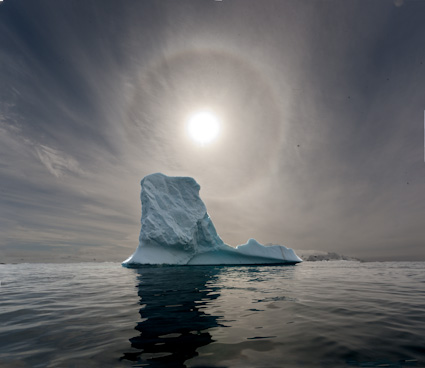
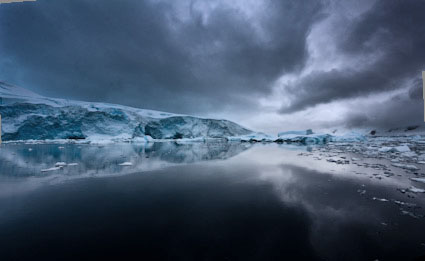
Images are updated for my posts on my recent 2011 Antarctica Voyage.
You can see all new images and read the stories behind them.
Visit my Antarctica blog today.
Find out about my 2013 Antarctica digital photography workshop here.
Profile Your Printer
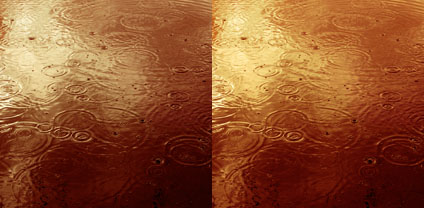
Prints made with default (left) and custom (right) profiles compared.
Good printer profiles help make good prints. Better printer profiles help make better prints. So, logically, you’ll want to use the best printer profiles to help you make the best prints.
How do high-quality printer profiles contribute to print quality? A good printer profile helps render optimum shadow and highlight detail, gradation, neutrality and graybalance, as well as color rendition and saturation. (Remember, printer profiles characterize the combination of a printer’s hardware, ink, media setting, and the substrate you choose. You’ll need different profiles for different substrates on the same printer.)
How can you get good printer profiles? Look to three primary sources. One, use profiles provided by printer manufacturers; they’re free. Two, hire a printer profiling service; profiles cost approximately $100 each. Three, make printer profiles yourself; printer profiling systems run between $400 and $1000. (Profiles supplied by substrate manufacturers are of uneven quality; a few are good, many are bad.)
Which solution is right for you? It depends on both your printing conditions and needs.
If you’re using substrates supported by the manufacturer of your printer, try using the profiles they provide first; they’re often quite good. Years ago, Epson raised the bar on the quality of printer profiles provided by manufacturers. The highly sophisticated routines they use to produce their printer profiles processed by supercomputers are truly state-of-the-art. It’s arguable that you can produce better profiles, even with the most sophisticated profiling solutions available. Their profiling routines factor in subtleties like dot structure or screening frequency. One of the reasons a solution like this works is because the technologies and manufacturing standards they use are so consistent that the unit-to-unit variation between individual printers of the same model is extremely low. (It’s less than a Delta E of 1 or the minimum variation the human eye can detect.) Some, printer manufacturers, like Canon, provide a large number of profiles for substrates made by other companies; their quality is generally quite high with only a few exceptions. Other printer manufacturers, like HP, produce self-profiling printers. They need to be self-profiling, as the state of the printer is constantly changing; when nozzles clog, new nozzles come on line; when ink cartridges are swapped nozzles are replaced. One advantage to a system like this is you can quickly profile a new substrate on a printer with no additional equipment. The quality of the profiles is often good, but there will be times where you’ll want to improve upon it.
No manufacturer provides a comprehensive set of profiles that will cover the entire spectrum of fast-evolving substrate industry. A little experimentation with new media is advised, sometimes a lot. If you experiment with many medias or use more exotic substrates, you’d be well advised to have someone make custom profiles for you or do it yourself.
Read More
Metadata Panel – Julianne Kost
In this quick tip Julieanne shows how to add presets/templates using the Metadata panel.
View more Photoshop Videos here.
Learn more in my digital photography and digital printing workshops.


