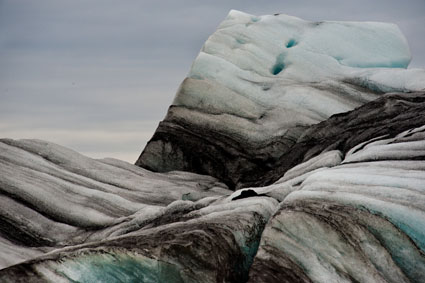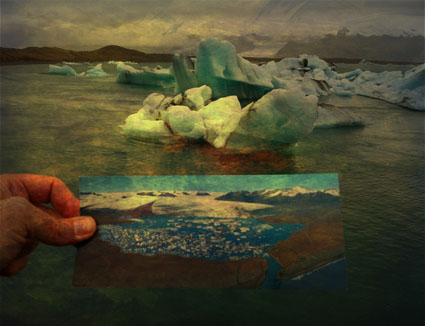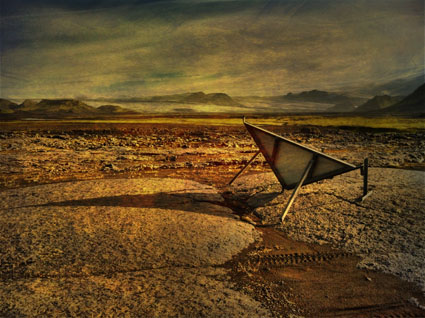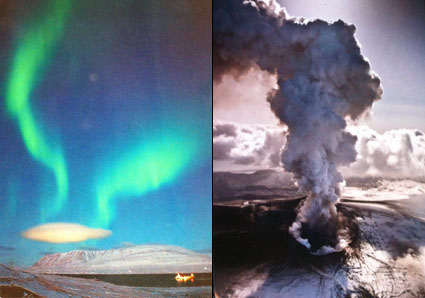
New Book – Landscapes Within
.
Watch the first video to learn how to update and install these updates.
Russell Brown presents a super advanced script will convert a standard layer in Photoshop CS5, into a Smart Object that can be edited with the Adobe Camera Raw tools. This is definitely for advanced users only.
Read more in my online learning center here.
Learn more in my digital printing and digital photography workshops here.
Bruce Davidson shares photographic insights.
Find out more about Bruce Davidson here.
Find more photographers’ videos here.
How to Sequence and Design Your Next Book Like a Pro from Blurb Books on Vimeo.
“Mat Thorne, pro photographer and design whiz, shares his secrets for great book design. Mat was the Art Director at the prestigious Maine Media Workshops and has designed books for some notable figures in contemporary photography. In this webinar, he walks you through book design and layout essentials and touches upon tips and tricks to help you with every aspect of bookmaking, from workflow to typography to final layout.”
Find more bookmaking resources here.
Learn more in my digital printing and digital photography workshops here.
Adopt a non-destructive workflow. When you can’t, take notes.
Non-destructive Photoshop workflows do more than let you change edits to a file in perpetuity, they also create a record of what you’ve done to an image. For instance, when you reopen a Smart Object, you can simply check the interface to see any and all of the Adobe Camera Raw settings currently being applied. So, if you’re not sure whether the latest detail rendering and noise reduction algorithms are being used for a given file, all you have to do is open the Smart Object to verify this. Or, when you click on an adjustment layer you can see those settings in the Adjustments panel. So, if you’re not sure whether an adjustment layer caused clipping, you can toggle it on and off to verify this; if it is you reset the values; if it’s not you find the real source for the clipping.
Despite Photoshop’s increasingly flexible interface, there are still many times when you need to work destructively. Not all edits can be applied as Smart Objects, Smart Filters, or adjustment layers. Many filters still can’t be applied as Smart Filters. HDR merge settings can’t be applied non-destructively. Adjustments from third-party plug-ins, such as noise reduction with Noiseware or Tonal Contrast from NIK’s Viveza can’t be applied non-destructively. But you can create records of the settings you use with destructive edits, making it easier to see what you did later and helping make future refinements faster and more precisely.
How? Take notes in Photoshop. There are many ways to take notes in Photoshop. There’s the Note tool. You can use a Text layer. You can record information in the title of a layer. For complex settings, all of these can be more abstract and time-consuming than necessary, reducing the likelihood that you’ll actually make them.
There is an easy way to make notes of complex interfaces. Use screenshots. A screenshot takes a picture of your screen, either entirely or partially. Store images of the destructive edit settings inside the file you used them on and you’ll have excellent notes for future reference. Doing this only takes a few seconds. Read More
The world’s largest funding platform for creative projects. Every month, tens of thousands of amazing people pledge millions of dollars to projects from the worlds of music, film, art, technology, design, food, publishing and other creative fields.
A new form of commerce and patronage. This is not about investment or lending. Project creators keep 100% ownership and control over their work. Instead, they offer products and experiences that are unique to each project.
All or nothing funding. On Kickstarter, a project must reach its funding goal before time runs out or no money changes hands. Why? It protects everyone involved. Creators aren’t expected to develop their project without necessary funds, and it allows anyone to test concepts without risk.
Every project is the independent creation of someone like you. Projects are big and small, serious and whimsical, traditional and experimental. They’re inspiring, entertaining and unbelievably diverse.
Visit Kickstarter.com here.
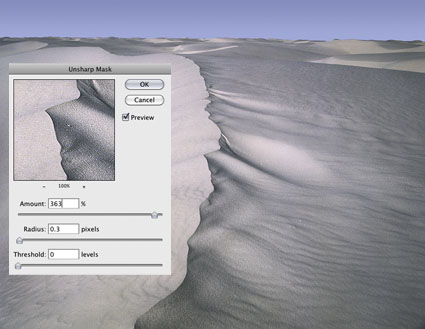
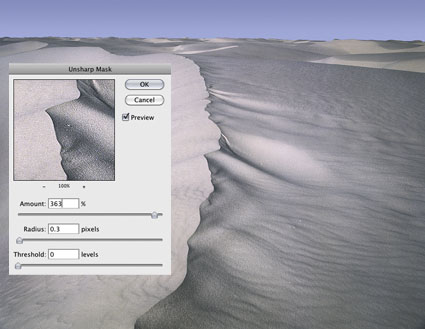
The vast majority of photographic images benefit from sharpening. Before you decide how and when to sharpen images, you need to decide why you’re sharpening them. The goal is to enhance detail rendition without producing distracting visual artifacts. You’ll find many conflicting philosophies and their accompanying strategies for sharpening images. The seemingly conflicting advice can be hard to reconcile.
Should you sharpen once or multiple times? Should you sharpen differently for different subjects? Should you sharpen differently for different sizes? Should you sharpen differently for different presentation materials or supplies? Should you view your files at 100% or 50% screen magnification?
Looking for insight and inspiration?
Check out Photoshop.com Spotlights.
You’ll find more than a variety artist’s profiles.
View more with my collected photographer’s videos.
Read more with my conversations with photographers.
In a moving and madly viral video last year, composer Eric Whitacre led a virtual choir of singers from around the world. He talks through the creative challenges of making music powered by YouTube, and unveils the first 2 minutes of his new work, “Sleep,” with a video choir of 2,052.
View and read about Eric Whitacre on CNN.