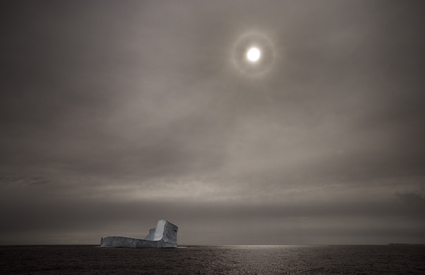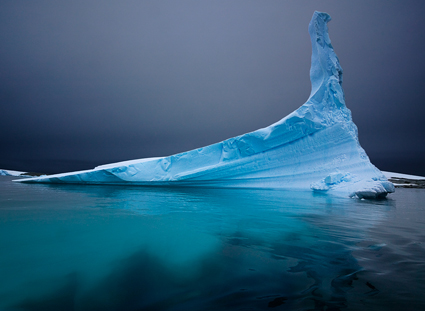
Sarah Moon
Sara Moon provides insights into her creative life.
Find more videos on photographers here.
Read over 40 conversations with photographers here.
Sara Moon provides insights into her creative life.
Find more videos on photographers here.
Read over 40 conversations with photographers here.
Steve McCurry provides insights into his creative process.
Learn more about Steve McCurry here.
Find more videos on photographers here.
Read over 40 conversations with photographers here.
Get 15% off of Pixel Genius products with this code – JPC15CPN.
The people at Pixel Genius (Martin Evening, the late Bruce Fraser, Mac Holbert, Andrew Rodney, Seth Resnick and Jeff Schewe) produce terrific production tools for use within Photoshop – PhotoKit, Photo Kit Color, and Photo Kit Sharpener.
PhotoKit automates a variety of tasks including color correction, color to black and white conversion, toning, and basic sharpening. PhotoKit Sharpener automates some of the most sophisticated sharpening routines ever devised. They’re so sophisticated they were licensed and modified for Adobe’s Lightroom.
Read More
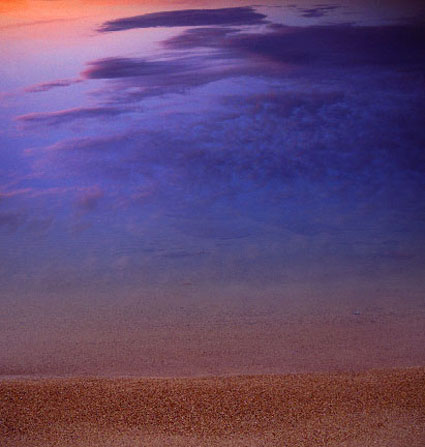
I recently produced these two images Inhalation VA & B while completing the long-standing series.
I only use the same source materials in composites when I want there to be a strong connection between the separate images. I like to produce serial images, where a change in state is displayed between the separate frames. I like the sense of disappearance between these two frames. And I like that even though an empty space is left by the absence of the ice, the space left behind is still very full.
More than one picture is required to produce a body of work. The separate images within it reinforce each other. I sometimes find the same is true of individual images within a series.
When does a situation benefit from multiple images and serial images? It’s a guiding question I hold with me wherever I go.
The source images for this image were exposed at Jokulsarlon during my annual Iceland workshop.
Find out about my Iceland digital photography workshops here.
Find more images here.
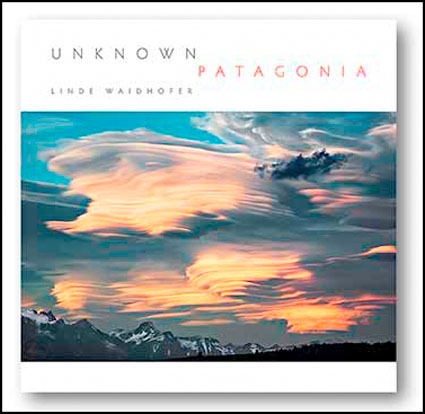
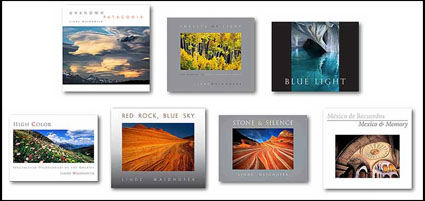
Find my books here.
Preview
Visitor Guide
Behind the Scenes
The Art Project is a collaboration between Google and some of the world’s most acclaimed art museums. Powered by a broad, connected suite of Google technologies, the world’s great works of art and museums are now within reach to an unprecedented global audience. It’s a unique collaboration with some of the world’s most acclaimed art museums to enable people to discover and view more than a thousand artworks online in extraordinary detail.
Explore Museums With Street View Technology
Virtually move around the museum’s galleries, selecting works of art that interest you, navigate though interactive floor plans and learn more about the museum and you explore.
Artwork View
Discover featured artworks at high resolution and use the custom viewer to zoom into paintings. Expanding the info panel allows you to read more about an artwork, find more works by that artist and watch related YouTube videos.
Create Your Own Collection
The ‘Create an Artwork Collection’ feature allows you to save specific views of any of the 1000+ artworks and build your own personalised collection. Comments can be added to each painting and the whole collection can then be shared with friends and family.
Find out more about Art Project here.
Visit The Art Project’s YouTube Channel here.
Quickly cure curl in prints made from roll papers with D-Roller.
This device is extraordinarily simple and effective.
You might wonder why a simple plastic tube with an attached sheet of plastic costs as much as it does – 24” $259.99, 36” $279.95, and 50” $299.99. When you see how effective, easy, and fast it is to use you’ll realize it’s money well spent.
Here’s how easy it is.
1 Place a print on the white carrier film near the tube.
2 Roll the tube away from you, wrapping the print between the tube and the film.
3 Hold for a few seconds.
4 Unroll the tube
5 Turn the print 180 degrees and repeat.
6 Remove the flattened print.
Here are a couple of tips for using it.
The longer you hold the paper rolled up the more curl you take out; you can actually reverse the curl if you hold the paper too long.
Paper coming off the outside of the roll requires less derolling than paper coming of closer to the core.
Low humidity requires more derolling.
Non-rag papers require more derolling.
Though the very smooth plastic won’t damage print surfaces, you can include a cover sheet in the derolling process for exceptionally delicate materials.
Special rollers can be custom ordered for very long prints.
Is it really that simple? Yes!
Does it really work? Yes!
Visit inkjetart.com for more information.
Read more about the tools I use here.
Learn more in my digital photography and digital printing workshops here.
My TEDx Dirigo talk from 10/10/10 is live.
In You’re More Creative Than You Think You Are I show how you can create a synergy between skills you already have (writing, drawing, photography) to turbo charge your creativity.
Watch the other TEDx Dirigo speakers here.
Learn more about TEDx Dirigo here.
Find more of my favorite TED videos here.
Interested in printing on exotic substrates? Consider InkAID (inkaid.com). InkAID is a liquid coating that prepares surfaces for inkjet printing. Coating an exotic substrate’s surface will do several things. It will reduce dot gain, allowing the print to hold more detail. It will increase gamut, providing greater saturation. It will increase dmax, yielding a better black.
Artists are experimenting with many types of exotic substrates from aluminum, to acrylic sheets, to wood, to uncoated fine art and handmade papers. Basically, if you can get it through the printer and you can get the ink to stick you can print on it. InkAID helps the ink stick.
InkAid is easy to use. Stir it. Brush it on. Let it dry. Print.
There are currently five InkAid products. White Matte Precoat creates a white matte coat on any surface. Clear Semi-Gloss Precoat creates a transparent semi-gloss finish on any surface. InkAID Adhesive and Clear Gloss Precoat create a transparent glossy surface with two coats. Clear Gloss Precoat II creates a transparent glossy surface with one coat. When using clear coats, you can choose to let the coloration of the base surface show through (the material itself or a surface with an image) or you can coat it first with White Matte Precoat.
ping and handling.
Surfaces are water resistant and can be reworked with subsequent printings, over painting, or distressing.
You may be able to use ICC profiles for similar inkjet surfaces (if you get lucky), but it’s more likely that you will have to create new ICC profiles specifically for this surface to achieve the optimum results, especially if the final state of the coated substrate is not white.
InkAID is acid free and contains no optical brighteners. Nonstandard tests (hang samples in a window in direct sunlight next to other prints and compare) indicate longevity is roughly on par with similar inkjet prints. Longevity ratings obtained from standardized tests are not available as the variety of substrates being used today is so vast.
A liter costs $25. A gallon costs $65. A sample set (5 ounces of five products) is available for $21 plus ship
InkAID.com has a useful FAQ section answering many common questions about it’s use. The book Digital Art Studio: Techniques for Combining Inkjet Printing with Traditional Art Materials by Bonnie Lhotka, Karen Schminke, and Dorothy Simpson Krause is another source of useful information.
Find InkAid here.
Read more about the tools I use here.
Learn more in my digital photography and digital printing workshops here.
There’s a print spray that anyone making inkjet prints needs to know about – Premier Art’s Print Shield. It’s a UV water resistant lacquer that comes in a variety of finishes – matte, semi-gloss, and glossy. It offers protection from light, water, moisture, airborne contaminants, and fingerprints. It doesn’t produce any visible changes in the print, either in color or density or surface. It dries fast and doesn’t have a strong odor. It reduces burnishing and scuffing somewhat. Most importantly, it greatly increases longevity, in some cases by as much as 200%
Each $15 400ml can covers approximately 75 8×10” prints.
Henry Wilhelm has tested prints sprayed with Print Shield. Visit wilhelm_research.com for his most current data on longevity.
I spray all of my prints with Print Shield now.
Just like spraying a pastel, apply the fixative carefully. If the substrate gets soaked the surface may darken permanently. Instead of spraying the print directly, spray the air above the print and let the mist fall onto the print surface. Let the print dry for a few minutes. Then reapply.
Find PrintShield here.
Read more about the tools I use here.
Learn more in my digital photography and digital printing workshops here.
Every year I take an extended period of time to make new images.
These two images came through last night.
They’re part of my series Exhalation.
They’ll soon to be collected in a new Blurb book, portfolio, and exhibit.
Formally they explore giving symmetry a twist and white.
Thematically they suggest that the whole of nature can be seen as being alive.
The two source images are of Antarctic clouds and icebergs on the horizon.
Read more to see the source files … Read More