E-Voting Without Fraud – David Bismark
David Bismark demos a new system for voting that contains a simple, verifiable way to prevent fraud and miscounting – while keeping each person’s vote secret.
If you’re a United States citizen – Vote Today!
onOne Announces Series of Updates

OnOne software recently announced major updates and additions to their product line.
DSLR Camera Remote HD
OnOne’s popular remote release app now includes the ability to start and stop video on Canon and Nikon DSLR cameras from the iPad. Specifically designed for the iPad, the new DSLR Camera Remote HD will include a redesigned interface takes full advantage of the larger screen on the iPad, improved gesture-based preview functionality and the addition of starting, stopping and monitoring video from supported HD DSLR cameras from Canon and Nikon. This update will also include support for additional cameras.
Perfect Photo Suite 5.5
Perfect Photo Suite 5.5, the update to Plug-In Suite 5, includes the next generation of Genuine Fractals, Perfect Resize 7 along with the completely new product Perfect Layers. In addition, many of the products within Perfect Photo Suite will now be available directly in Lightroom and Aperture, without the need for a separate host application. PhotoTools 2.6 and Mask Pro 4.1 continue to function directly within Photoshop and do not run as stand-alone applications.
Perfect Resize
Perfect Resize 7 is the next generation of Genuine Fractals. Perfect Resize adds new features for achieving sharp detail when enlarging images, new gallery wrap and tiling options, and interface enhancements for photographers who want to make the highest quality prints. Perfect Resize can now be used directly from within Adobe Photoshop Lightroom and Apple Aperture without the need for a separate host application.
Perfect Layers
Perfect Layers, is a new addition to the Perfect Photo Suite 5.5. Perfect Layers gives photographers the ability to easily create and work with layered files in their workflow application of choice and to bring those files directly into Photoshop. Perfect Layers supports the creation of layered files that can be opened and edited by Adobe Photoshop software and can be used directly from within Adobe Photoshop Lightroom software, Adobe Bridge and Apple Aperture.
Find out more about onOne products here.
The Power of Cartoons – Patrick Chappatte
In a series of witty punchlines, Patrick Chappatte makes a poignant case for the power of the humble cartoon. His projects in Lebanon, West Africa and Gaza show how, in the right hands, the pencil can illuminate serious issues and bring the most unlikely people together.
Seattle ASMP Seminar – Fine Art of Digital Printing
Mac Holbert and I concentrate on Fine Art Workflow in our Epson sponsored seminar today in Seattle for ASMP.
Free giveaways include Adobe CS5, NIK HDR Efex Pro, Pixel Genius Photo Kit Sharpener Pro, OnOne Plug In Suite, X-Rite Color Passport, and more.
Find out more about the event here.
View our DVD content here.
Read more in my digital printing lessons.
Learn more in my digital printing workshops.
How Many Photographs Actually Get Printed ?
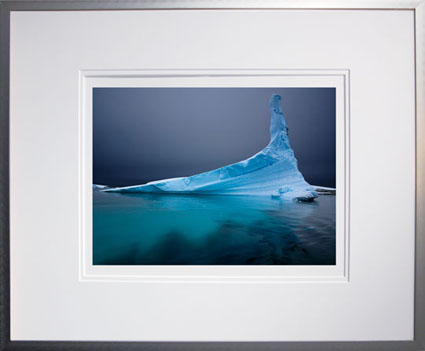
300 million are photos taken each day generating over 100 billion a year. While 20 years ago 10% of photographs made were printed, today less than 1/10 of 1% are ever printed! Historically, what’s printed lasts; what’s not, doesn’t. Has this changed?
Find out about my digital prints here.
Find out more about printing in my free Digital Printing Lessons.
Learn more about printing in my Digital Printing Workshops.
25 Photographs Every American Should Know

Since it’s invention, photography has played an important role in history. It not only records history, it also has its own history. America knows itself in part through photographs. So what are the most important American photographs?
Here are the top 25 according to Mastersdegree.net.
What other photographs would you include?
Continuity
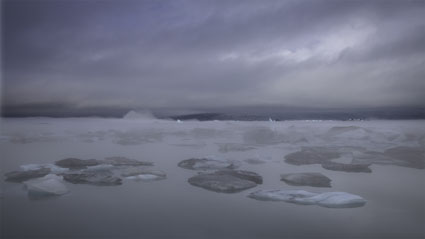
Continuity. Every screenwriter needs to create it. Every storyboard needs to interpret it. Every director needs to guide it. Every editor needs to refine it. If you’re a still photographer, you may be called to do all of these things.
Continuity lies at the heart of the art of storytelling. The types of images selected and the transitions made between images presented in groups can be powerful tools for visual communication. Sequences can provide useful comparisons and contrasts between separate images and their contents. They set a pace and rhythm for looking. Carefully orchestrated they can create the illusion of moving in time forward or backward, linearly or non-linearly. They can be used in extremely creative ways. The best sequences make images clearer, more meaningful, and more moving.
Photographers can use continuity to guide and structure initial explorations on site; use a storyboard as a checklist to make sure no angle goes uncovered. Photographers can use continuity to find missing gaps or resolve challenging transitions in ongoing projects; update a storyboard and find the out what you’ve got too much of and what you don’t have enough of or find a bridges to connect disparate images. Photographers can use continuity to edit, sequence, and present existing work more effectively; fine tune a story in sophisticated and compelling ways; there are many possible solutions.
There are many classic strategies for sequencing images and creating transitions between them.
Persistence
Pans
Zooms
Fades
Numbers
Cuts
Include continuity in your work and you’ll find you’ll be able to solve many more visual challenges in many more ways and make the reception of your work more effective and powerfully felt. Once you understand what the many possibilities are and how they work, you can be extremely creative with them. Some artists have even been celebrated more for their use of continuity than their singular images. Continuity is so powerful that it can be an art in and of itself.
Read more on AfterCapture.
Learn more about storytelling here.
Learn more in my digital photography workshops.
Reduce Noise With Dark Slides
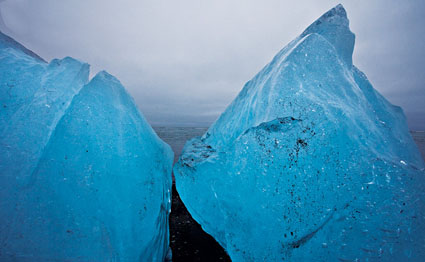
Some noise is random; some noise is fixed. Hot-pixel noise is fixed. What are “hot pixels”? Photosites on digital sensors that generate brighter information faster than their neighbors. Hot pixels get brighter at higher ISOs, with longer exposures, and in warmer temperatures. You can map where hot pixels are and exactly how bright they get under specific conditions with a dark slide. Then you can use a dark slide to drop out fixed “hot-pixel” noise with a simple postprocessing technique in Photoshop.
To make a dark slide, simply make a separate exposure made at the same ISO, exposure time and temperature as the image you intend to use it with. Exposure of what? Darkness. Leave your lens cap on.
To use a dark slide in Photoshop, open the dark slide and the image you’d like to use it with and drag and drop the dark slide into that image file, holding the Shift key to make sure it’s precisely registered (wait to crop or rotate an image until after this is accomplished). Change the blend mode of the dark-slide layer to Difference and watch the hot-pixel noise vanish.
Learn more about making and using dark slides on Digital Photo Pro.
Learn more about noise here.
Learn more in my digital printing workshops.
Reduce Noise With Multiple Shots
Got noise in one exposure? Make a bunch of exposures and watch the noise disappear.
You can reduce noise in an image by combining multiple exposures of the same composition in Photoshop. Photoshop can search for the differences between the separate exposures and then blend them, keeping what stays the same and eliminating what changes. Random noise between separate exposures of the same composition will be substantially, even dramatically, reduced or disappear altogether. (This technique won’t eliminate fixed noise, hot pixels, or column and row noise. There are other techniques for that, like using dark slides.)
You’ll find having this option will greatly reduce any reluctance you have toward using high ISOs. This means two things. You’ll be able to make images in lighting situations you thought you couldn’t, and you’ll be able to make handheld exposures in conditions you ordinarily wouldn’t be able to without severely compromising quality.
So how do you do this? Use the following steps.
1. Shoot multiple exposures.
Try to minimize camera motion as much as possible. It’s not necessary to use a tripod, but it’s helpful2
2. In Photoshop, go to File > Scripts > Load Files into Stack.
3. Click Browse and select the exposures to be used in the Stack and check Attempt to Automatically Align Source Images and Create Smart Object after Loading Layers.
This will create a single Smart Object from the multiple exposures. Double-clicking on this Smart Object will allow you to see the layers separately.
4. Go to Layer > Smart Objects > Image Stack Mode > Median to blend the separate exposures.
You’ll see that the noise is re-duced substantially.
5. Optionally, compare Image Stack Mode > Mean.
This works best for exposures containing no movement.
Read more about this technique at Digital Photo Pro.
Learn more about noise here.
Learn more in my digital printing workshops.

