.

How To Turn On Photoshop’s Amazing Update to Select Subject

.
“Compare the new cloud version of the Select Subject feature in Photoshop and see if it’s worth using over the standard one. We all know how good Select Subject is with making automatic selections with one click. However, will the cloud processing be even more detailed, or is it just a gimmick? Let’s find out in this video.”
.

Two Generations: Paul and John Paul Caponigro – Feb 16 8pm EST Online With SFW

Receive this ebook free.       26 images – 26 quotes

Buy this ebook here.       75 images – 3 essays


Wednesday, February 16 – 2022

Creativity Continues at Santa Fe Workshops with Two Generations In Conversation, an evening with father Paul Caponigro and son John Paul Caponigro. During this captivating hour, the Caponigros, after a brief viewing of images, will share their thoughts about the soul of photography, the joys of printing, and how the two are related. Then we’ll finish our program with a lively question and answer session open to all participants.

The Top 5 Reasons To Blur Your Images

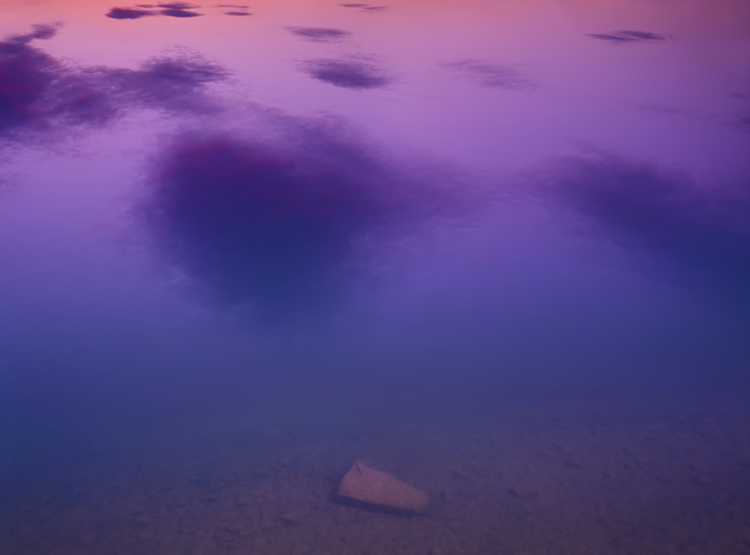
View more of Arduina Caponigro’s images here.

One of the best things about photography is that it records so much detail; one of the worst things about photography is that it records so much detail. The question becomes, “Is all of the detail in the frame significant?” and “Are the qualities of the information presented appropriate for the statement being made?” Photographers are obsessed with making sharp images and for good reason, if the main subject is out-of-focus it usually frustrates viewers – with a few notable exceptions. Sharp focus is often mistaken for good technique, when in fact it’s just a technique, sometimes better and sometimes worse. There is such a thing as too much of a good thing. Too much sharp information may become overstimulating. Overly sharp images grate on nerves, especially if digital sharpening artifacts draw attention to themselves and away from more important aspects of an image. So, it’s equally important to understand when to use blur, how much, what kind but most importantly why.

Here are five key reasons to use blur in images.

Focus Attention

You can make focussed areas seem even more focussed and important bey reducing the focus of other areas, a little or a lot. This is a classic move used frequently by portrait and street photographers when trying to emphasize people and reduce or even eliminate distracting background elements.

Accentuate Space

It’s not only focus but also its relationship to blur that gives us clues to depth-of-field or how deep a space we’re looking at. Increase the difference between the two and space within the frame is enhanced.

Enhance Mood

Texture has inherent aesthetic qualities like sharpness and softness that can greatly enhance an image’s mood. Just ask, how do you want an image to feel physically and emotionally?

Show motion

While photographs are by their nature still, life is constantly in motion, and you may want to record that. While the artifacts cameras produce aren’t the same as our bodies visual experience of motion they provide a range of visual codes that can suggest motion and can even be fascinating visual experiences in and of themselves, at times providing us new windows into the world, whether it’s the subject or the camera that moves.

Create Abstractions

By deemphasizing details you can direct more attention to the foundations of images. Go further and you can produce simplifications that are virtually unrecognizable and become new aesthetic experiences.

Detail is an essential element in every image but there’s a wide range of ways to treat it and reasons to do so. If you’re not sure what you prefer, explore many ways before committing to a solution that feels right to you. As you find that you’re called towards certain treatments ask why and how that’s serving the statements you’re making with your images. You may become more conscious of what you’ve found your way to unconsciously and in so doing discover more about how your style reveals your vision and aspects of yourself. 

Don’t forget to explore your digital options. There’s a wealth of new exposure combinations and digital post-processing techniques that may serve you well. If you find you prefer analog processes and effects, ask yourself why. Your answer may be significant even revealing to you and your audiences. What you choose not to do can be just as revealing as what you do. Just make it intentional.

Read more about Blur.
Learn more in our digital photography and digital printing workshops.

How To Combine Focussed & Defocussed Images Using Photoshop

In & Out-Of-Focus Mixed


Combining in and out-of-focus images with Photoshop is a simple matter of placing tow versions of the same image on separate layers.

If you’re simulating an out-of-focus image using blur filters in Photoshop this takes one step. Use the Layers menu and select Duplicate Layer or in the Layers palette drag the layer to the Create a new layer icon ( + ). The two layers will be perfectly registered. The top layer is ready for blurring.

If you’re combing separate exposures of the same image that are in and out-of-focus add a couple more easy steps.


Insights Members can login to read the full article.
Email:
or Sign up

Enjoy Sandra Chandler’s New Project Salt – Website, Book, Exhibits

SALT

Pushdot Gallery, Portland, OR

February 4th – March 31st, 2022

Artist Reception: TBD

www.salt.photography

www.sandrachandler.com

Instagram

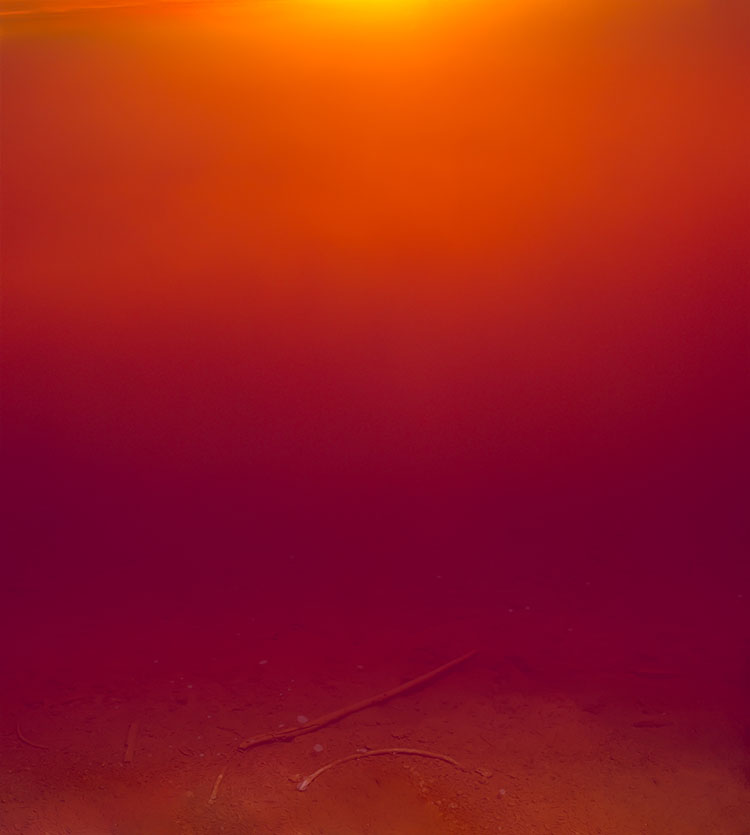
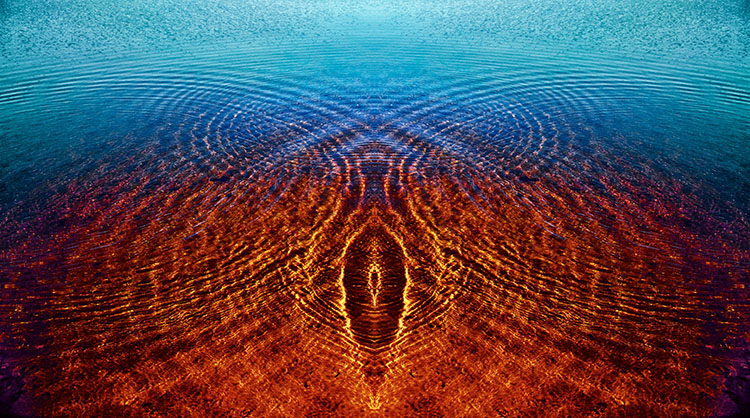
Sandra Marill Chandler’s new body of work juggles abstraction and realism.  Her aerial interpretation of unexpected color patterns is based upon the salt evaporation basins of the San Francisco South Bay. It illustrates the brilliant hued pockets and tactile textures that are ever-changing.

Chandler grew up in San Francisco traveling frequently via the San Francisco International Airport. “I have always been captivated by the South Bay salt pond’s vibrant colors, captivating textural shapes and intriguing graphics as seen from airplane windows.  As I have grown as a photographer, I have become attracted to aerial landscape photography and have come to appreciate a fresh perspective of our earth.”

“I strive to make photographs balanced between abstraction and realism aspiring to create colorful explosive images with noteworthy details. These photographic moments prompt a sense of space, a moment of drama and new ways of perception – for us all.”

Read More

A Grand Overview Of Photoshop’s Blur Filters

Photoshop Blur Filters

There are many reasons to explore blur in your images; remove distractions, direct attention, enhance space, modify mood, and add interesting visual artifacts are six among many. Blur can be controlled at the point of capture and in post-processing. Thoroughly understanding your post-processing options will help you make choices about when and how to control blur in your images before, during, and after exposure.

When it comes to post-processing blur, you’ve got options! Photoshop currently offers fourteen filters; Field Blur, Iris Blur, Tilt-Shift, Average, Blur, Blur More, Box Blur, Gaussian Blur, Lens Blur, Motion Blur, Radial Blur, Shape Blur, Smart Blur, Surface Blur - in order of appearance in the Filter: Blur drop-down menu.

At first glance, the list is overwhelming. Where do you start? Get started with this quick survey of available options.


Insights Members can login to read the full article.
Email:
or Sign up

Fast & Easy Ways To Blur Image Backgrounds in Photoshop

.
“In this easy-to-follow tutorial, you will learn how to blur backgrounds in Photoshop! You will learn about selections, Layer Masks, Content-Aware Fill, Smart Objects, and the Depth Blur Neural Filter to blur your photo’s background. This Photoshop tutorial will cover everything you need to know about creating a shallow depth of field effect.”
.

How To Create Sophisticated Motion Effects With Photoshop’s Path Blur

Photoshop CC’s recent addition to its Blur Gallery, Path Blur offers a creative and flexible way to add directional motion to your images in post-production. It’s astonishing! You’ve got to try it to believe it – and to truly understand it.

The Blur Gallery now has five effects (Field Blur, Iris Blur, Tilt-Shift, Path Blur, and Spin Blur) that can be controlled from a single panel. Once you’ve accessed one, you can quickly access the others at the same time enabling you to create complex blur effects in a single stop. Path Blur alone is capable of delivering lots of complex motion effects with one simple path.

Before applying Path Blur, consider using a Smart Object to make the filter non-destructive, re-editable, and maskable. (I recommend you acquire Raw files as a Smart Objects but in cases where you can’t, such as cases that involve merges or stacks or major retouching, convert your Background layer to a Smart Object – Layer: Smart Objects: Convert To Smart Object.)

To apply the filter follow this path - Filter: Blur Gallery : Path Blur. The Blur Gallery panel will appear, offering you five extraordinary sliders and multiple points of control.


Insights Members can login to read the full article.
Email:
or Sign up