Enjoy My New Video – My Antarctica
.
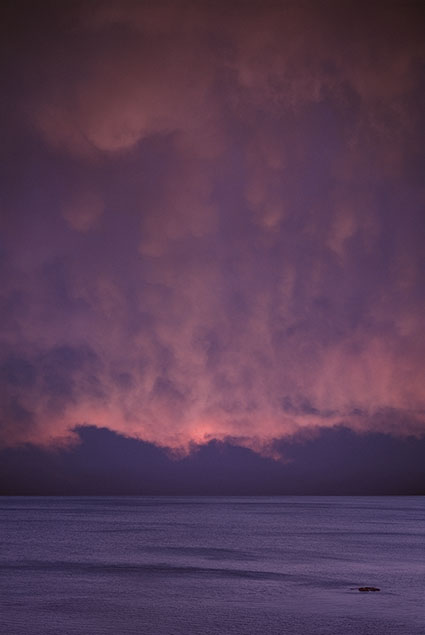
Antarctica has enchanted me. Find out why in this video.
See more of my images from Antarctica.
View fascinating facts about Antarctica.
Find out about our next DPD Antarctica workshop.
.
Antarctica has enchanted me. Find out why in this video.
See more of my images from Antarctica.
View fascinating facts about Antarctica.
Find out about our next DPD Antarctica workshop.
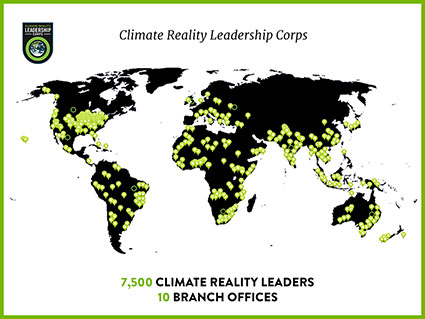
This weekend I joined the Climate Reality Leadership Corps.
This is something I’ve wanted to do for years and the Atlanta conference was the largest event and particularly intense. It powerfully aligned climate change with the civil rights movement to discuss climate justice.
You can get a glimpse of two of the more unique presentations.
An interfaith meeting was held at the Ebenezer Baptist Church.
Comedian Pete Davidson gave Al Gore some tips on how to speak.
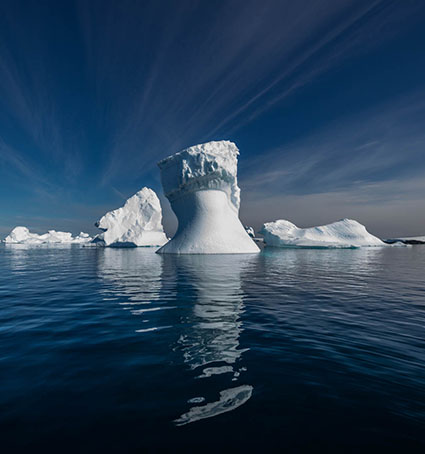
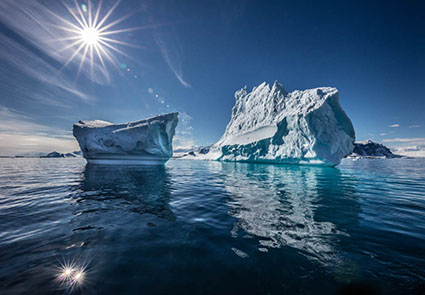
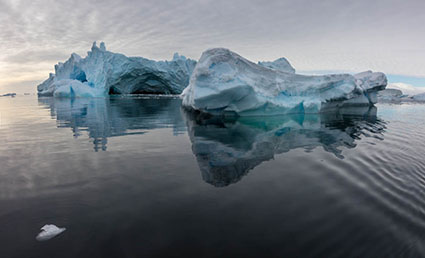
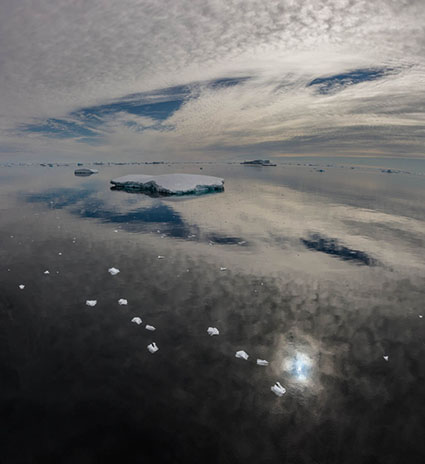
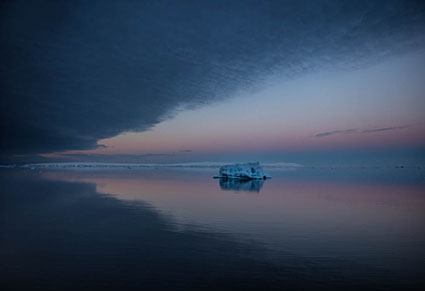
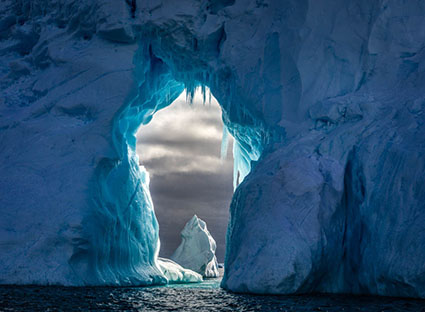
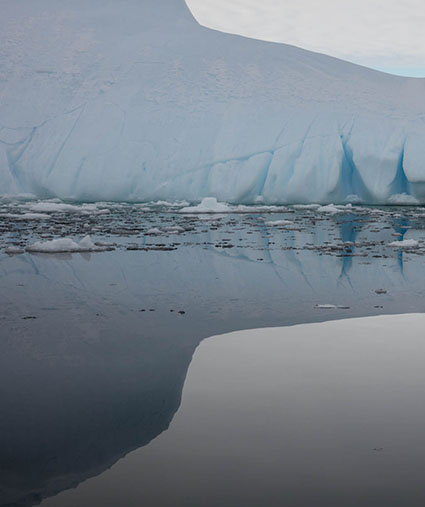
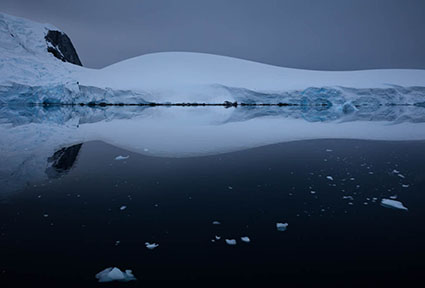
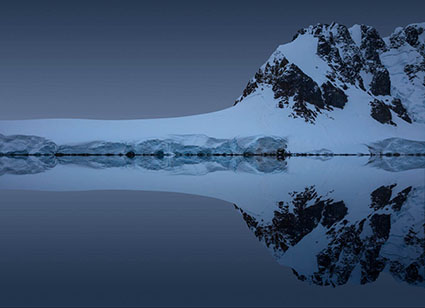
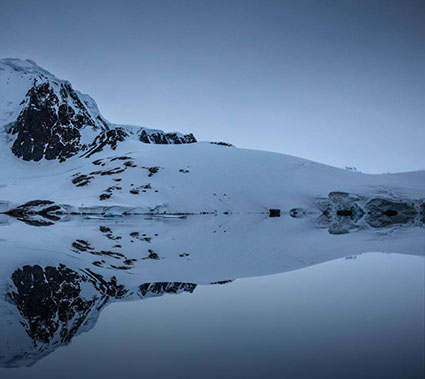
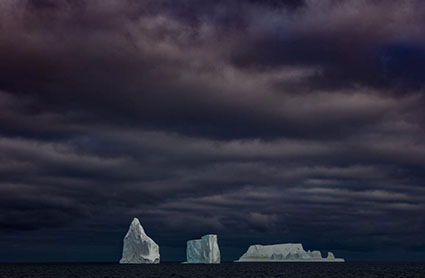
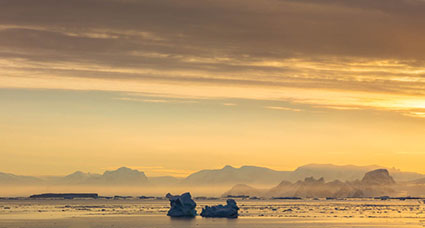
On my 10th voyage to Antarctica, we had full sun every day!
View My Top 12 Photographs Of Antarctica here.
There are a few spots left for our 2019 DPD Greenland voyage.
There are 2 spots left for our 2020 DPD Antarctica voyage.
Antarctica never ceases to amaze me.
I’m making my 10th voyage to Antarctica now.
Join me on my next voyage!
Fly Antarctica – South Of The Circle
Feb 16 – 25, 2020
Only 3 spaces left
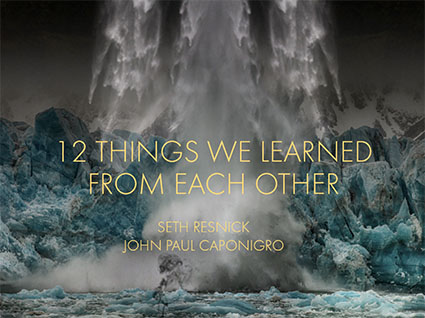
My new free ebook 12 Things We Learned From Each Other details lessons Seth Resnick and I learned from each other by working side-by-side.
What did we learn?
Find out here!
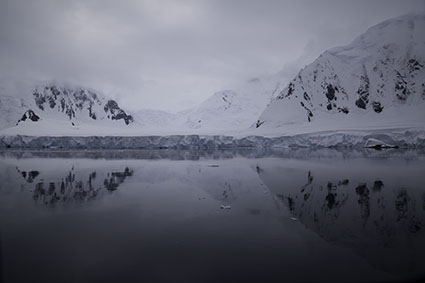
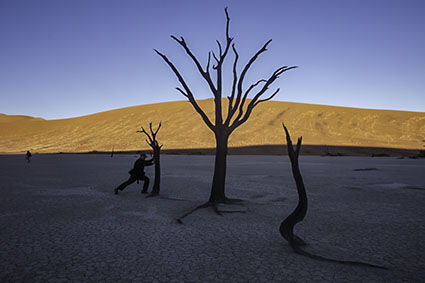
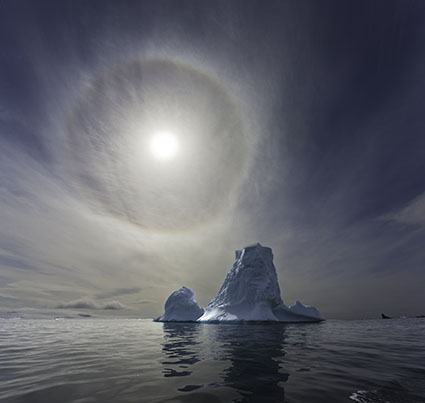
Left
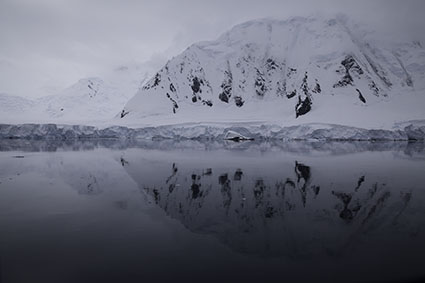
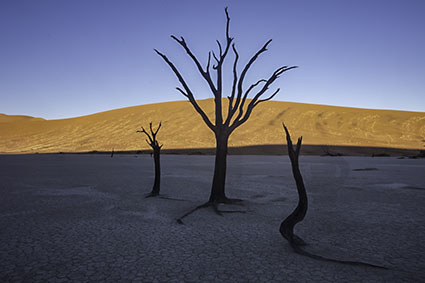
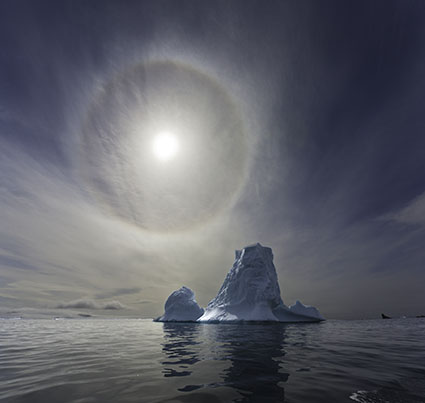
Right
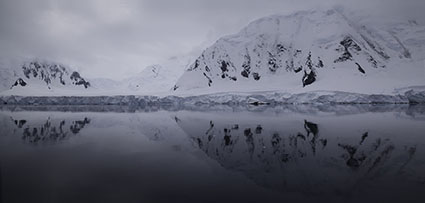
Panoramic stitches combine both
Think Outside The Frame
No one needs to learn to “think outside the box” more than photographers. The frame, literally a box, is often our greatest ally. Learning to see photographically is in part learning to see within the limits of this box and use them creatively. But there are times when this limits our vision unnecessarily. Once we’ve learned to see within the box, we then need to learn to also see outside the box – and start extending the frame with multiple exposures to perfect select compositions. Extending format techniques aren’t just for panoramic image formats. They can be used to give you the extra inch that can make all the difference in the world for your compositions.
Hand-held Exposure Techniques
While the best way to make exposures for panoramic merges is to use a dedicated panoramic head on a tripod, this may not be practical – or necessary. (There are three significant benefits to using panoramic tripod heads; one, they keep the camera level and without rotation throughout an exposure sequence, two they calculate the number of and overlap between exposures, and three they pivot the camera around a lens’ nodal point minimizing parallax.) Today’s software packages work miracles making what was once impossible possible. Several practices can help you make better hand-held exposures for panoramic merges.
Keep the horizon level in all the exposures; varying rotation can cause improper alignment and/or excessive cropping and/or retouching.
Shoot a little loose. Perspective correction in these types of photo merges often resulting in irregular borders that beg cropping – or retouching, if this is appropriate. The extra wiggle room you gain from shooting loose will allow you to crop the final results more precisely.
Don’t shoot the separate exposures edge to edge. Instead, overlap your exposures by a third for medium lenses, a half for wide-angle lenses, and two-thirds for fisheye lenses.
Make exposures with the opposite orientation as the final image orientation; if you’re making a horizontal composition shoot with a vertical camera orientation and if you’re making a vertical composition shoot with a horizontal camera orientation. This does two things. One, it increases the number of frames, and thus vanishing points, reducing the tendency for the required perspective correction to produce distortion artifacts. Two, it increases resolution – a tendency that becomes compounded with each added pass in multi-column or multi-row exposure sequences.
Once focus is set, turn off auto-focus during the bracketing sequence. Unwanted shifts in focus may ruin an exposure sequence. For this same reason, consider shooting all exposures in a single sequence at the same aperture setting, as significant variances in depth of field between frames may be challenging to merge convincingly.
Consider using manual exposure. While software can convincingly blend exposures with significantly varying exposures, if brightness across a scene remains fairly constant keeping the same exposure settings between different shots can aid the blending process. (The same is true for white balance, which can be set either during exposure or during Raw processing.) On the other hand, if brightness varies dramatically, bear in mind that simultaneous HDR exposure bracketing is not out of the question; it just increases the number of exposures needed.
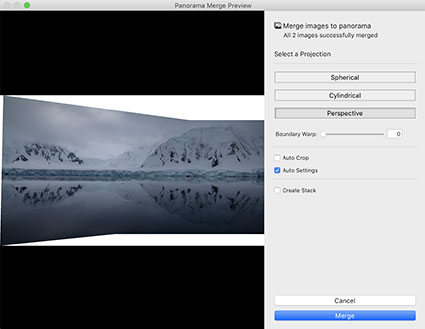
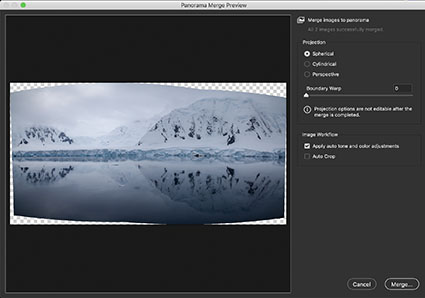
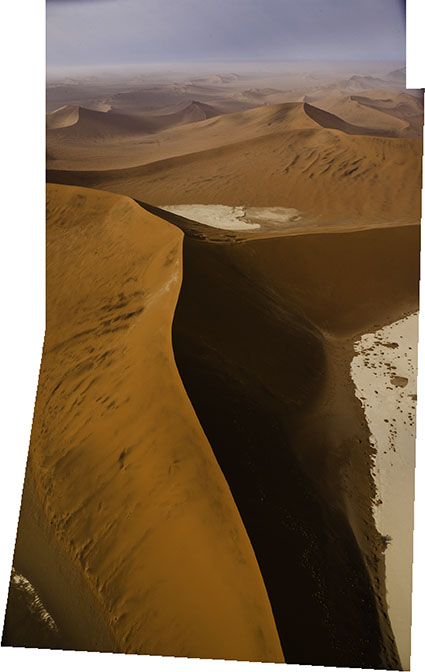
Lightroom’s Panorama Merge Preview
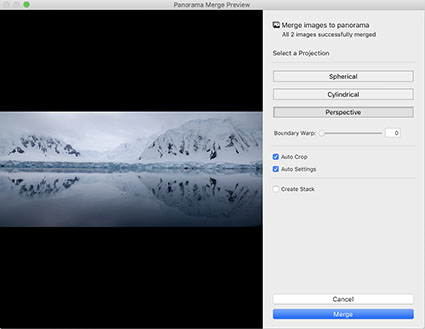
Auto Crop checked
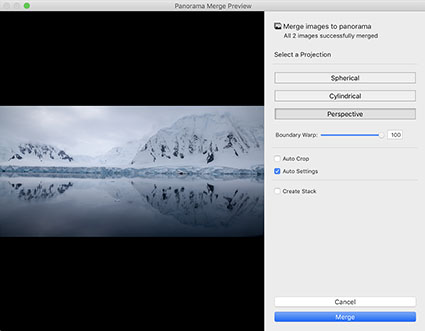
Boundary Warp slid to 100
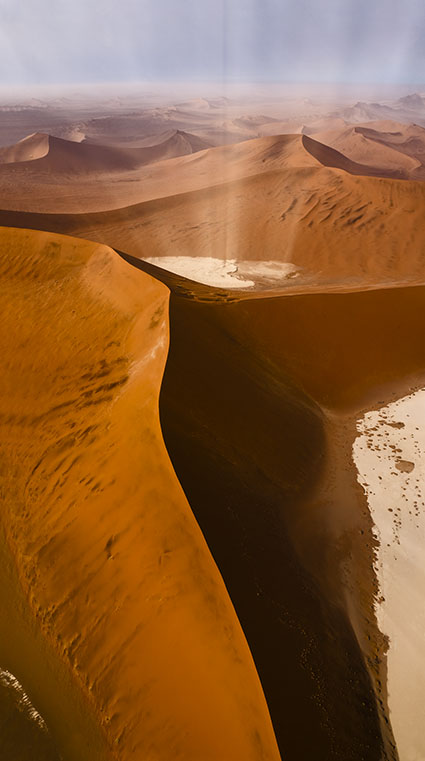
Adobe Camera Raw’s Panorama Merge Preview
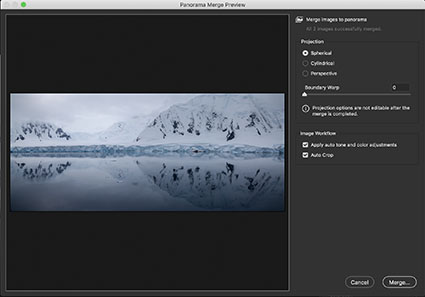
Auto Crop checked
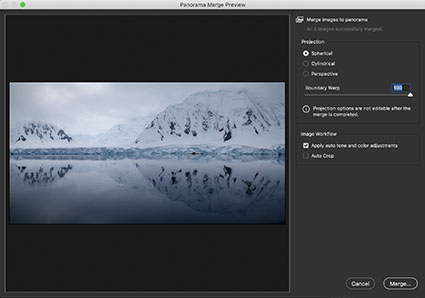
Boundary Warp slid to 100
Stitching / Merging
Merge to Panorama in Lightroom and Adobe Camera Raw
You can perform panoramic merges in either Adobe Lightroom or Camera Raw. Their interfaces may look different but they’re the same.
There are three advantages to making panoramic merges with these Raw converters. First, it creates a new combined file in DNG format and allows future access to the Raw data in the files. Second, they offer simple but powerful post-merge distortion (Boundary Warp) and Auto Crop options that Photoshop’s Photomerge doesn’t. (This means you’d only choose Photoshop when you wanted to use its additional merge projection options Collage and Reposition.) Third, the DNG file takes up less space than the PSD or TIFF file Photoshop generates.
How do you do this?
Read More

Combine 3 or more exposures into 1
Remove moving objects using Photoshop's Smart Objects
Use the Stack Mode Mean
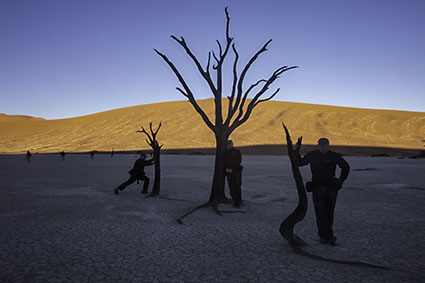
Keep moving objects using Photoshop's Smart Objects
Use the Stack Mode Minimum
It’s a perfect shot! If only those unwanted objects (cars, birds, people, etc) in the scene would disappear. As long as the unwanted elements in your frame move, even just a little, you can make them disappear from your image, by taking two or more shots and using Photoshop’s layering and blending capabilities.
You don’t have to retouch your image. Blending is different than retouching. The unwanted elements aren’t covered over with new information, by hiding them with replacement information similar to the surround, either from the same source or another. With blends, the information behind the moving subject is revealed. How? It’s contained in the other shot(s).
You can even do this with exposures that are made with slightly different angles of rotation or framing, so you can use this technique with handheld exposures, not just those made with a tripod. Camera motion may make manual registration difficult, but Photoshop will automatically align and in some cases distort the separate exposures so that they register precisely. In some of these cases, you may need to crop the final result to restore a rectangular frame.
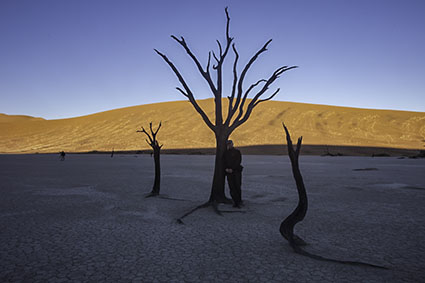
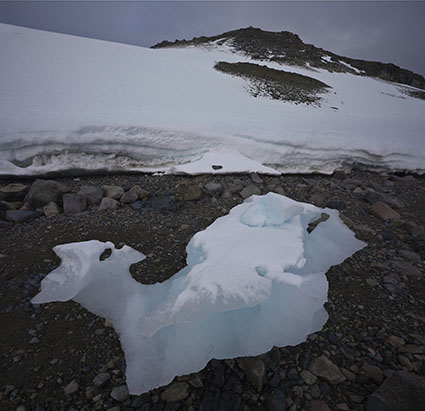
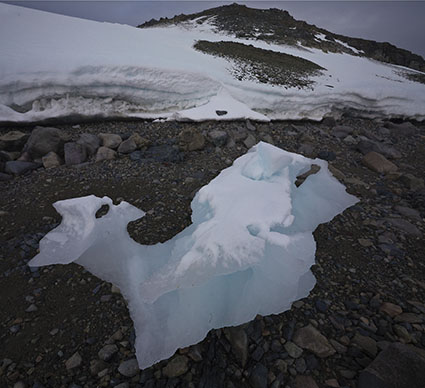
You can even remove stationary objects with blends – if you move. In situations where there is sufficient parallax between foreground and background elements, by varying your angle of view, you can cause significant shifts in position of foreground elements without causing significant changes in position of background elements. Make multiple exposures from multiple angles of view and you can blend out the elements that appear to move. When using this technique, shoot loose, planning to crop more after the merger.
If you have only two exposures you’ll need to manually mask the top layer. If you have three or more layers Photoshop will automatically blend the layers.
So how do you do this with Photoshop?
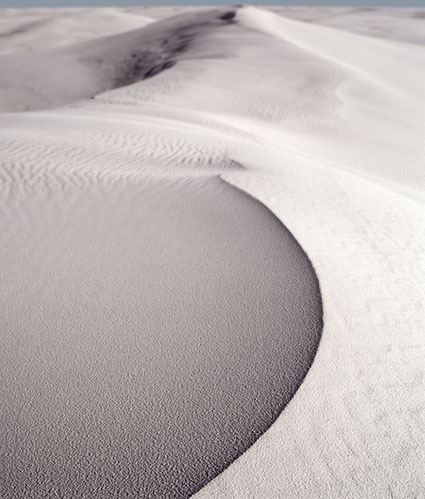
Foreground in focus

Background in focus

Two exposures combined to achieve infinite depth of field
How deep would you like your depth of field to be? The choice is yours. Today, there are virtually no limits. You can extend depth of field beyond the physical limitations of any lens/camera system with multi-shot exposure practices and software – by compositing multiple exposures.
To do this you first need to make a set of focus bracketed exposures, optimizing focus in different image areas. How many exposures you’ll need will depend on how much depth of field a scene contains. At a minimum, make two exposures; one focused on the foreground and another focused on the background. Making three exposures is better; one each for foreground, middle ground and background. When dealing with extreme depth of field, like macro or microphotography, you’ll want to make more exposures, at least three, probably six, possibly more. When in doubt, make more exposures than you think you’ll need; you don’t have to use them all when you stack the separate exposures, but they’ll be there if you need them. Unlike bracketing for HDR, it’s almost impossible to automate these types of bracketing sequences in camera as focus needs to be adjusted for each frame. However, for tethered shooting, you can use software such as Helicon Remote to take control of your camera and automate this process and other bracketed sequences like HDR and time-lapse. Whenever possible use a tripod to make focusing during exposure more precise and registration during post-processing easier. While using a tripod always delivers more reliable results, don’t let this stop you from trying this technique hand-held, especially with simpler sequences, like those used in landscape. You may notice that In cases involving extreme depth of field, you may notice the relative size of objects may change between individual exposures. These effects will be automatically adjusted during the merging process.
Before you combine a set of focus bracketed exposures, make all the Raw conversion adjustments you’d like to make to the final file. It’s quick and easy to process a focus bracketed series of files; process one file in the series ideally and then Sync the other files to it. Once a Raw file is rendered, you can’t re-access the data in it, such as ‘recovering’ highlights or ‘filling’ shadows, without re-rendering it. While, you can adjust lens distortions after stacking with Photoshop’s filter Lens Corrections, it’s much easier, faster and more robust to apply Lens Corrections during raw conversion, before focus stacking 16-bit TIFFs.
Once you have a processed set of focus bracketed exposures you can automate the process of stacking and blending them into a single file in Photoshop. (Unlike HDR and Panorama merges, you can’t make a focus stacked merge in Lightroom – currently.)
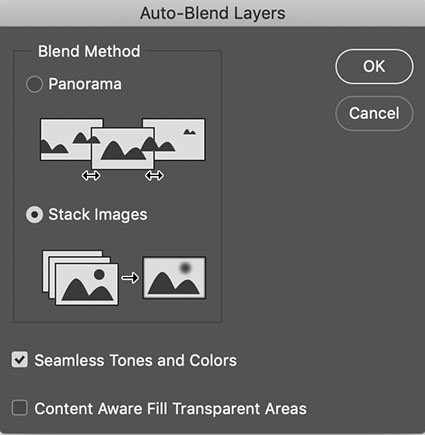
Photoshop’s Auto-Blend Layers dialog
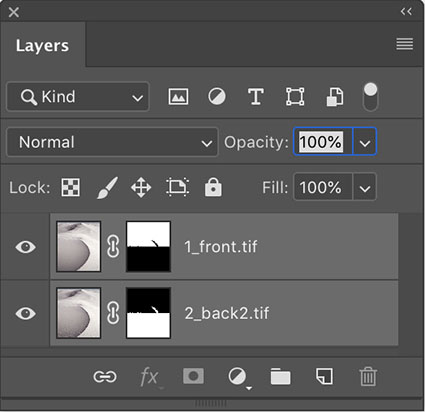
Photoshop’s auto-masked layer stack
Take these four steps.
1 Using Adobe Bridge highlight all of the files you’d like to combine.
2 Go to Tools > Photoshop > Load Files Into Photoshop Layers
3 In Photoshop’s Layers palette highlight the layers
4 Go To Edit > Auto-Blend Layers, check Stack Images and click OK
You can then further refine these results, including manually adjusting the automated masks or distorting layers, but this is rarely necessary. Photoshop does a fine job for a majority of applications.
.
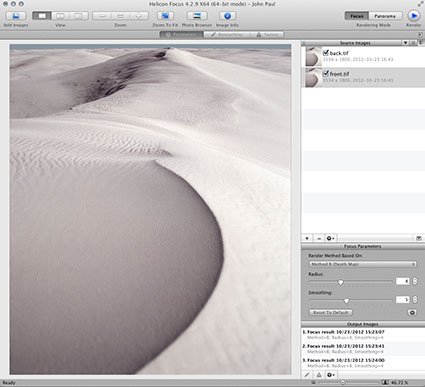
Helicon Focus’ main window
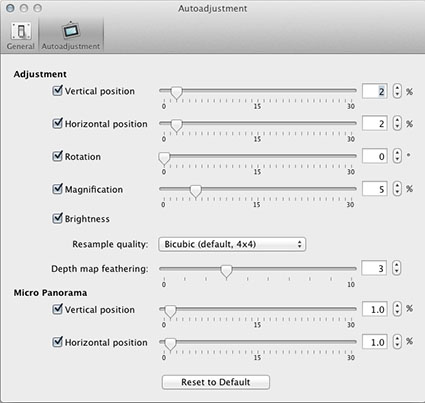
Helicon Focus’ Autoadjustment panel

You can learn a lot from watching how other artists work, especially if they’re working in another medium. Figuring out how you work in similar ways to produce your own authentic works is an exercise in creativity itself. And creativity is like a muscle, the more you work it the stronger it grows.
You’re sure to be inspired by these 8 masters.
Plus enjoy 33 Ways To Be More Creative.
Find more How To Be An Artist posts here.
Find more in my social networks – Facebook and Twitter.
Get more great curated content with my newsletter Insights.
1 Correct lens distortion
2 Remove or reduce panoramic stitch distortions


3 Modify proportion globally including the aspect ratio of the frame

4 Modify proportion locally within the frame
5 Change proximity
6 Enhance gesture
We accept the distortions angle of view and lens choice create without a second thought, yet rarely do we give a second thought to the possibilities of expressively distorting our photographs during post-processing. The dazzling array of new tools at our disposal begs us to reconsider this. You need to know what’s possible, whether your goal is to correct the distortions introduced by the tools you use or to aesthetically refine or expressively enhance your images, a little or a lot, or to simply know what other photographers have done so that you can understand their creations better. Learn to see with new eyes, and a vast new horizon of possibilities will reveal itself to you.
Awareness of the distortions produced by an angle of view and lens choice is the beginning of using them creatively. Curiously, permission is the beginning of using distortion in post-processing creatively. Many people have been told that it’s inappropriate to do so. Why? Why accept an unintended mechanical bi-product but not a consciously intended effect? Why take such a powerful tool for expression off the table? While you can, you don’t have to distort your images to the point that they look like they’re being seen in a funhouse hall of mirrors. Even the subtlest applications of distortion can produce powerful results. Once you understand what kinds of distortions are possible in post-processing, you’ll frequently find yourself changing your angle of view or repositioning yourself during exposure.
6 Strategies For Using Distortion In Images
Here’s a short list of six strategies you can use when considering distorting your images creatively.
1 Correct lens distortion; straighten a horizontal or vertical while correcting barrel or pin cushion distortion.
2 Remove or reduce panoramic stitch distortions; undistort edges or smooth out uneven horizontals or verticals.
3 Modify proportion globally, including the frame; make images more or less horizontal or vertical or even turn one into another.
4 Modify proportion locally within the frame; adjust the height and width of both objects and areas.
5 Change proximity; push together or pull apart items.
6 Enhance or change gesture; make a leaning object more tilted or straighten it out.
Photoshop's 11 Weapons Of Mass Distortion