.
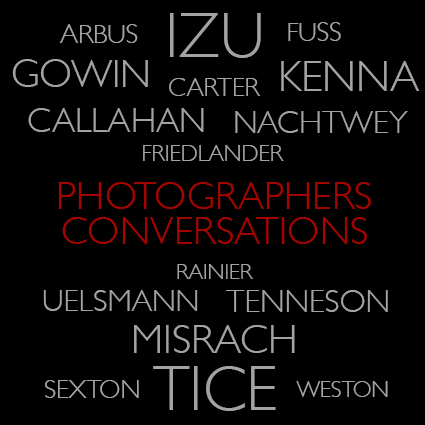
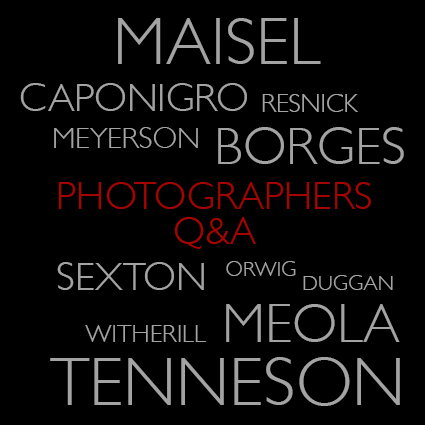
In Q&A
photographers share their answers to
.
20 questions;
10 Core Questions
10 Optional Questions
.
Answers are kept short and sweet.
.
Core Questions
What’s the best thing about photography?
What’s the worst thing about photography?
What’s the thing that interests you most about photography?
What’s the thing that interests you most about your own photographs?
What’s the thing that interests you most about other people’s photographs?
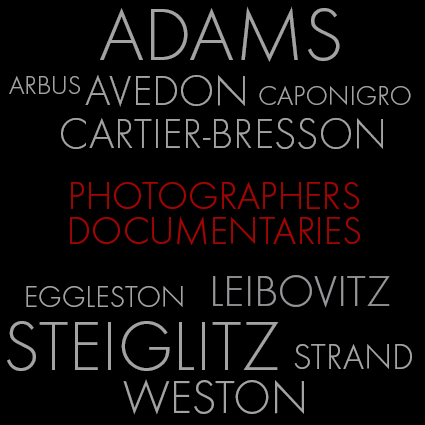
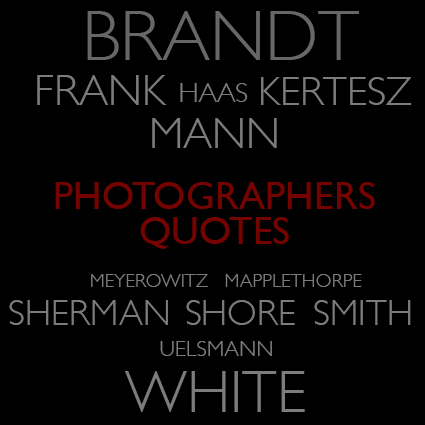
Who were your early photographic influences?
Who are your photographic influences now?
Who were your early non-photographic influences?
Who are your non-photographic influences now?
What’s the most inspiring work of art you saw recently?
What’s the best thing about gear?
What’s the worst thing about gear?
How do you know when an image doesn’t work?
How do you know when an image is good?
How do you know when an image is great?
What’s the most useful photographic mantra?
Do you practice another art form? (If so, which?)
What benefits do you get from (this/these) other art form/s?
What was the most significant visual moment in your life?
Which was the most important image to you that got away?
What failure did you learn the most from?
What accomplishment are you most proud of?
What’s the thing you most hope to accomplish?
If you had to do it all over again, what would you change?
If you had another life to live a completely different life, what would you choose to do?
What are the most important questions to you?
Optional Questions
What’s photography really all about?
How did photography change the world?
How did photography change your world?
Who were the most important photographers?
Who are the most important photographers working today?
What’s the best thing about influence?
What’s the worst thing about influence?
What’s the best thing about our times?
What’s the worst thing about our times is?
What keeps you up at night?
What gets you going in the morning?
What’s your favorite movie?
What’s your favorite book?
What’s your favorite piece of music?
What’s your idea of perfect happiness?
What is your greatest fear?
Which historical figure do you most identify with?
Who is your favorite hero in fiction?
Who are your heroes in real life?
Which living person do you most admire?
What is the trait you most deplore in yourself?
What is the trait you most deplore in others?
What is your greatest extravagance?
What is your favorite journey?
On what occasion do you lie?
What do you dislike most about yourself?
What is your most marked characteristic?
Which words or phrases do you most overuse?
What is your greatest regret?
What do you consider your greatest achievement?
What’s your most treasured possession?
What is your favorite occupation / past time?
What do you most value in your friends?
What’s your motto?
What other talent would you most like to have?
If you could change one thing about yourself, what would it be?
What is it that you most dislike?
How would you like to die?
Subscribe to Insights to find out when new content becomes available.