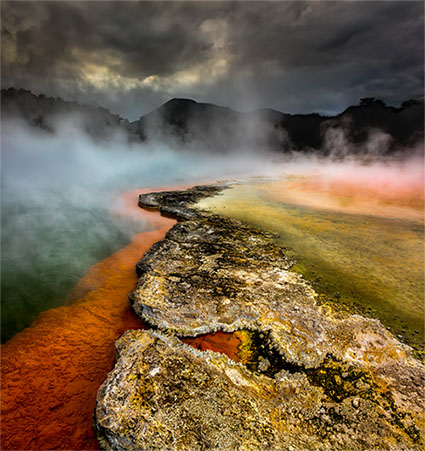
Incubation XV
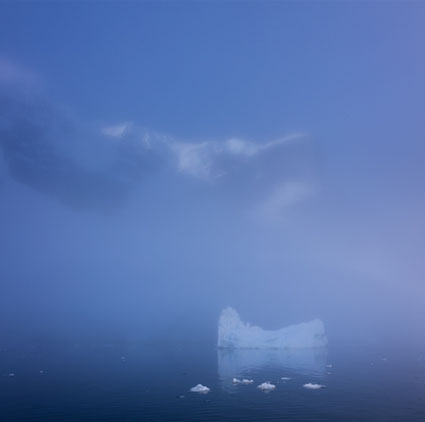
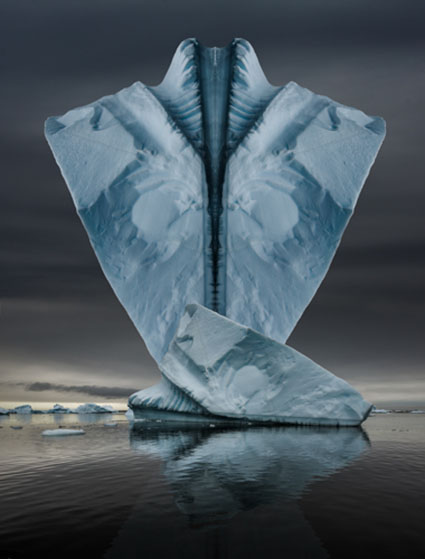
Antarctica CXCII

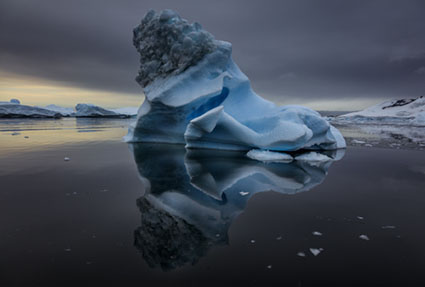
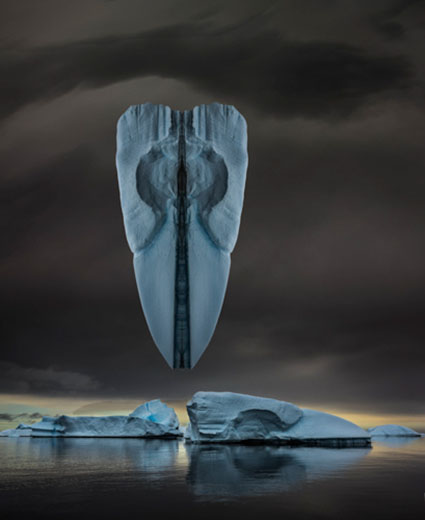
Antarctica CXCIV
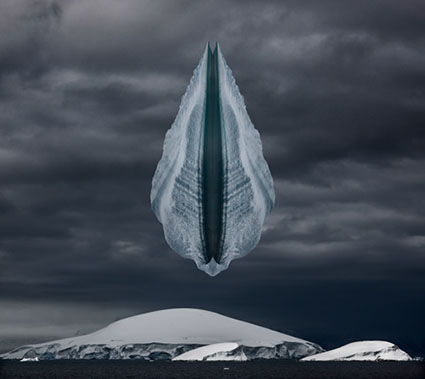
Antarctica CXCV
Revelation XXIX

Revelation XXXIX
Revelation XXIV
Revelation XXXVI
Revelation XXVI
Revelation XXVIII
Revelation XXXVII
Revelation XXXVIII
This is a selection of my top 12 images of 2016. This selection doesn’t reflect sales, publication, or activities on the web. It simply reflects my opinion. Click on the titles to find out more about each image.
Geography
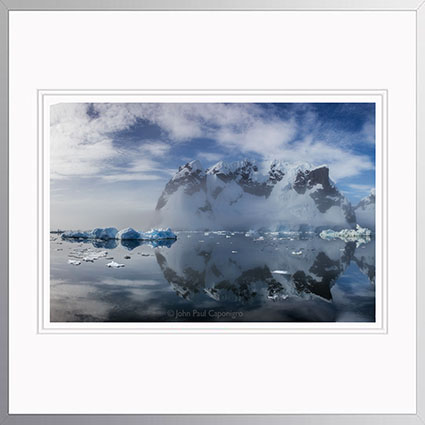
While I visited most of the biomes in one year (all seven continents in 18 months), the images I released were drawn primarily from the artic and antarctic regions.
Process
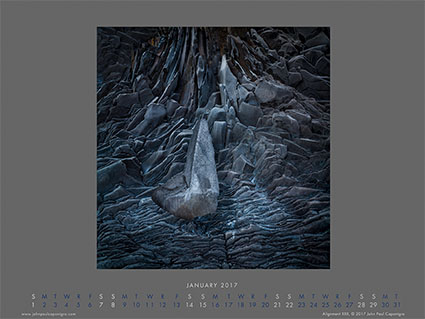
Straight images from Antarctica were processed on location, mostly in Lightroom. Composite images were created in studio, mostly in Photoshop after launching from Lightroom. I date “straight” shots based on the date they were exposed and composites on the date they are completed.
Concepts
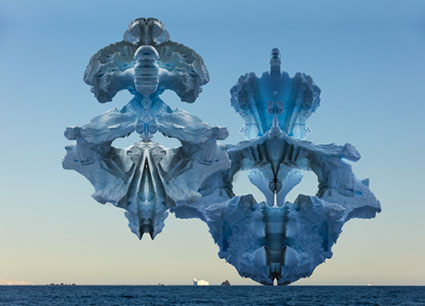
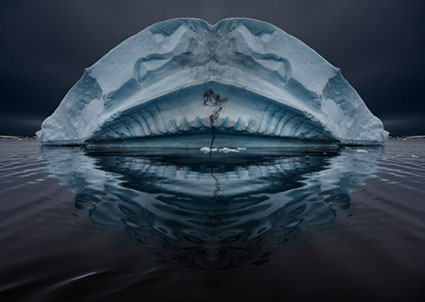
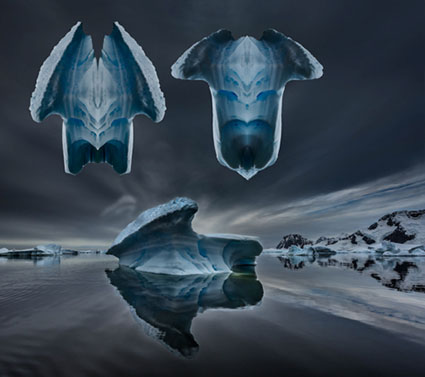
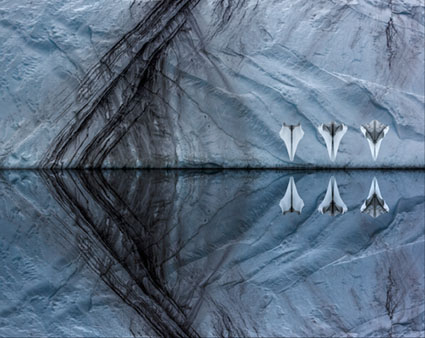
I focussed on a long-standing theme, creating symmetries drawn from the land to better reveal the spirit within. The final resolution has prompted me to remaster many related files made in 1996. I released multiple related series of studies, including a series of digitally rendered inkblots.
Magnificent Moment
There was big magic in 2016! In Antarctica there were moments of extreme quietude amid the lifting fogs at Black Head and the glassy reflections in Antarctica’s Plenneau Bay. We experienced the epically varied lands of New Zealand; in one day we moved from a waterfall strewn fiord, through a rainforest, up to a high arid plateau, and finally to the base of a glacier. Sublime light filled hours and hours, as we flew helicopters over Namibia’s Sossusvlei dune fields, which roll out to the Skeleton Coast. All of these adventures were long-held dreams come true.
It’s challenging to choose so few images from so many – but it’s insightful. Try selecting your own top 12 images. Try selecting the top 12 images of your favorite artist(s).
View more of my Annual Top 12 Selections here.
View more images in my ebooks here.
View my full Works here.
View my Series videos here.
View new images in my newsletter Collectors Alert.