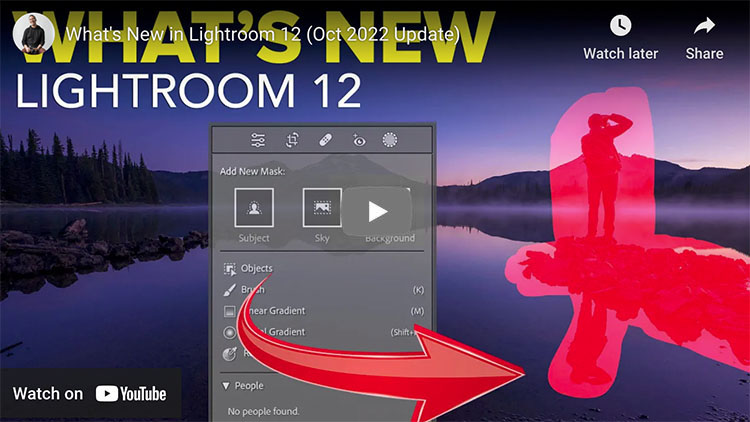
“Such a simple thing, like a curve inside a mask, seems minuscule, but this is HUGE!
Watch this video to learn about the new features in ACR 15.”
.
00:00 Intro
00:54 Content-Aware Remove Spot Removal Tool
02:33 Refresh Button in Spot Removal Tool
03:13 What’s new in Masking
04:17 Curves in the Masking Section
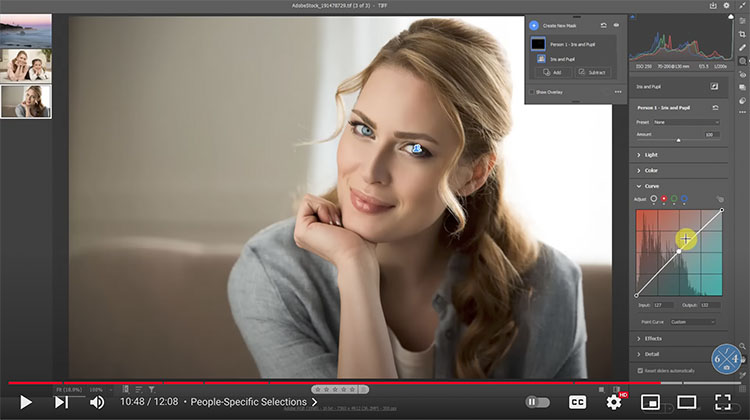
09:22 People-Specific Selections
11:10 Your Turn! Experiment and Enjoy!
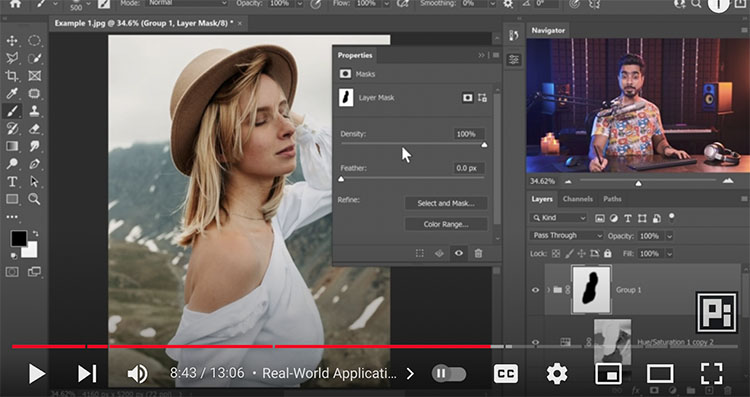
“Learn what are Hue Masks in Photoshop, and how can you use them for more control while color grading! In this lesson, we will start by understanding how Hue and Saturation mask work.”
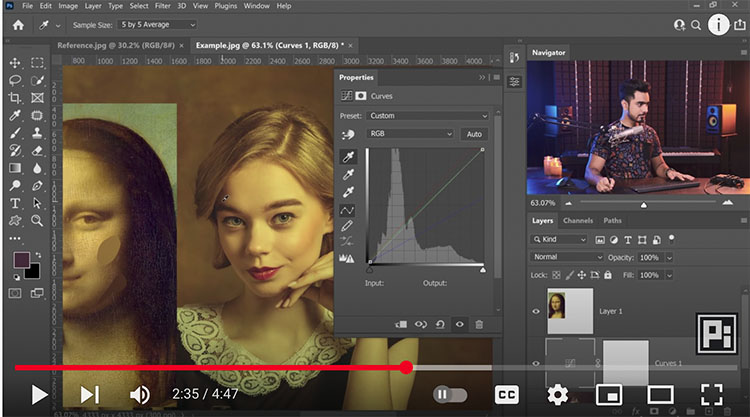
A Super Easy Trick to Copy the Color Grading from Paintings with Photoshop! In this short tutorial, we will use the Curves’ sampling technique to automatically match the colors of highlights, mid-tones, and shadows using the power of The Almighty Curves! You can use this technique to match any area of the image. From skin tones to the landscape in the background, just sampling the right places does the trick, and in this video, we will learn how.
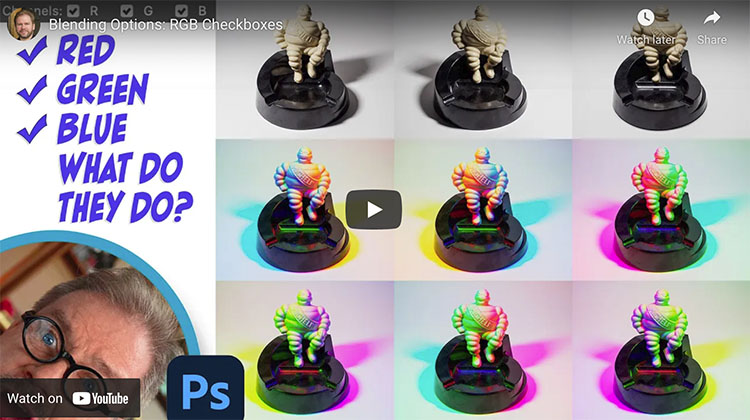
Learn a bunch of creative effects you can apply using three simple checkboxes. My favorite use is to light an object from three different angles and then combine the three images into a colorful result.
Learn how the pros remove red from faces. We’ll go beyond the standard technique of Hue/Saturation and will also take a look at why a lot of images from the internet always have red faces. In the process, you’ll learn how to isolate colors using Hue/Saturation, how to paint with color and how to perform basic color shifts using curves. You’ll learn a bunch that will be applicable even if you never run across skin tones that needs fixing.
Learn three methods for adding color to white objects. The first two are the most common approaches, which to my eye do not look professional, so I’ll show you how to improve their results. The third approach is the highest quality and least common method and is the only one that involves zero guesswork to produce very professional-looking results.
How To Use RGB and LAB Numbers in Adobe Lightroom Classic
Just below the histogram in Lightroom Classic’s Develop module are a set of three numbers that can be useful when optimizing your images. Let’s explore how I use those numbers when evaluating images before processing, when color correcting images and when I need to match the color between two areas. I’ll also attempt to explain the difference between RGB and LAB settings, how to switch between them, and when one option is more useful than the other.
.
.
Use LAB Numbers To Match Color of Two Areas in Adobe Lightroom Classic
.
Learn to take the guesswork out of matching colors by using the numbers that appear below the histogram in Lightroom Classic. In this case, I’ll match two different colored bricks on a building, but you could just as easily use this for all sorts of other purposes.