Instead of RGB, you can use Lab color mode to increase hue contrast in your images in powerful ways that no other color space offers.
How do you do it?
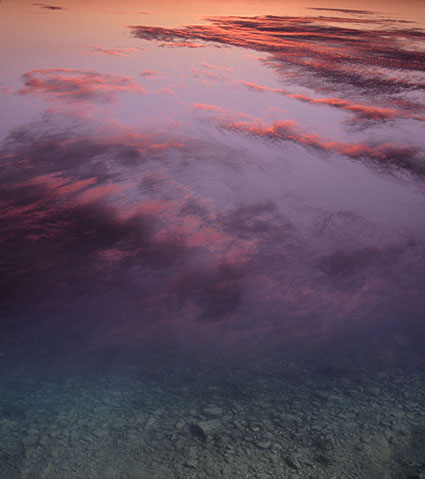
In Lab color mode use Curves to accentuate contrast by creating s or reverse s curves for the a and b but not the L channels without moving the midpoint.
It’s that simple. (Yes, I promise I’ll expand on this.)
However, when you use this technique there are many details that it pays to be aware of.
When To Use It
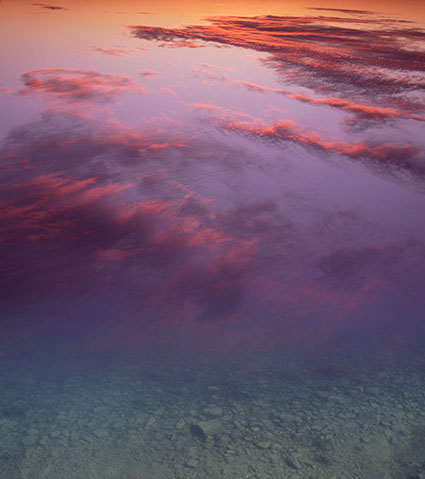
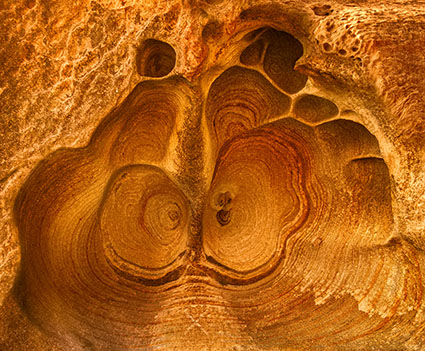
While this technique can be used on any image, it’s particularly useful when you are processing files that are predominantly one color – forest greens, oceanic blues, sandstone reds, etc. The resulting hue contrast gives these images more life by making subtle variations in hue more pronounced and more three dimensional by accentuating the differences in hue between highlights and shadows.
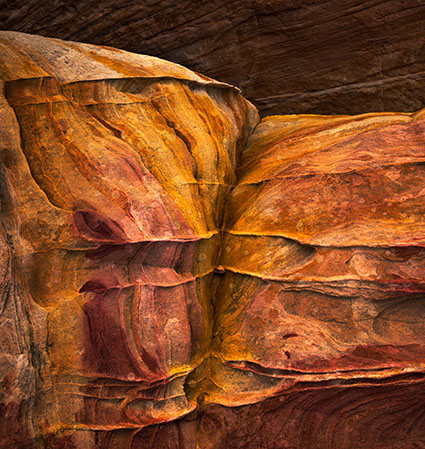
Original
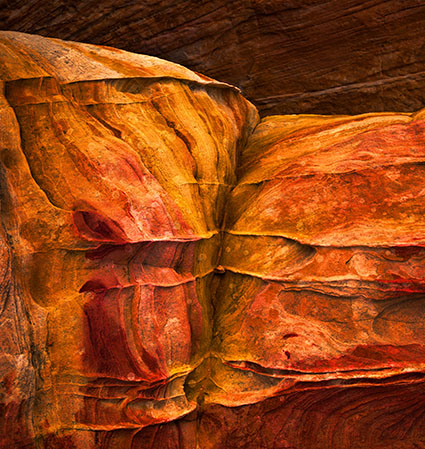
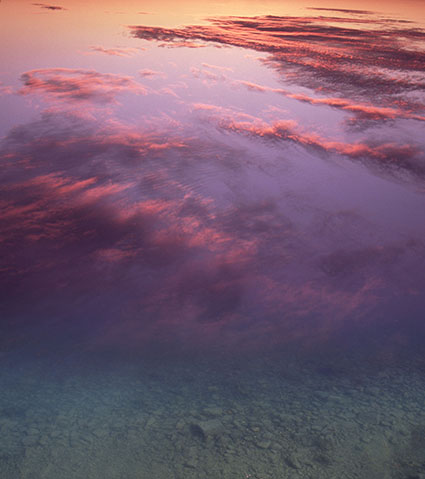
Saturation increased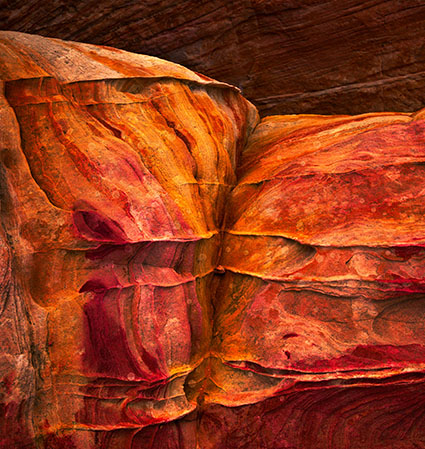
Lab a and b channels adjusted
Comparing It To Similar Techniques
This technique is similar to split-toning or cross-toning images, introducing one color into the highlights and another into the shadows, except that the hues are the captured colors accentuated rather than colors that are arbitrarily added. (For this reason this technique won’t work with black-and-white images.)
This technique is similar to increasing saturation or vibrance, which also makes different hues more pronounced but sometimes intensifies them to the point of making them appear unnatural. By comparison the modest increase in saturation boosting hue contrast in Lab produces is surprisingly naturalistic – and you may choose to keep it or not.
To the untrained eye the differences between this technique and others may seem subtle but once you train your eye you’ll appreciate the color richness it offers; they can approximate but never equal it. It’s like comparing the sound qualities of low and high fidelity audio recordings. Lab offers hi-fi color.
What The Heck Is Lab Anyway ?