Photoshop’s Color Lookup Makes Complex Color Effects Easy

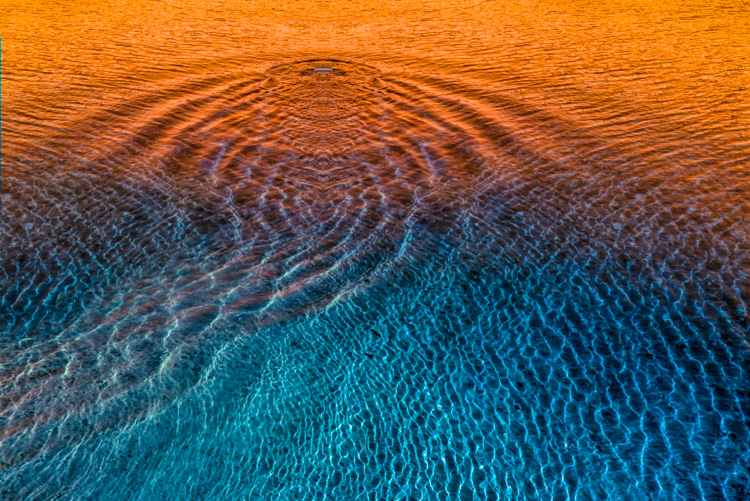
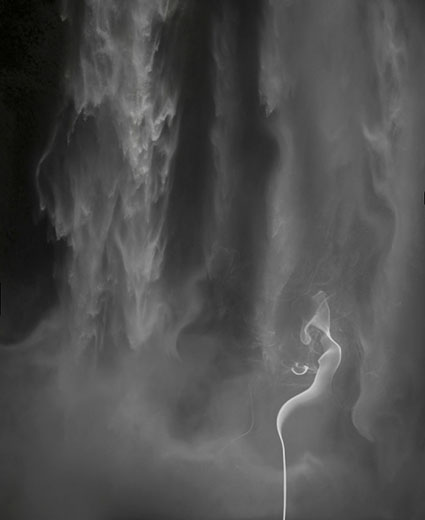
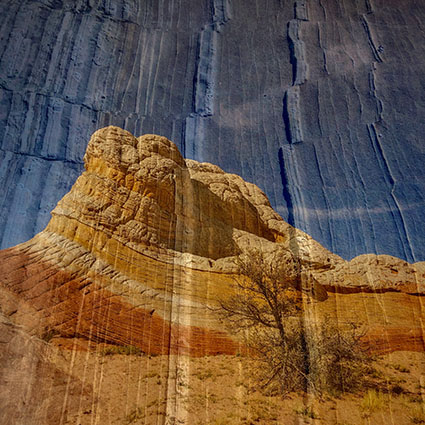
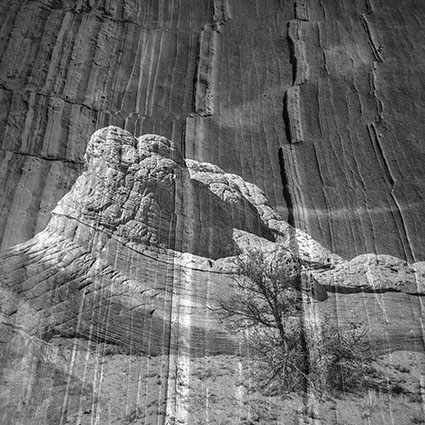
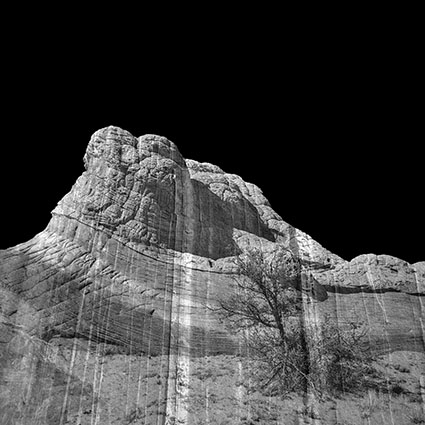
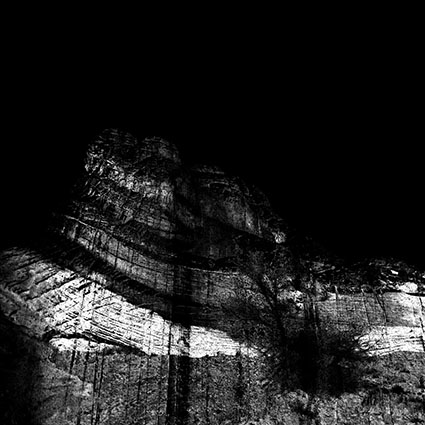
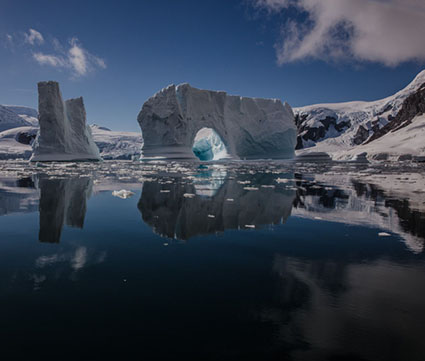
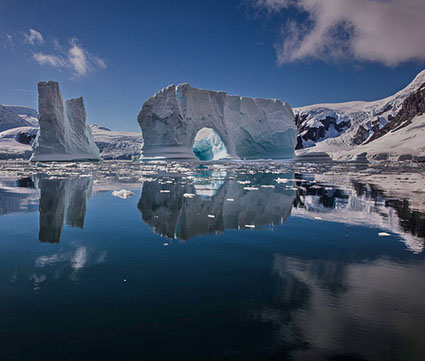
Resonance in Blue and Gold IA
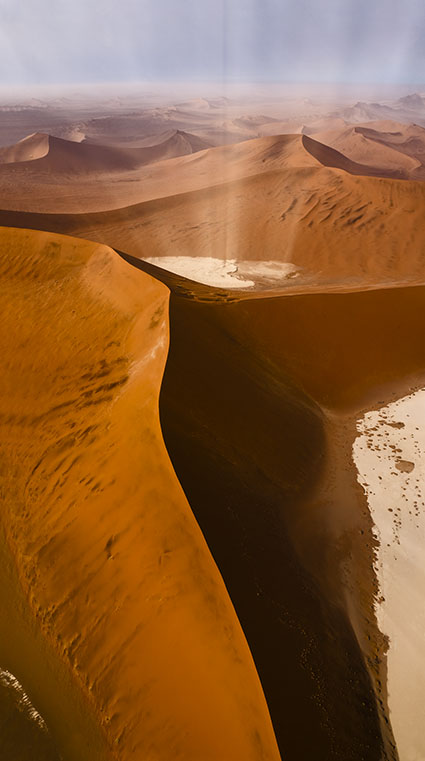
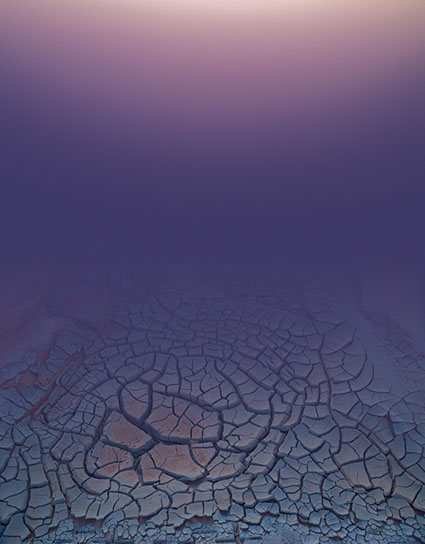
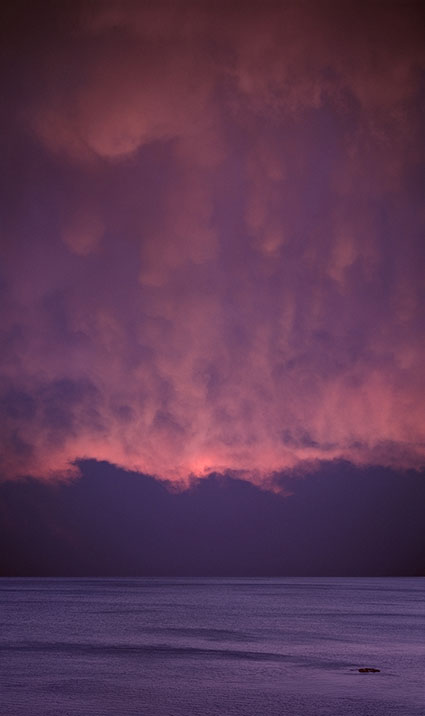
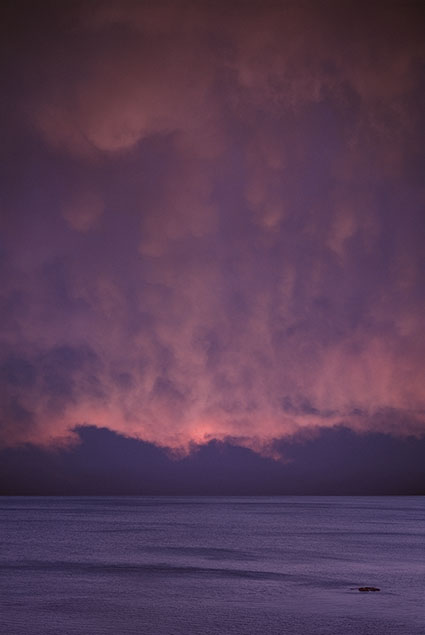
Originally designed for color grading film and video, Photoshop’s Color Lookup feature offers novel ways to adjust color that will quickly reveal new possibilities in your images. Capable of performing extremely complex calculations extraordinarily efficiently, color lookup tables (LUTs) work by looking up a source color in a table and using the replacement color specified in the grid to transform it for the final destination.
Like Match Color and Gradient Map adjustments (See my last two articles for Digital Photo Pro.) the color effects Color Lookup generates are so complex they are not easy to previsualize. Like anything new, this takes practice. And these are new! Experiment and you’ll find many rich possibilities. Unlike Match Color, Color Lookup is loaded with presets that will allow you to quickly explore many different effects, ones that are far more sophisticated than Gradient Map presets. In this way, using them can be as easy as using many smartphone app effects.
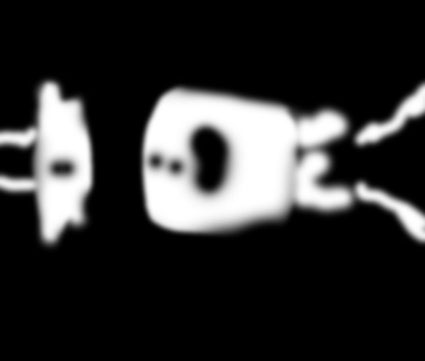
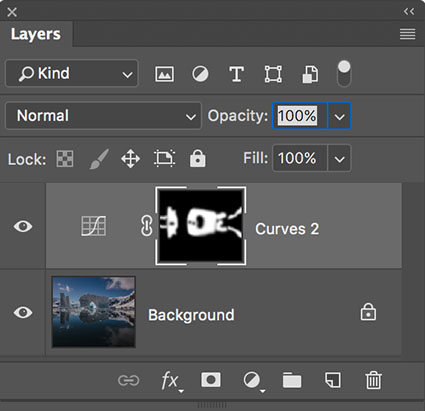
You can also generate your own Color Lookup presets. To do this create a color effect you like with any with any combination of adjustments layers, Opacity and Fill, Blend If sliders, blend modes. (Layer masking and transparency will not be included, because alpha channel information in alpha channels is not included in the recipe.) Then go to File: Export: Color Lookup Table, name the file, and click OK. (I recommend the titles you give your presets include the color space you created them in.) These files are stored in Photoshop’s Presets folder or if they’re saved as ICC profiles in your operating systems Profiles folder. You can now use your custom preset at any time on almost any file by making a Color Lookup adjustment layer and choosing your preset. You can share your custom Color Lookups with others by giving them these exported files. Color LUTs created in Photoshop can even be used in other programs such as After Effects, Premiere, SpeedGrade and other applications that use color LUTs.
Using Photoshop’s Color Lookup you can choose to create color effects as subtle or dramatic as you like. This game-changing color adjustment tool may seem exotic at first because it offers a new way of thinking about and seeing in color. Once you become more familiar with this mindset you’ll truly begin to see with new eyes. Isn’t that what it’s all about?
Read more on Digital Photo Pro.
Learn more in my digital photography and digital printing workshops.

See Color In New Ways With Photoshop’s Gradient Maps

1_BeforeAfter
2_GradientMap

Whether used subtly or dramatically, Photoshop’s Gradient Map color adjustment tool can open up new ways of seeing and working with color for any artist. Photoshop’s Gradient Map assigns new colors to existing brightness values. With it, you can enhance existing colors, transfer colors from one image to another or create entirely new color relationships. It can be wild!
The Gradient Map interface looks difficult to use, but with a few pointers, you’ll find it surprisingly easy to use. While you can apply a Gradient Map directly to a layer (Images > Adjustments > Gradient Map), I recommend you apply Gradient Maps as adjustment layers (Layer > New Adjustment Layer > Gradient Map) to take advantage of both the greater flexibility and control you’ll gain over the final effect.
Once activated, there are a number of default presets you can experiment with, but it’s most likely that you’ll want to create your own. Simply click on an existing gradient in the Properties panel to activate the Gradient Editor. Click New. Click at the bottom of the gradient to add new colors. A pointer will appear; double-click it or the Color box to choose a color. You can move the pointer to direct the color into different tonal values. (Move left to target darker values and right to target lighter values. Alternately, enter a new number in the Location field.) The diamonds left and right of it will control how each color fades into surrounding colors. You can add dozens of different pointers/colors, but for most applications, I recommend you restrain yourself to as few as possible. You can delete a pointer/color by clicking on it and clicking Delete or by pressing the Delete key. When you create an effect you’d like to use more than once, type a Name and click Save; you can easily store, retrieve and share these GRD files.
The color effects you can generate with the Gradient Map are so powerful and so varied, you simply must spend a little time experimenting with it to truly understand both how far you can go and how subtle you can get. Consider this kind of visual research time well spent.
After you’re done experimenting, then it’s time to deliver. Working with the Gradient Map often takes a little finessing. You’re likely to be a little disappointed if you try and get the perfect colors with the Gradient Map alone. You can spend a great deal of time picking and re-picking colors until you get it just right. Instead, try working more broadly, getting close to a desired effect and then fine-tuning the results.
Read details on how to do this on Digital Photo Pro.
Once you’ve mastered the interface, the real challenge begins—visualizing color possibilities. Previsualization can only go so far; instead, use software as a tool for visualization. Instead of rushing to a single finished result, I prefer to work on multiple copies of an image to make side-by-side comparisons of a set of variations. The possibilities are seemingly so limitless that you must perform experiments to find the best solution. If your experiments are both targeted and iterative, you’ll generate many solutions that are more likely to be optimum.
Here, a little color theory can be useful. Use dark colors in shadows and light colors in highlights; otherwise, you may posterize or solarize. Use analogous colors (similar color families) to create transitions; transitions between complementary colors tend to get muddy. Variations on earth tones work well for both realistic and antique effects. Variations on warm colors can add intensity, even fire. Variations on cool colors can generate nocturnal and even aquatic effects.
Photoshop’s Gradient Map is an exotic color adjustment tool that can be a real game changer. If you truly understand the possibilities this tool opens up, you’ll have learned to see in new ways. What could be more valuable?
Read more at Digital Photo Pro.
Learn more in my digital photography and digital printing workshops.

Photoshop’s Match Color May Change The Way You Think & See

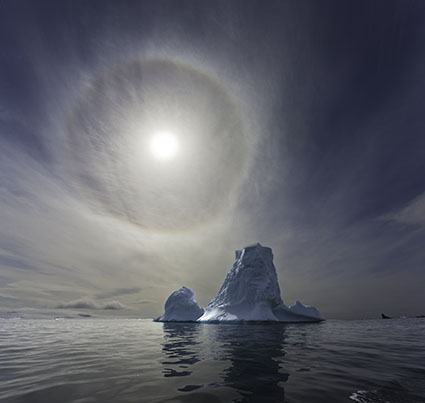
1_Blended

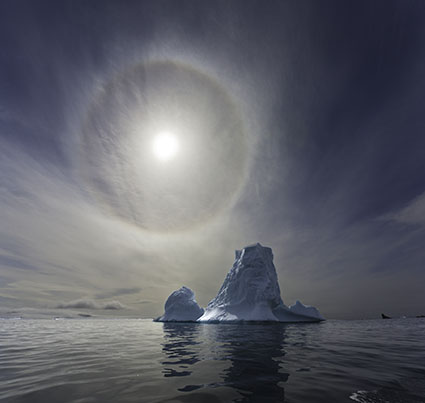
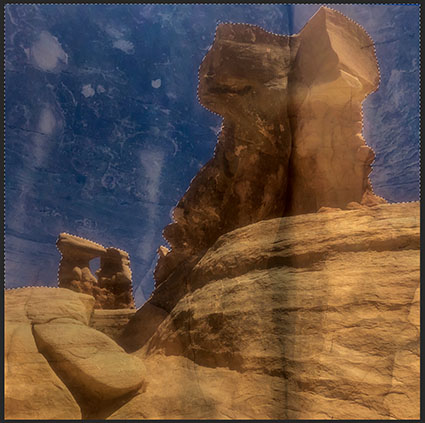
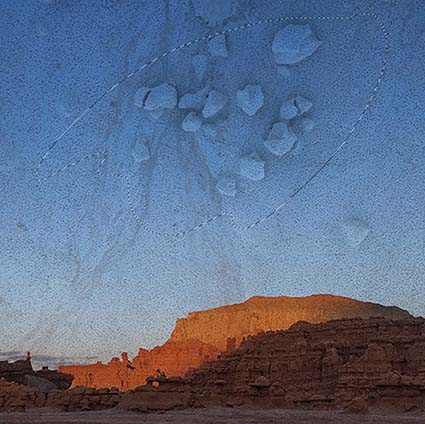
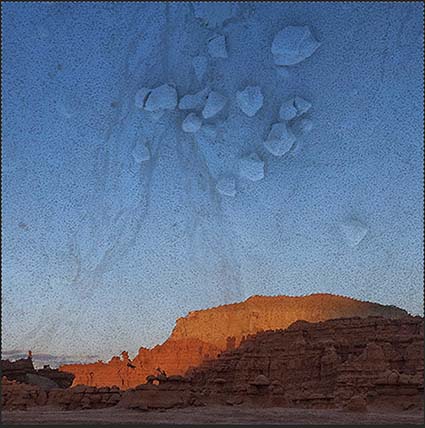
 How was this effect created? See the illustrations below.

Little explored and capable of opening up whole new frontiers in color adjustment, Photoshop’s Match Color is a tool every user should be aware of, even if it’s only to know what’s possible.
There are three primary reasons to consider using Match Color.
1  – Match two colors exactly.  
(Match the color of one object to another.)
2  – Remove strong color casts.    
(It’s great for neutralizing underwater casts.)
3  – Creatively apply the color in one image to another.
(This will blow your mind!)
A few tips will help you make the most of this fascinating tool …
Read the rest of this post on Digital Photo Pro.
Learn more in my digital photography and digital printing workshops.
2_Original_1

Original

3_Source

 New colors

4_MatchColor

Tool used

DPD’s New Advanced Lightroom & Photoshop Seminar

Hand_BeforeAfter
Learn how to make the most of your images!
Come join us for a 3 day no-holds-barred seminar on digital image processing led by two long-time industry leaders!
Demonstrations will include essential new features you need to know about in Lightroom 5 and Photoshop CC. Master the most advanced cataloging, keywording, searching, and filtering capabilities of Lightroom. Learn best practices for using Lightroom at home, on the road, and even on a network. See how you can efficiently share your images in slideshows, web galleries, social networks and print. You’ll know what to do in Lightroom and what to do in Photoshop, when to do it, and how to move back and forth seamlessly between the two.
We’ll cover all the ins and outs of developing Raw files. You’ll see what every slider in Lightroom’s Develop Module / Adobe Camera Raw does. And then we’ll show you how to double process and even use Camera Raw as a filter allowing you to use all of Photoshop’s advanced masking capabilities. You’ll see two top pros process their own files and each other’s files.
You’ll be dazzled by game-changing multi-shot processing techniques – including HDR, panorama, focus-stacking and more. You’ll be wowed by our creative uses of Photoshop’s most advanced sharpening and blurring tools. Witness the most advanced color adjustment strategies you’ll find anywhere. Combine them with the most sophisticated selections and masks to master the interpretive art of dodging and burning.
You’ll be able to take your files to a whole new level!
Register now!
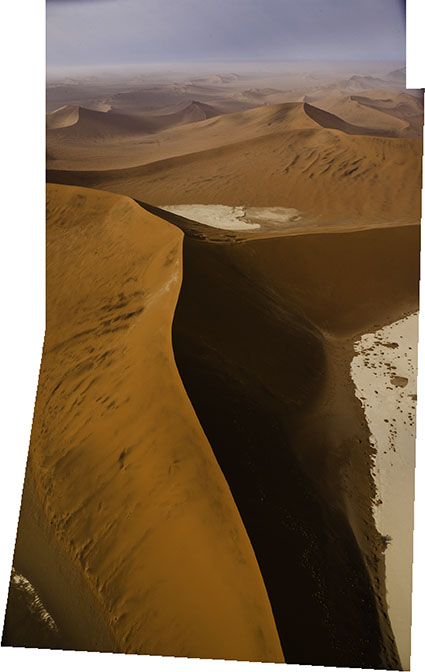
Sossusvlei_BeforeAfter

9 New Awesome Mobile Apps From Adobe

AdobeApps2
“Bring the power of desktop apps like Photoshop CC and Illustrator CC to your phone or tablet with all-new connected mobile apps. Capture colors and other inspiration, sketch and draw, and edit photos and videos — all on the go. Your Creative Profile lets you bring those assets into companion desktop and mobile apps, so you have everything you need to do your best work anywhere.”
Adobe just released 9 new mobile apps. Six of them are extensions of its major desktop apps. Photoshop Mix and Photoshop Sketch and Lightroom Mobile are for photographers; Illustrator Draw and Illustrator Line are for graphic artists; and Premiere Clip is for videographers. The other three allow you to capture content from the real world and quickly turn it into assets for use within the Creative Cloud; Adobe Brush and Adobe Color (formerly Kuler) and Adobe Shape.
My favorite? Adobe Illustrator Draw (formerly Ideas). I use it all the time!
Find out about these new Adobe Apps here.
Watch the demo for Adobe Photoshop Mix here.
Watch the demo for Adobe Lightroom Mobile here.
Find out about Adobe Photoshop Sketch here.
Watch the demo for Adobe Brush here.
Watch the demo for Adobe Illustrator Draw here.
Watch the demo for Adobe Illustrator Line here.
Watch the demo for Adobe Shape here.
Watch the demo for Adobe Color here.
Watch the demo for Adobe Voice here.
Watch the demo for Adobe Clip here.
Find out about Adobe Ink & Slide drawing tools.


New Improvements to Camera Raw 8.2 in Photoshop CC – Julianne Kost


“Julieanne takes a close look at the feature enhancements and refinements made to the Crop tool, workflow settings, and batch saving capabilities in Adobe Camera Raw. In addition she also covers improvements made to the Spot Removal Tool, Noise Reduction, Local Adjustment Brush, and Histogram.”
View more Photshop Videos here.
Learn more in my digital printing and digital photography workshops here.

How to Add Realistic Spinning Motion Blur Effects in Photoshop CC – Julianne Kost


Julieanne Kost demonstrates how to use the new, nondestructive Spin Blur in Photoshop to create realistic motion effects including the ability to spin an object at variable angles, as well emulate traditional strobe effects with the ability to define the strength, number of flashes and duration.
View more Photoshop Videos here.
Learn more in my Digital Photography and Digital Printing Workshops.