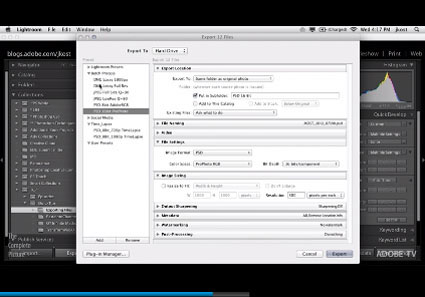
Why Does The Photograph’s Preview Change In Lightroom & Bridge? – Julianne Kost


” Julieanne Kost explains one of the great mysteries of Lightroom and Bridge – why Lightroom (or Bridge) displays a photograph one way and then changes the way it looks a moment later. It will all become clear with just a little information about how digital camera files are captured and displayed by different applications.”
View more Photoshop videos here.
Learn more in my digital photography and digital printing workshops.

Converting Images to Black and White in Lightroom 4 – Julianne Kost


“In this episode of The Complete Picture Julieanne demonstrates the best way to convert images to Black and White in Lightroom as well as how to save presets to increase your productivity.  Click here to download the presets discussed in the video. Note: although this video was recorded in Lightroom, the same techniques are available in Adobe Camera Raw in Photoshop CS6.”
Read more with my B&W ebooks.
View more in my DVD B&W Mastery.
Learn more in my B&W Digital Printing workshop.

Beyond ETTR & HDR Tonemapping – 32 Bit In Lightroom

Image by Ragnar th Sigurdsson.

To one degree or another, we’ve all been underexposing our digital photographs, even if we’ve been exposing to the right (ETTR). Imagine a day when every ƒ-stop had as much data as the lightest ƒ-stop. It’s here now. Here’s how.

Make a series of bracketed exposures where each ƒ-stop in a scene is placed in the far right of the histogram or recorded with half the data in a single digital file. Combine all the exposures into a single 32-bit file using either the Merge To HDR Pro feature in Adobe Bridge/Photoshop or Lightroom. Save or import this 32-bit file into Lightroom (4 or higher) and apply adjustments with its Develop module to avoid many common tone-mapping artifacts.

You may be surprised to find that you’ll benefit from using this technique even for images with significantly more restrained dynamic ranges.

Read more on Digital Photo Pro.
Learn more in my digital photography and digital printing workshops.
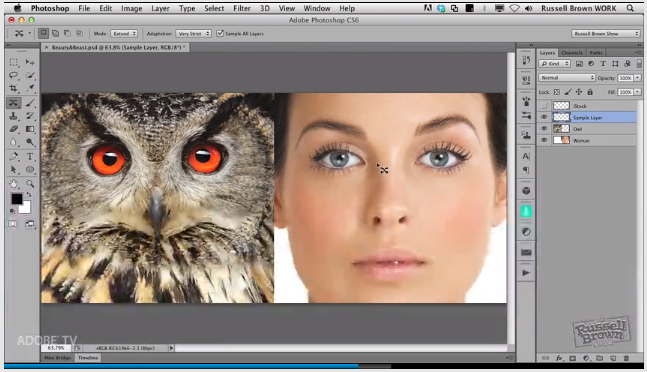
The Graduated Filter and Adjustment Brush In Lightroom 4 – Julianne Kost


Julianne Kost demonstrates the power of making selective adjustments like dodging and burning, color corrections and noise removal using the Graduated Filter and Adjustment Brush in Lightroom 4. Note: although this video was recorded in Lightroom, the same techniques are available in Adobe Camera Raw in Photoshop CS6.
View more Lightroom videos here.
Learn more from Julianne Kost on her blog.
Learn more in my digital photography and digital printing workshops.
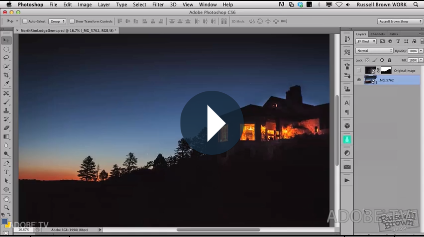
Video Quick Tip – Feathering Selections & Masks In Photoshop

.
In this Photoshop Quick Tip I show when and how I feather selections for maximum control.

Read more about Selections & Masks.
Learn more in my digital photography and digital printing workshops.
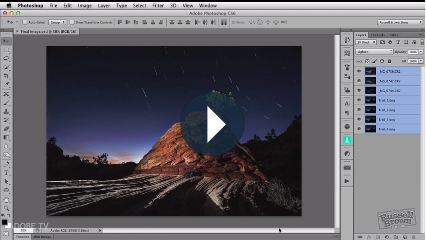
Photoshop – Using The Lens Blur Filter On An Image Sequence – Julianne Kost


“Even with the fantastic new Blur Gallery in Photoshop CS6, the Lens Blur filter is an essential tool when a high degree of control is needed to selectively (and realistically) blur an image. In this video tutorial, Julieanne Kost uses the Lens Blur filter with a depth map to to create a series of images that appear as if they were captured with a tilt-shift lens. Julieanne also demonstrates how to quickly apply this filter to multiple images using actions and batch processing.”
View more Photoshop Videos here.
Learn more in my digital photography and digital printing workshops.