What In The World Is Color Grading – Why & How To Do It

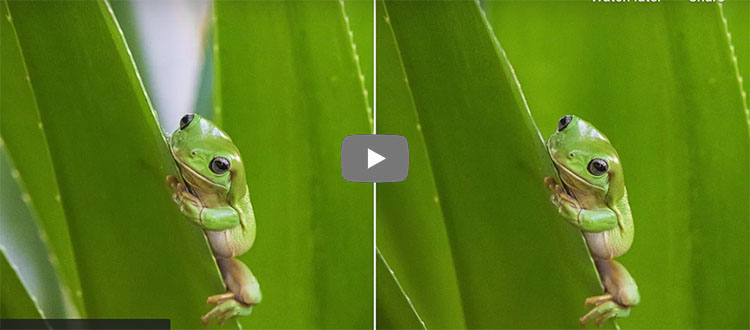
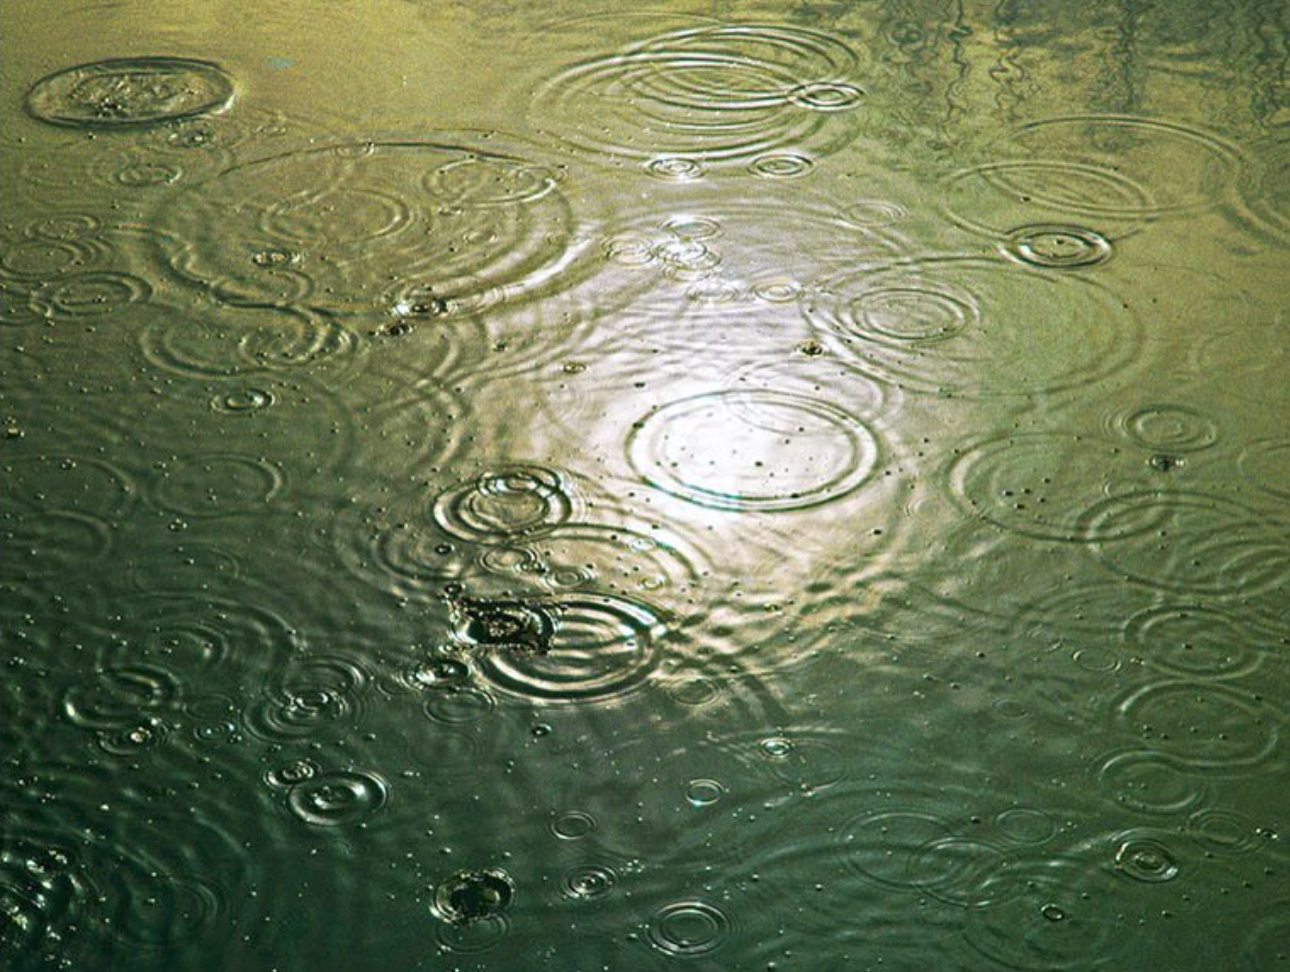
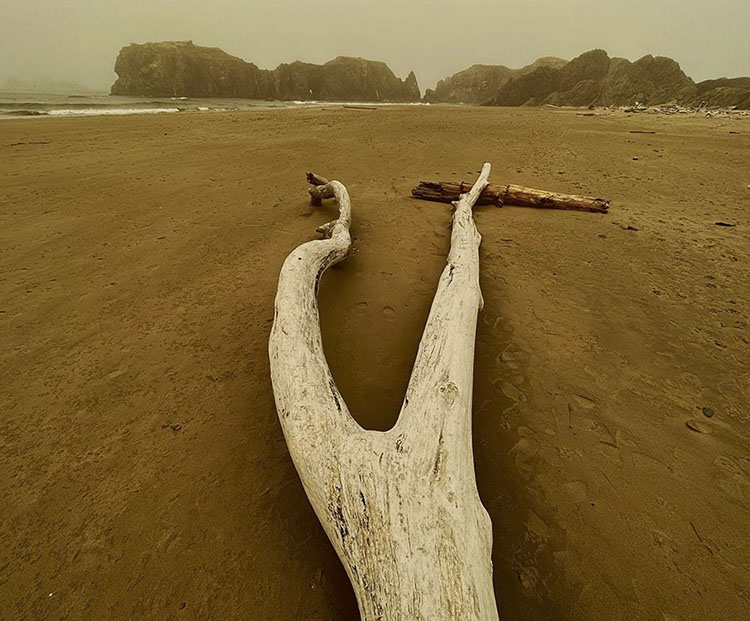
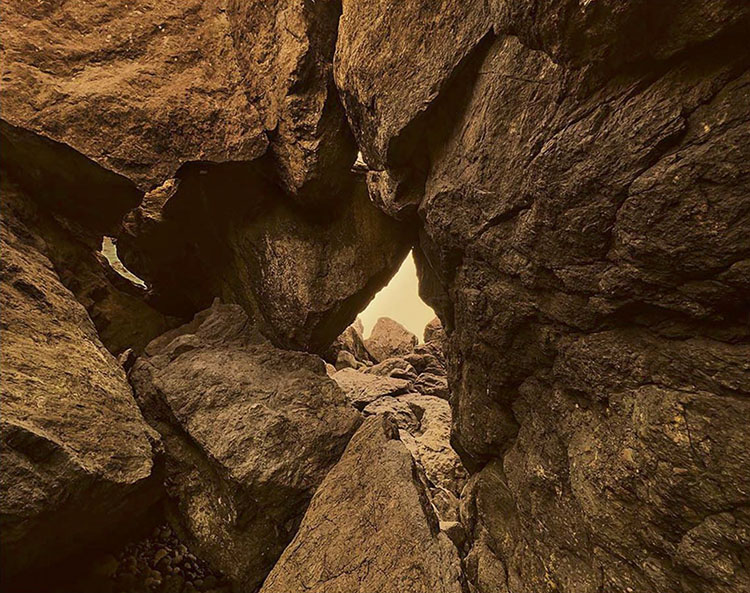
Color grading can unify images of different subjects shot at different times and locations.

Correction Versus Grading

Many people use color correction and color grading interchangeably, but their intents are quite different, while both are post-production processes and often use the same tools. Color correction is an objective technical process where colors are adjusted to appear natural; color grading is a subjective artistic process where colors are enhanced to evoke time, atmosphere, physical sensations (like temperature), and/or emotions. Correction convinces minds (avoiding personal biases); grading provokes feelings (celebrating personal preferences).

Correct Before You Grade

For some (scientists, journalists, product photographers, and art reproduction), color correction is the first and last step. For others (artists, many fashion and portrait photographers), color correction is a necessary prelude to color grading. Producing a neutral base gets images ready for artistic effects. Clipped highlights and shadows, color casts, and too much or too little saturation can all get in the way of successfully color-grading images. Correction also produces consistency between multiple shots. You won’t need to customize the color grading for different images if they are first color-corrected. This can save a lot of time and confusion if you’re processing many images.

Things To Look For During Color Correction

1    Preserve shadow and highlight detail.

2    Remove color casts. Make neutrals truly neutral.

3    Set saturation neither too low nor too high.

      Monitor memory colors: skin, blue sky, green grass, etc.

Read more on 4 Ways To Achieve Neutrality.

Tools To Create Color Grades With


Insights Members can login to read the full article.
Email:
or Sign up

Quickly Remove Distracting Elements Using Generative Fill in Photoshop

Julianne Kost demonstrates how to use the Object Selection tool, Generative Fill, and Camera Raw as a smart filter to remove distracting bright areas in the image and put more emphasis on the subject.

For more check out Julieanne’s blog.
Learn more with my Composition resources.

Learn more in my digital photography and digital printing workshops.

Using Lightroom Classic and Photoshop to Improve the Composition of a Photograph

“Julieanne Kost demonstrates tips and techniques for using Lightroom Classic and Photoshop to crop, transform, and expand a photograph using Generative Fill to make a more balanced composition.”

For more check out Julieanne’s blog
Learn more with my Composition resources.

Learn more in my digital photography and digital printing workshops.

How To Use Lightroom & Camera Raw’s Color Tool

“In this video we’ll look at a little-known/used tool with the selective adjustments in Lightroom and Photoshop Camera Raw. It’s the Color tool and we’ll really dive in to how it’s different than just the normal white balance settings for changing or adding color to your photos.”

Watch more from Matt Kloskowski here.
Learn more with my Color Adjustment resources.
Learn more in my digital photography and digital printing workshops.

Amazing New Color Grade Feature in Photoshop – Adjustment Presets

“Discover the brand new “Adjustment Presets” with a new update to create and export your own color grading presets! This is game-changing as it allows you to create presets that are insanely customizable in every aspect since they are just a group of Adjustment Layers. In this tutorial, we will learn what Adjustment Presets are, how to create them from scratch, how to export and import different color grading styles, and finally, understand the limitations of the tool.”

Find more of Unmesh Dinda’s content here.
Learn more in my Color Adjusment resources.
Learn more in my digital photography and digital printing workshops.

10 Tips for Working in the Develop Module in Lightroom Classic

“Julieanne walks through 10 tips for working in the Develop Module in Lightroom Classic, including shortcuts for sliders and panels, customizing the interface, unique zoom options, and more!”

Find more from Julianne Kost here.
Learn more in my digital photography and digital printing workshops.

Photoshop’s New Shareable Custom Adjustment Presets Feature

Now, you can create shareable custom Adjustment Presets in Photoshop.

Colin Smith, Matt Kloskowski, and Unmesh Dinda show you how.

Find out more from Colin Smith at Photoshop Cafe.
Watch more from Matt Kloskowski here.
Discover more of Unmesh Dinda’s content here.
Learn more in my digital photography and digital printing workshops.

The Cheat Code To Always Get Perfect Skin Tones With Photoshop

“Discover the incredible power of color palettes to always get the perfect skin tones in Photoshop! In this tutorial, learn how to get smooth and rich skin tones using sampling and Curves. We’ll also learn how to even out skin tones and prepare our image for retouching.”

00:00 What We’ll Learn
00:17 Example 1 – The Process
07:05 Example 2 – Easy Images
09:32 Example 3 – When it Doesn’t Work
10:23 Even Out Skin Tones
13:14 Finishing Touches
15:04 Quick Recap

Find more of Unmesh Dinda’s content here.
Learn more in my digital photography and digital printing workshops.

Use Presets To Quickly Reveal The Extraordinary Possibilities Hidden In One Image

Rushing towards perfect, you might miss it. Previsualization (seeing with your mind) is a fine start, but I recommend you use Lightroom to go further and visualize (see with your eyes). After exploring your options fully, you can perfect those results.

You can level up and speed up your game by using Lightroom’s Presets.

(Note, Camera Raw offers Presets that are identical to Lightroom.)

Virtual copies are the easiest way to make side-by-side comparisons.

Presets are the easiest way to preview the many possibilities one image contains.

Presets are also a great way to create a consistent look for two or more images. Once applied, you can tweak settings to optimize individual images while still preserving a unified style.

Presets can record any Edit setting(s) (one, many, or all) and apply them to any other image. A single click can produce results as subtle or dramatic as you like.

The many presets Adobe provides are a great starting point. You can make your own presets by customizing the defaults, by applying someone else’s, or by creating your own from scratch.


The Presets panel and the slider settings one preset produces.

How To Use Presets


Insights Members can login to read the full article.
Email:
or Sign up

Turn Any Color To Any Color In Photoshop

“Discover the Best Techniques to Change Any Color to Any Color in Photoshop! Whether you want to change blue to red, black to white, or white to anything you can think of, we will cover it all in this tutorial. Using the power and the right amount of Curves, Hue/Saturation, and Masking, learn easy ways to change color in every situation.”

00:00 The Problem with One Technique
00:34 Color to Color
03:41 Similar Color to Color
05:07 Color to Black or White
07:48 Major Announcement
08:23 White to Color
10:41 White to Black
12:35 White to Dark Color
13:01 Black to White
14:08 Black to Color

Find more of Unmesh Dinda’s content here.
Learn more in my digital photography and digital printing workshops.