Adjust Depth Of Field With Lens Blur In Adobe Camera Raw & Lightroom (Early Access)

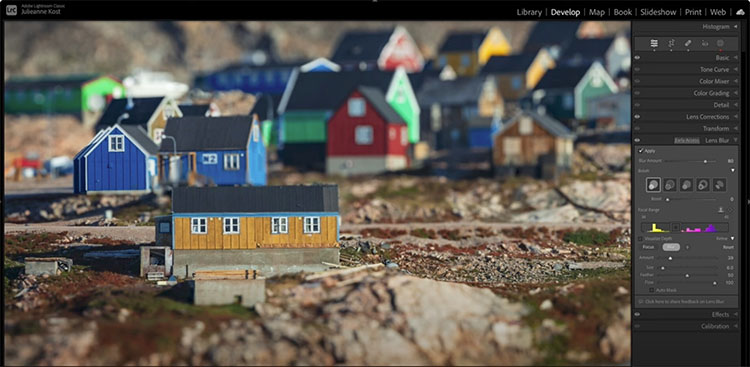
“With the help of artificial intelligence, Adobe Camera Raw & Lightroom Classic can automatically generate a synthetic depth map based on the content of an image, enabling photographers to change the focus plane and quickly create a “narrow” or “shallow” depth of field in an image. The video below demonstrates how to use Lens Blur, apply a Bokeh effect, visualize and customize the Depth Map, and use the Refinement brush.”

Find more from Julianne Kost here.

Learn more in my digital photography and digital printing workshops.
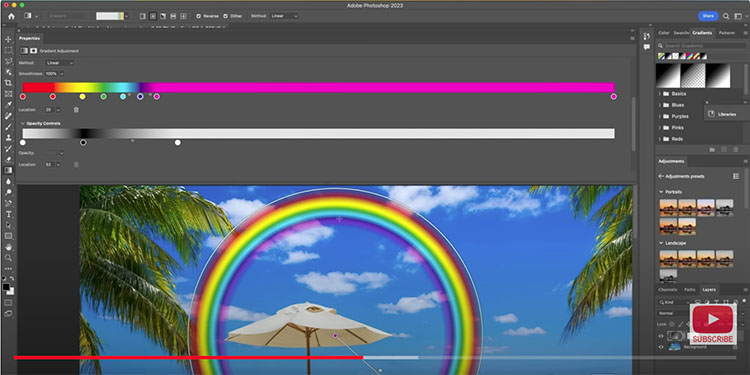
How To Use Photoshop’s New Gradients – Plus Make A Rainbow On Your Way

“Colin Smith shows you tips in the new Photoshop gradients to give you precise control and have fun making a rainbow.” Learn more about all of the gradient controls along the way.

Find out more from Colin Smith at Photoshop Cafe.
Learn more in my digital photography and digital printing workshops.

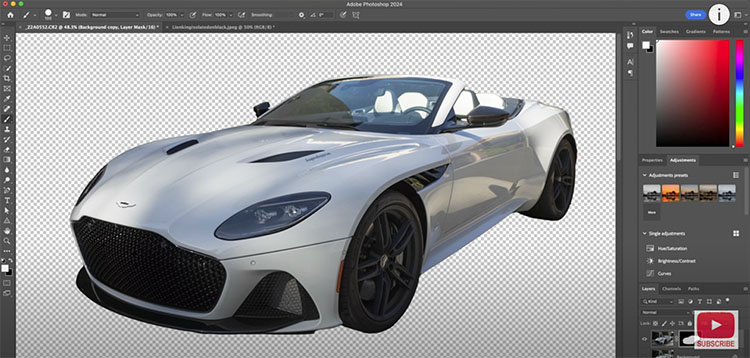
Recover Impossible Blown Out Highlights in Photoshop!

“Recover highlights easily, even if the details are completely lost, with the latest features in Photoshop! n this video, we will learn how to target and precisely select clipped highlights, use Generative Fill to create details, and explore classic Photoshop techniques like Blend Modes and Masking to blend the details perfectly!”

Follow up with …

“Overexposed? Entirely Blown Out Highlights in a White Dress? Easily “Recover” Details With a Simple Photoshop Trick! Using 2 Ingredients: A Reference & a Blend Mode, learn how to easily create the details for the blown-out areas. In this tutorial, we will learn how to use a reference texture image along with Multiply to cover up the areas with no details, and save the day!”

You can use these techniques for shadows too.

Find more of Unmesh Dinda’s content here.
Learn more in my digital photography and digital printing workshops.

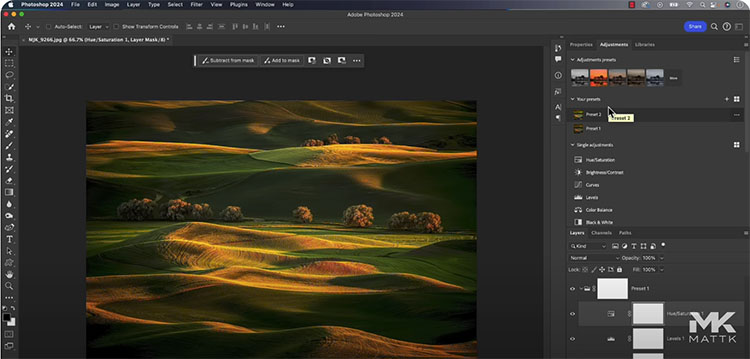
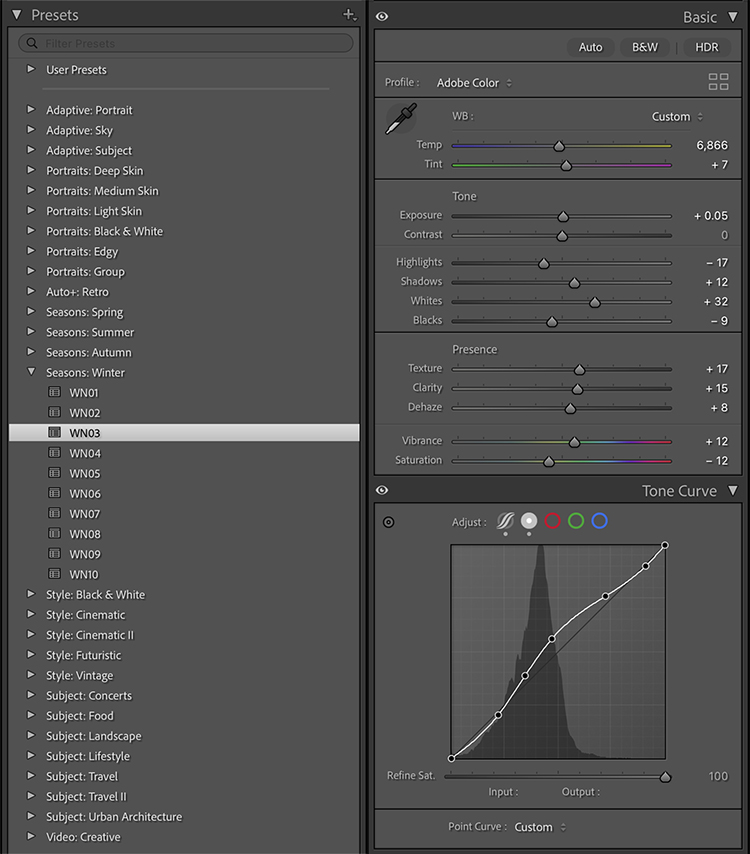
How To Color Grade For Emotion In Your Photographs – Plus Use Presets To Explore Options Quickly


“Give your photo a storytelling edge, instill mood and emotions, and transform a nice photo into a cinematic one.”

“Discover how to save time editing photos with one-click transformations in this tutorial with Adobe’s Principal Evangelist Julieanne Kost (@jkost) who shares her top tips for creating, using and downloading presets in Adobe Lightroom.”

For more check out Julieanne’s blog.
Read more in my Color Adjustment resources.
Learn more in my digital photography and digital printing workshops.
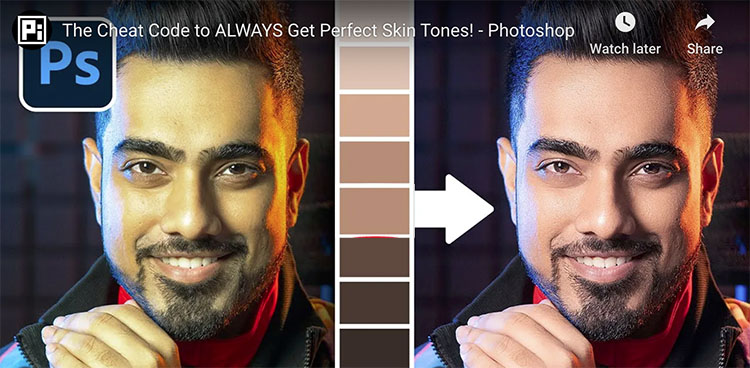
Everything You Need to Know About Point Color in Adobe Camera Raw

“The new Point Color feature in Lightroom and Adobe Camera Raw enables more powerful and precision color editing than even before. In this video you’ll learn how to use Point Color to make adjustments based an all three dimensions (Hue, Saturation, and Luminosity). While Point Color is designed to be easy to use (you can simply sample a color and start making adjustments), this in-depth video also points out key differences between Point Color and Color Mixer and demonstrates how to use the range sliders to achieve the exact color adjustments that you’re after. Point Color is available both when making edits to the entire image and when adjusting only a portion of an image using masking.”

For more check out Julieanne’s blog.
Read more in my Color Adjustment resources.
Learn more in my digital photography and digital printing workshops.
 

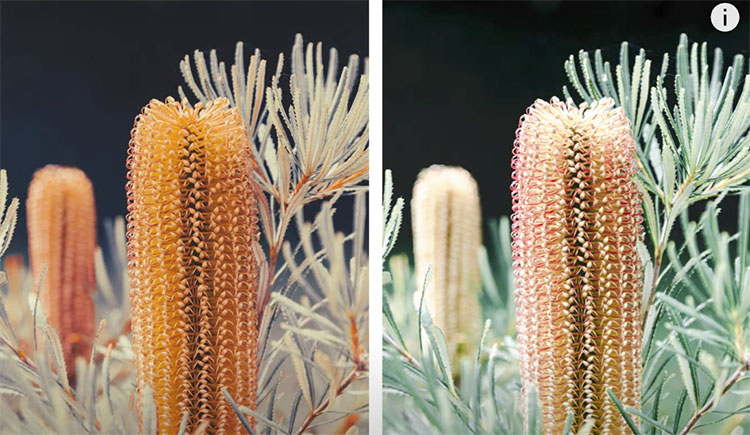
How To Fix Color Casts In Photographs With Photoshop’s New Point Color

Colin Smith shows you how to eliminate ugly color casts and weird shadows with effortless ease in Photoshop, using the new point color tool in Camera RAW.

View more from Colin Smith here.
Learn more in my digital photography and digital printing workshops.
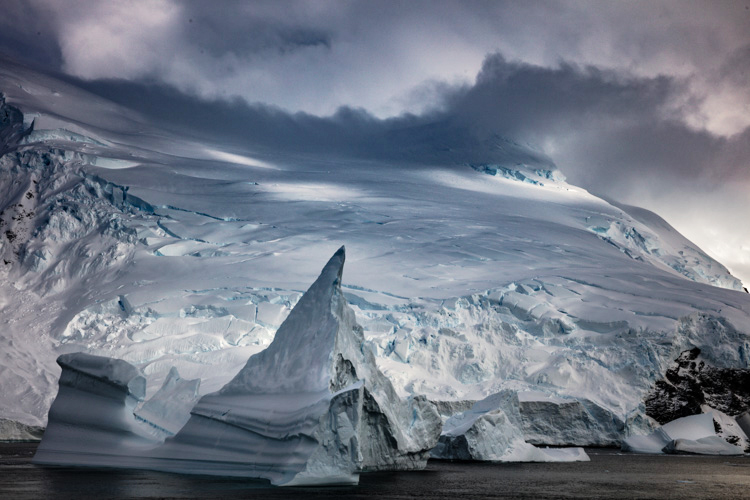
Halos & Lines In Your Photographs – How To Avoid Or Quickly Fix Them

halo and line on horizon

Nothing screams digital artifacts more than halos and lines. Bright and dark lines around the edges of objects make straight photographs look altered, and altered photographs look poorly crafted. Rarely, if ever, a good thing, their insensitivity to both contours and textures within images is supremely distracting. It's easy to eliminate these dealbreakers if you know what to look for, how to avoid them, and, when necessary, eradicate them.

Know What To Look For

First, know what to look for. If halos and lines exist, you'll find them along the edges of shapes and, sometimes, the spaces objects surround. They're most pronounced when the inside and the outside exhibit more contrast. Halos, the bright lines, are obvious; the brighter, thicker, harder halos are the more obvious, while darker, thinner, softer halos are less obvious. Lines, the dark lines, are less obvious. As they get darker, thicker, and harder, they become more obvious. 

Know How To Look For It

Halos are harder to spot in higher-resolution images that must be zoomed in (100% screen magnification) to be seen accurately. The worst is seeing them after an image is printed on a large scale. This time-consuming and expensive mistake can easily be avoided by looking closely at images before processing is finished.

Don't Produce Them

Second, know how they're produced. The quickest way to produce halos and lines is with digital sharpening, whether that's the Detail panel in Lightroom or Camera Raw, filters in Photoshop like Unsharp Mask and High Pass, or third-party plug-ins like Nik. The point here is not to avoid these tools but rather to apply them in ways that don't or minimally produce these artifacts. The next quickest way is to use any contrast tool that accentuates them; sliders in the Light panel, Curves, Texture, Clarity, and Dehaze should be monitored too. These tools won't produce halos, and if you don't have halos and lines, these tools won't accentuate them. (Careful, at high settings, Clarity and Dehaze may produce very thick, feathered halos and lines, and when they've gone too far, these artifacts look more like sloppy masking than over-sharpening. These are much harder to fix than hard lines around contours, so try not to produce them.)

See my articles on High Pass, Clarity, and Dehaze for more.

If any tool produces halos while you're processing, reduce the settings until they don't (Remember to zoom in to check this before moving on.) It's easier not to produce them than to cure them. If you discover halos and lines long after they were produced, find the slider or layer that produced them and change those settings. (In Photoshop, it's critical to adopt a flexible workflow using smart filters, adjustment layers, and layers so that you can do this quickly and easily. If you start building too many effects into flattened layers, you'll have to redo the whole thing.)

adjustment in Camera Raw masked

Mask Them

Sometimes, the artifacts produced by sharpening and contrast enhance images positively inside contours, but along contours, they look terrible. Consider applying the effect and masking it away from the contours in this case. Horizon lines are one of the most important image elements to monitor. This contour typically has more contrast than any other, not only in luminosity but also in texture, which means halos are more easily seen in the lighter, smoother sky. 


Insights Members can login to read the full article.
Email:
or Sign up

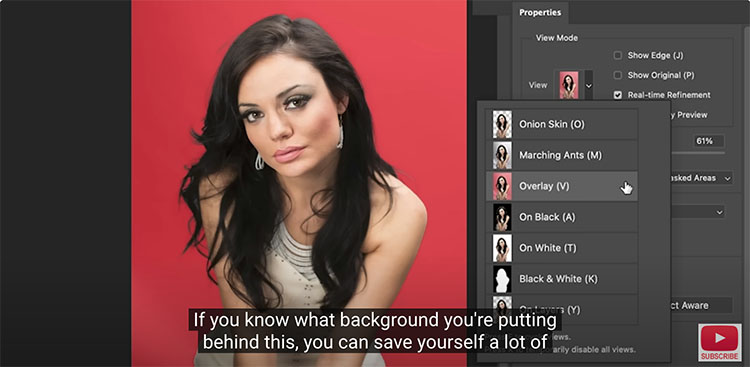
How To Use The Future Of Photoshop Filters Now

New in Photoshop 2024 Beta, Parametric filters, the ultimate guide. Colin Smith shows you all the different new filters in Photoshop and provides tips on how to make them the most useful.

00:00 Introduction
00:06 How to Get Photoshop beta
00:14 How to Use the Parametric Filters
00:36 Tip for better setup and resolution
02:17 Substance Designer
02:45 Changing and combining filters
03:24 Using Parametric Filters with Layer Masks
05:32 Lightning Round of all Filters
05:36 Black and White Vintage
05:52 Chromatic Aberration
06:12 Color
06:33 Distortion Filter
06:45 Duotone
07:06 Emboss
07:12 Glass Filter
07:44 Filter Glitch
07:56 Halftone
08:12 Hologram
08:29 Hologram 2
08:40 Oil Paint
09:11 Pattern Generator
09:45 Pixelate
09:50 Rain Filter
10:12 Scratch Photo
10:55 Snow Filter
11:13 Spherify
11:46 Sticker
12:00 Symmetry
12:33 Vintage Photo

View more from Colin Smith here.
Learn more in my digital photography and digital printing workshops.
How To Get Perfect Results With Adobe Lightroom & ACR’s Lens Blur

Colin Smith shows how to use the new Lens Blur in Lightroom and Adobe Camera RAW, including refining the blur and adding bokeh.

00:00 Intro
00:15 How to apply Lens Blur in Lightroom and Camera RAW
00:50 Lens Blur Settings
01:16 Focal Range, change the focus distance
02:06 Visualize Depth
02:46 Changing Blur area
03:43 Refining the selection, manually fixing the blur area
07:03 Multiple blur planes. matching the background
07:46 Final Settings for the most realism
08:17 Setting the Bokeh
08:58 The Different types of Bokeh

View more from Colin Smith here.
Learn more in my digital photography and digital printing workshops.
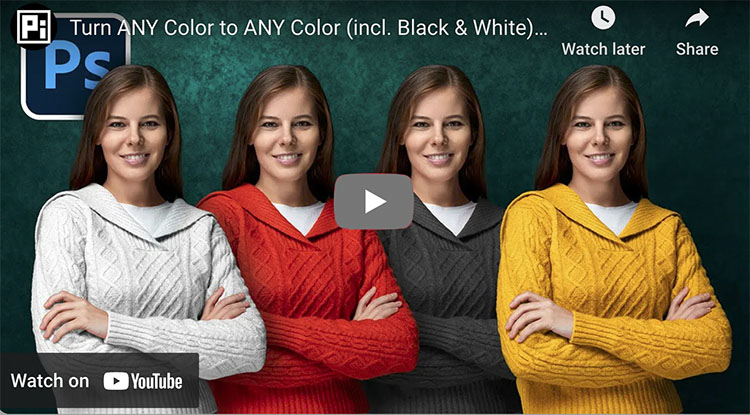
How To Create The Best Color To Black And White Conversion Previews

The fully saturated image

light on dark pieces of paper - a combination that can only be made by localizing different conversions

dark on light pieces of paper - a combination that can only be made by localizing different conversions

To find the best color to black-and-white solution an image contains, it’s important to explore all of your options. One technique will quickly show you more options than any other – Photoshop’s dual adjustment layers (a Hue/Saturation adjustment layer below a Channel Mixer adjustment layer).

To preview all possibilities dynamically, move the Hue slider all the way to the left and all the way to the right.

But wait, there’s more.

As you’re previewing the many options available to you, remember you can localize the effects with masks. You can go beyond what you see in one mix by combining any of the tones you see in all of the mixes.

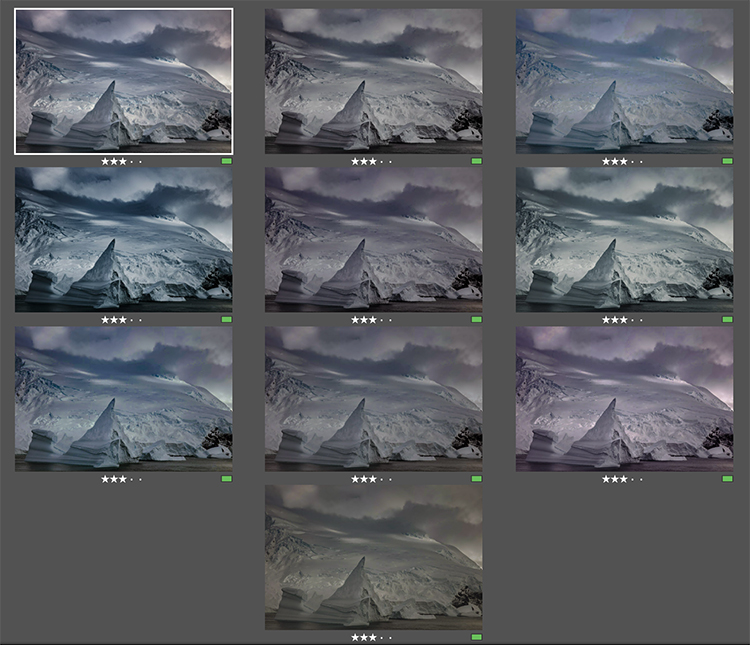
Few people can remember all of the possible combinations. So, save multiple copies with different settings and compare them. There’s nothing like seeing many options, side-by-side, to confirm you’re committing to the best solution.

You can read about this technique in more detail here.

The two solutions above can only be achieved by converting separate areas of the image differently using masks.

The solutions below show the different global conversions which can be combined.

Note no dodging and burning was used to create these solutions. Dodging and burning can’t produce these extreme effects, but it can be used to further enhance them.

Also, note this technique is not useful for semi-neutral images; an image has to have significant saturation in at least one color to benefit from this technique.


Insights Members can login to read the full article.
Email:
or Sign up