How To Create The Best Color To Black And White Conversion Previews

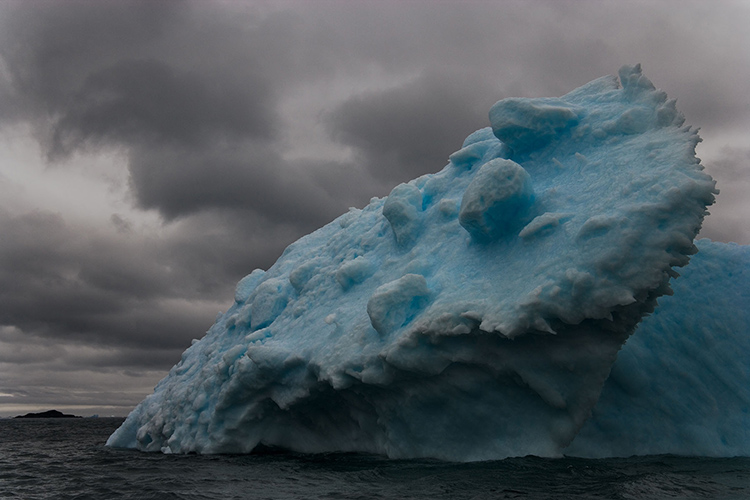
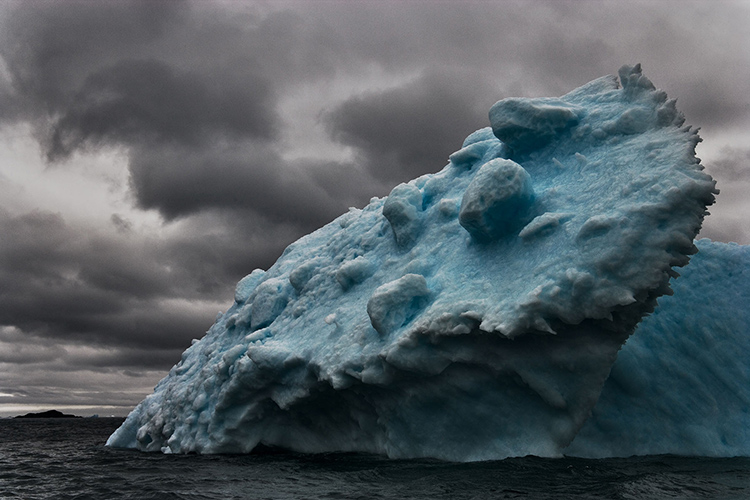
The fully saturated image

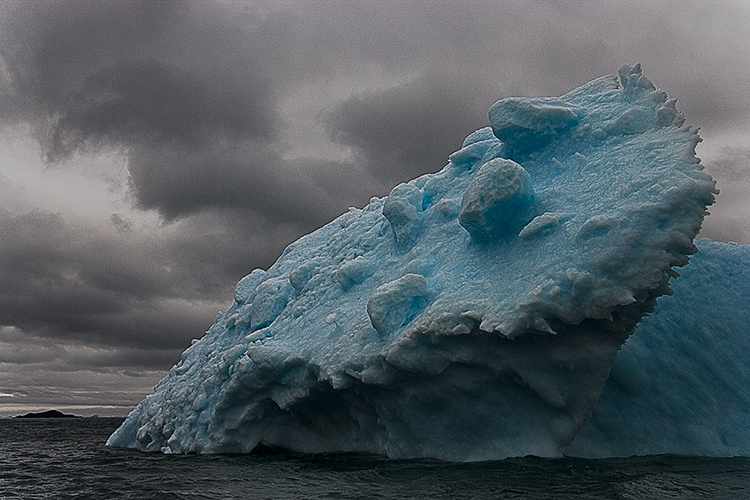
light on dark pieces of paper - a combination that can only be made by localizing different conversions

dark on light pieces of paper - a combination that can only be made by localizing different conversions

To find the best color to black-and-white solution an image contains, it’s important to explore all of your options. One technique will quickly show you more options than any other – Photoshop’s dual adjustment layers (a Hue/Saturation adjustment layer below a Channel Mixer adjustment layer).

To preview all possibilities dynamically, move the Hue slider all the way to the left and all the way to the right.

But wait, there’s more.

As you’re previewing the many options available to you, remember you can localize the effects with masks. You can go beyond what you see in one mix by combining any of the tones you see in all of the mixes.

Few people can remember all of the possible combinations. So, save multiple copies with different settings and compare them. There’s nothing like seeing many options, side-by-side, to confirm you’re committing to the best solution.

You can read about this technique in more detail here.

The two solutions above can only be achieved by converting separate areas of the image differently using masks.

The solutions below show the different global conversions which can be combined.

Note no dodging and burning was used to create these solutions. Dodging and burning can’t produce these extreme effects, but it can be used to further enhance them.

Also, note this technique is not useful for semi-neutral images; an image has to have significant saturation in at least one color to benefit from this technique.


Insights Members can login to read the full article.
Email:
or Sign up

The Best Way To Convert Your Images From Color To B&W Using Photoshop

Full-color image

Global B&W conversion

B&W conversion locally optimized for foreground

The color transformation necessary to produce the results


With so much power available during Raw processing (with Lightroom or Camera Raw) when converting color to black-and-white, you’re right to ask, “Why use Photoshop?” It’s a question worth asking every time you make a black-and-white conversion. And there’s a simple answer – when you want to convert the same color in two separate areas of an image differently. (Note: this technique is not useful for semi-neutral images; an image has to have significant saturation in at least one color to benefit from this technique.)

Photoshop can localize black-and-white conversions with masks. Often, the masks you need to do this will be extremely simple. But, for the rare occasions when you need to make a more complex selection, Photoshops’s robust masking capabilities are there for you.

Here's how to do it.


Insights Members can login to read the full article.
Email:
or Sign up

10 Tips To Help You Master Layer Masks In Adobe Photoshop

“In this video, Julieanne demonstrates ten essential shortcuts for working with Layer Masks, including how to add, delete, invert, move, reposition, copy, target, disable, change the density, and add a non-destructive feather to soften the edges of a mask.”

Follow up with her fundamentals of working with layers.

View more of Julieanne’s videos.
Learn more in my digital photography and digital printing workshops.

5 Reasons to use Smart Filters in Adobe Photoshop

“In this video, Julieanne demonstrates five reasons to use Smart Filters in Photoshop, including how to edit, mask, stack, move, duplicate, and change blend mode and opacity of Smart Filters in Photoshop.”

View more of Julieanne’s videos.
Learn more in my digital photography and digital printing workshops.

6 Benefits Of Using Smart Objects In Adobe Photoshop

In this video, Julieanne will walk through six benefits of working with Smart Objects in Photoshop, including transforming and distorting Smart Objects, editing and replacing the contents of Smart Objects, creating duplicated instances, and more!”

View more of Julieanne’s videos.
Learn more in my digital photography and digital printing workshops.

How To Add Rim Light Using AI Masks in Adobe Lightroom & Camera Raw

.

Colin Smith shows you how to add rim lights using ai masks in Lightroom and Adobe Camera Raw.

Find out more from Colin Smith at Photoshop Cafe.
Learn more in my digital photography and digital printing workshops.

How To Update To Photoshop 2024 – All Your Questions Answered

Colin Smith answers all your questions about updating to Photoshop 2024 … and shows you how to fix common problems.

00:00 Intro
00:16 Are Adobe charging for Generative Fill’s Generative credits?
02:55 Is the resolution still limited to 1024 x 1024?
04:57 Can I uninstall beta?
05:49 Is it version 25 or 2024?
06:32 Where are my Presets and Plugins etc?
07:08 Keep old version for Plugin Compatibility
07:33 How to get back an old version of Photoshop
8:14 Run the correct version
08:31 Missing Tools
9:15 Open the correct version of Photoshop from Lightroom

Read the details here.

Find out more from Colin Smith at Photoshop Cafe.

Learn more in my digital photography and digital printing workshops.

How To Master The Newly Updated Gradient Tool In Adobe Photoshop

“In this video, you’ll discover tips and tricks to master the new, non-destructive Gradient tool in Photoshop, including how to make the most out of the on-screen editing controls, working with Gradient Fill layers, new options on the Properties panel, working with Layer Masks, changing gradient Types, Quick Actions, and more!”

View more of Julieanne’s videos.
Learn more in my digital photography and digital printing workshops.

3 Ways To Refine Adobe’s Select Subject Masking Results

.
Matt Kloskowski demonstrates 3 ways to refine the Select Subject masking that we get in Lightroom and Photoshop Camera Raw.
.