Extend Depth of Field With Focus Stacking
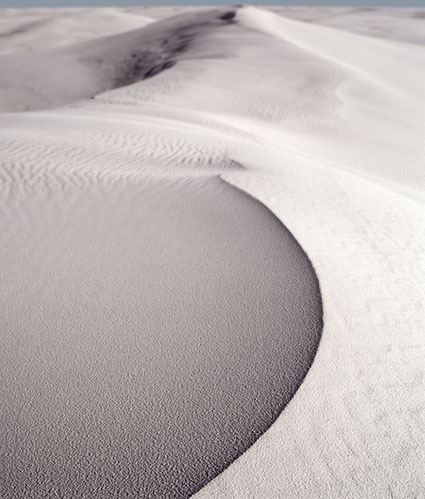
Foreground in focus
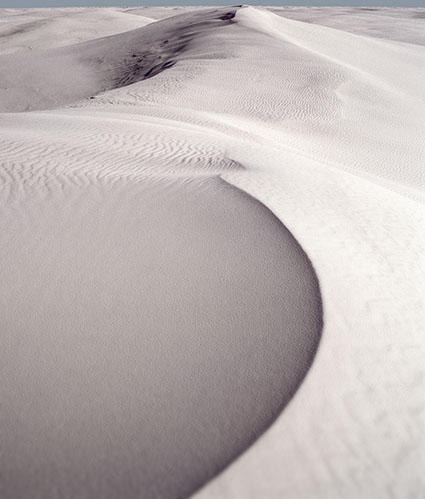
Background in focus
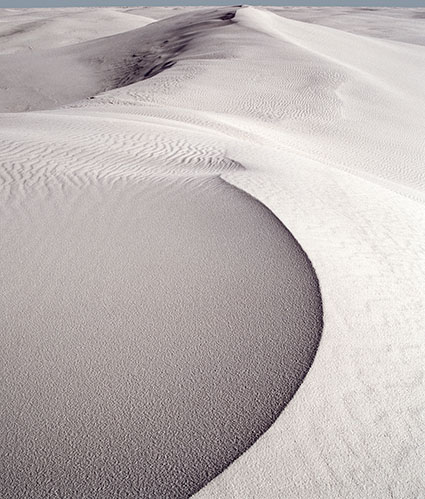
Two exposures combined to achieve infinite depth of field
How deep would you like your depth of field to be? The choice is yours. Today, there are virtually no limits. You can extend depth of field beyond the physical limitations of any lens/camera system with multi-shot exposure practices and software – by compositing multiple exposures.
To do this you first need to make a set of focus bracketed exposures, optimizing focus in different image areas. How many exposures you’ll need will depend on how much depth of field a scene contains. At a minimum, make two exposures; one focused on the foreground and another focused on the background. Making three exposures is better; one each for foreground, middle ground and background. When dealing with extreme depth of field, like macro or microphotography, you’ll want to make more exposures, at least three, probably six, possibly more. When in doubt, make more exposures than you think you’ll need; you don’t have to use them all when you stack the separate exposures, but they’ll be there if you need them. Unlike bracketing for HDR, it’s almost impossible to automate these types of bracketing sequences in camera as focus needs to be adjusted for each frame. However, for tethered shooting, you can use software such as Helicon Remote to take control of your camera and automate this process and other bracketed sequences like HDR and time-lapse. Whenever possible use a tripod to make focusing during exposure more precise and registration during post-processing easier. While using a tripod always delivers more reliable results, don’t let this stop you from trying this technique hand-held, especially with simpler sequences, like those used in landscape. You may notice that In cases involving extreme depth of field, you may notice the relative size of objects may change between individual exposures. These effects will be automatically adjusted during the merging process.
Before you combine a set of focus bracketed exposures, make all the Raw conversion adjustments you’d like to make to the final file. It’s quick and easy to process a focus bracketed series of files; process one file in the series ideally and then Sync the other files to it. Once a Raw file is rendered, you can’t re-access the data in it, such as ‘recovering’ highlights or ‘filling’ shadows, without re-rendering it. While, you can adjust lens distortions after stacking with Photoshop’s filter Lens Corrections, it’s much easier, faster and more robust to apply Lens Corrections during raw conversion, before focus stacking 16-bit TIFFs.
Once you have a processed set of focus bracketed exposures you can automate the process of stacking and blending them into a single file in Photoshop. (Unlike HDR and Panorama merges, you can’t make a focus stacked merge in Lightroom – currently.)
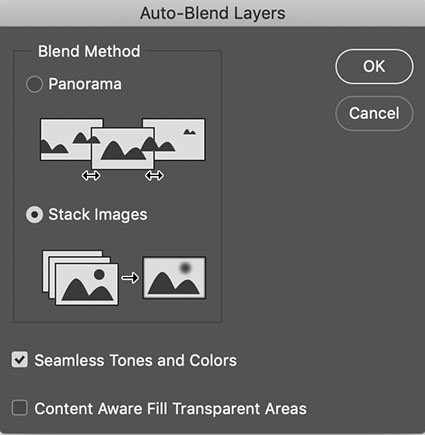
Photoshop’s Auto-Blend Layers dialog
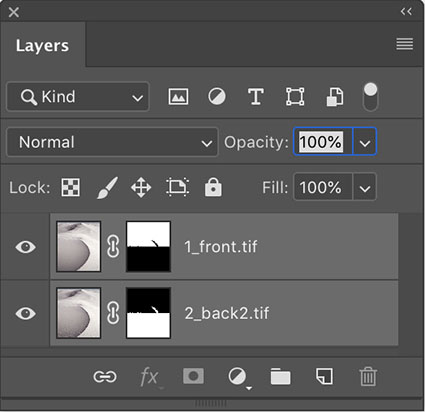
Photoshop’s auto-masked layer stack
Take these four steps.
1 Using Adobe Bridge highlight all of the files you’d like to combine.
2 Go to Tools > Photoshop > Load Files Into Photoshop Layers
3 In Photoshop’s Layers palette highlight the layers
4 Go To Edit > Auto-Blend Layers, check Stack Images and click OK
You can then further refine these results, including manually adjusting the automated masks or distorting layers, but this is rarely necessary. Photoshop does a fine job for a majority of applications.
.
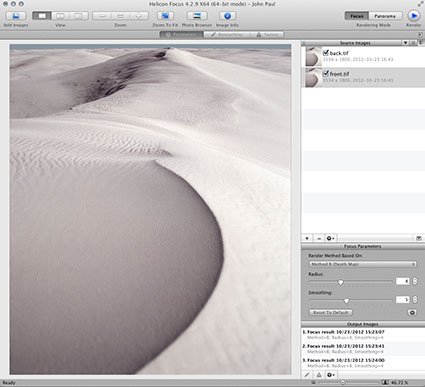
Helicon Focus’ main window
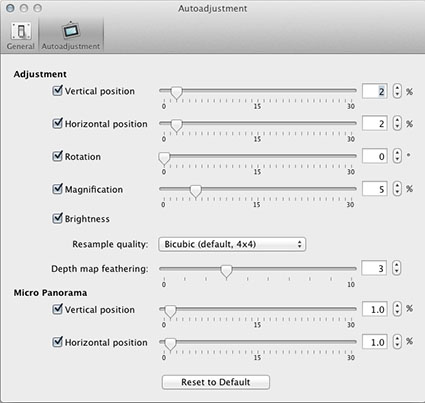
Helicon Focus’ Autoadjustment panel


