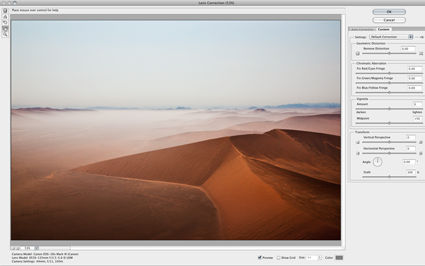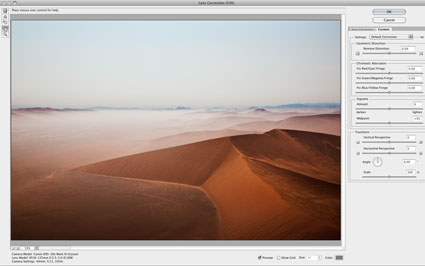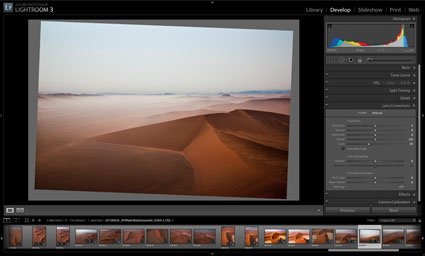


Adobe’s lens profile corrections are simply amazing. Lens Corrections automate correction of standard lens distortions, including geometric distortion, chromatic aberration, and vignette. In addition to correcting lens distortions, this feature can also be used to adjust perspective and rotation.
Adobe provides support for a growing list of camera manufacturers, camera models, and lenses: Canon, Nikon, Pentax, Samsung, Schneider, Sigma, Sony, Tamron, and Zeiss.
Adobe Lens Profile Creator
If Adobe doesn’t supply a lens profile for your particular lens you have three choices.
First, you may be able to access a lens profile created by another user on the Adobe Lens Profile Creator forum. Find and share lens profiles at Adobe labs. Of course, these lens profiles will only be as good as the creators were diligent about creating them.
Second, you can visually adjust the parameters of an existing lens profile and save the new settings under a new name for future use. There’s plenty of room for user error with this method but it’s more efficient than creating manual corrections from scratch. Expect to check the results frequently when you apply these settings to different types of images.
Third, you can create your own custom lens profile with the free Adobe Lens Profile Creator utility. Download the Adobe Lens Profile Creator at Adobe Labs.Adobe Lens Profile Creator is a utility designed for photographers who want to create custom lens profiles for their own lenses. The process of creating a custom lens profile for your lens involves capturing a series of images of a printed checkerboard pattern with your specific camera and lens, converting that set of raw images into Digital Negative (DNG) file format (using the Camera Raw plug-in, Lightroom, or the free Adobe DNG Converter), and importing the raw DNG images (or JPEG/TIFF images when creating lens profiles for a non-raw workflow) into the Adobe Lens Profile Creator to generate a custom lens profile. If you create new lens profiles, you can share them with the rest of the user community on the Adobe Lens Profile Creator forums, publishing them directly from inside the Lens Profile Creator. These profiles will then be available via new versions of the Adobe Lens Profile Downloader. This is an extended and complex process few photographers will want to go through, but for those using unsupported cameras and lenses worth the time and effort in the long run.
Using Adobe’s Lens Profile Corrections
You can access Adobe’s Lens Corrections in three locations; Adobe Camera Raw, Lightroom 3, or Photoshop CS5’s Lens Correction filter. (Lens profile corrections were first introduced in Lightroom 3. To get Lens Profile Corrections in Adobe Camera Raw CS5, you need to download a version that has been updated after the release of Lightroom 3. You can download the latest free update at adobe.com.
It’s far less destructive to make these types of adjustments to Raw files during conversion rather than after conversion. It’s also more flexible. (Use a smart object and reaccess the controls any time by simply by double clicking the smart object.) However, if you want to apply Lens Corrections within Photoshop, after a file has been rasterized, you can use CS5’s updated Lens Correction filter.
In ACR and Lightroom, you’ll find two tabs under Lens Corrections; Profile and Manual.
Under Profile, click Enable Lens Profile Corrections to activate this feature. Using the EXIF data in your Raw file, the software will automatically select the Make (of your camera), Model (of your lens), and the Profile (for that lens). You can use the supplied lens profiles, download a custom profile made by another user, or create your own (manually or with Adobe’s Lens Profile Creator).
Checking Enable Lens Profile Corrections will also allow you to access three sliders – Distortion, Chromatic Aberration, and Vignetting – for manually fine tuning the results. If you like the results of one correction but not another, you can decrease or increase the effects in one or more of the three fields.
Under Manual, you’ll find controls for visually creating your own lens profile corrections …
Read more on Digital Photo Pro.
Read more in my online lessons.
Learn more in my digital photography and digital printing workshops.


