exposure Archives - Page 3 of 3 - John Paul Caponigro

Extending Format – It’s For More Than Panoramic Formats


No one needs to learn to “think outside the box” more than photographers. The frame, literally a box, is often our greatest ally. Learning to see photographically is, in part, learning to see within the limits of this box and use them creatively. But there are times when this limits our vision unnecessarily. Once we’ve learned to see within the box, we then also need to learn to see outside the box—and start extending the frame with multiple exposures to perfect select compositions. Extending format techniques aren’t just for panoramic image formats. They can be used to give you the extra inch that can make all the difference in the world for your compositions …
Read more on Digital Photo Pro.
Learn more in my digital photography and digital printing workshops.

8 Essentials To Achieve Perfectly Focused Exposures

Use these 8 essential practices to achieve optimally focused exposures.

1         Focus
Set focus in an image intentionally; placing focus in an image unintentionally is usually a deal breaker. Switch autofocus mode to AI Servo only for subjects that are moving predictably. Use manual focus for times when auto focus is likely to fail you, typically scenes with low contrast, including but not limited to low light and night photography.

2         Eliminate Camera Blur
Use a tripod whenever practical. Lacking a tripod, use a nearby prop to stabilize the camera during exposure. When shooting hand, held brace your body in a stable position. Whenever appropriate use the minimum shutter speed you can hand hold without motion blur; for most people this is 1 second divided by the focal length - i.e. 50mm + 1/50th of a second. Shoot in bursts of three or more; nine times out of ten one exposure will be sharper than the others.

3         Use Sharp Lenses
         Higher quality lenses not only deliver sharper images, they do so from center to edge and with minimal chromatic aberration (caused by a lenses inability to focus all wavelengths of light on the same plane). Compare lens MTF charts to see how sharp a lens is and when it is sharpest.

4         Use The Sharpest Aperture
The sharpest aperture, generally f8 or f11, varies from lens to lens. Test your lens to find out which aperture is sharpest. The smallest aperture (f22 or equivalent) delivers the greatest depth of field (acceptable lack of focus) but slightly compromises sharpness in image areas that are perfectly focused. It’s a trade off; make it only when it’s beneficial.


Insights Members can login to read the full article.
Email:
or Sign up

13 Essential Tips For Low Light & Night Photography

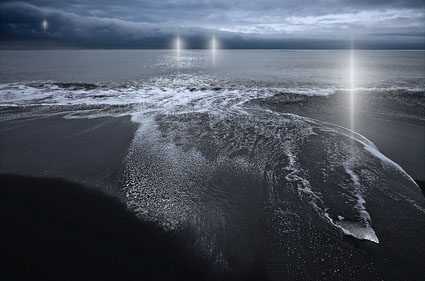
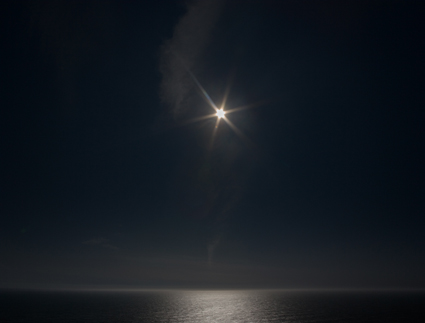
What settings should you use when making exposures in low light or at night? Use a tripod and cable release, set ISO to 800 (or higher), open up f5.6 or wider, focus at infinity and keep exposures below 20 seconds. While this is a good starting point, that’s all it is, as you’ll need to modify settings based on the specific light(s) in a location, the equipment you’re using, and the effect you want to produce. Instead, ask, “What concerns do I need to be mindful of and what points of control do I have when making low light or night photographs?” Develop your sensitivity to these factors and you’ll know why and when to improvise and even what more you can explore. These twelve tips will give you a solid foundation from which to begin your explorations in low light and night photography.


Insights Members can login to read the full article.
Email:
or Sign up

Evaluating Histograms


Review Histograms After Exposure

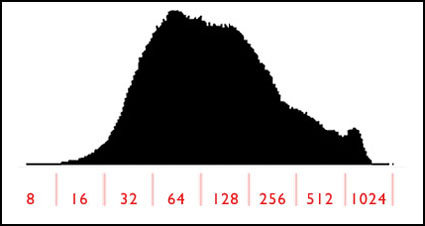
One big advantage of shooting digitally is the ability to view a histogram in the LCD screen on the back of your camera body. A histogram is a graph of the relative distribution of the data in your image from shadows on the left to highlights on the right. You can use a histogram to evaluate not only the tonal distribution but also the quality of your exposures. By viewing the histogram immediately after exposure, you can determine if you need to make additional exposures at alternate settings to get better exposures. Simply program your camera to display a histogram immediately after exposure. You'll find this immediate feedback will result in much higher success rates.


Insights Members can login to read the full article.
Email:
or Sign up