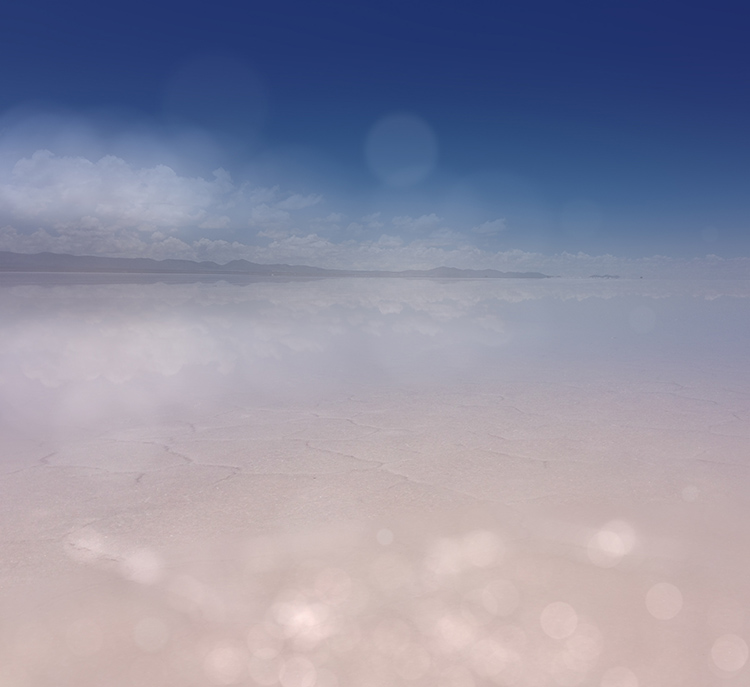
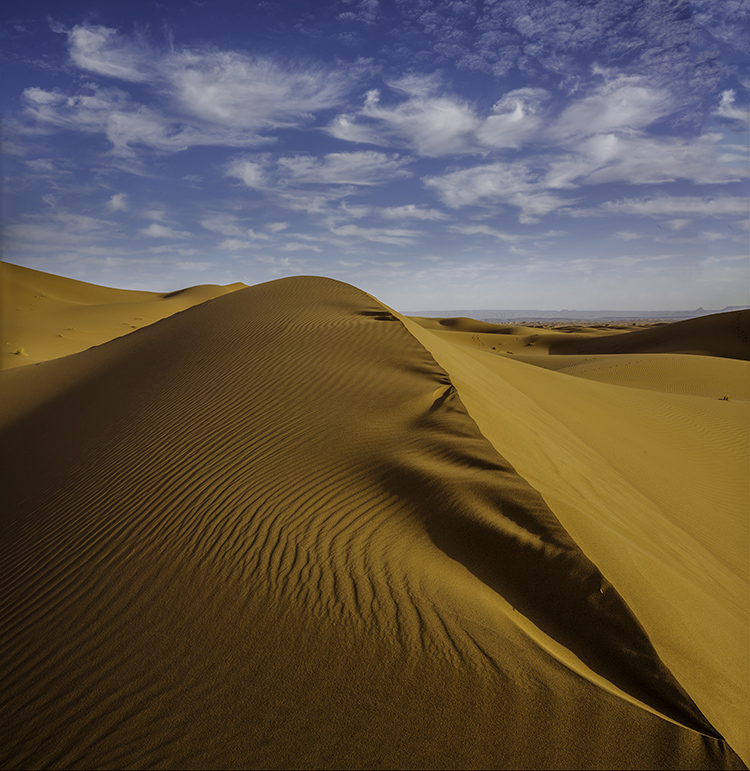
How To Make Day Look Like Night In Your Images
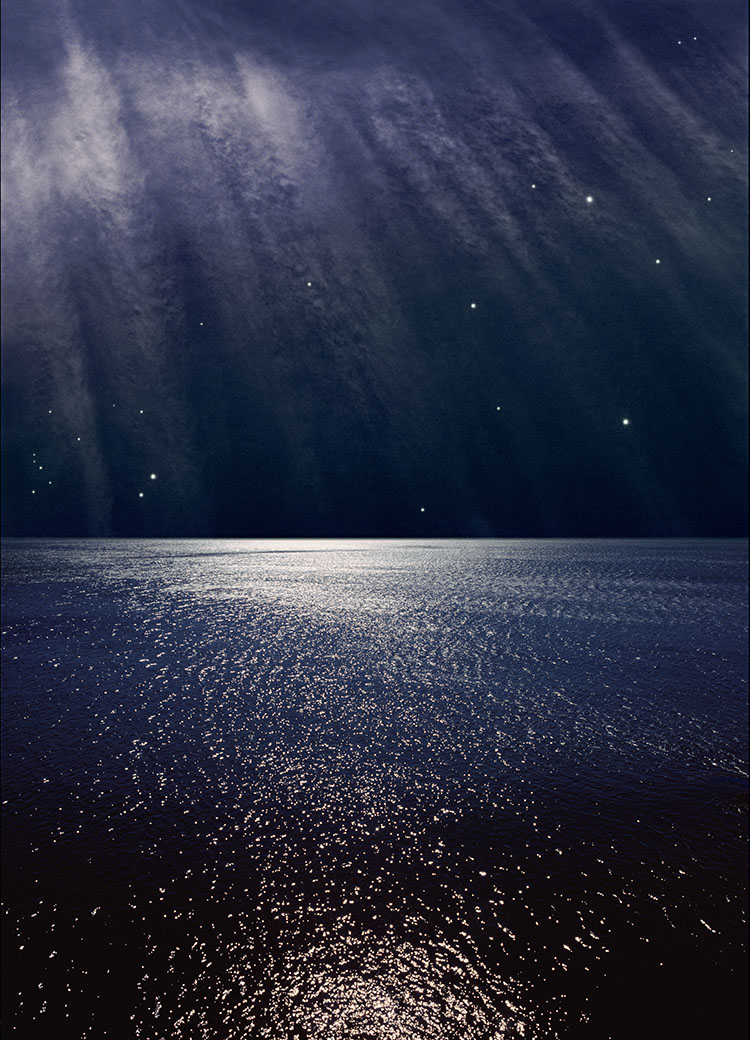
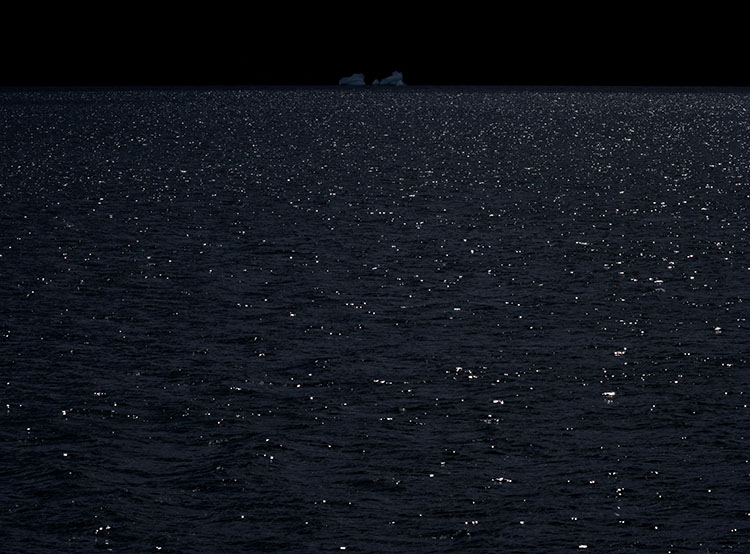
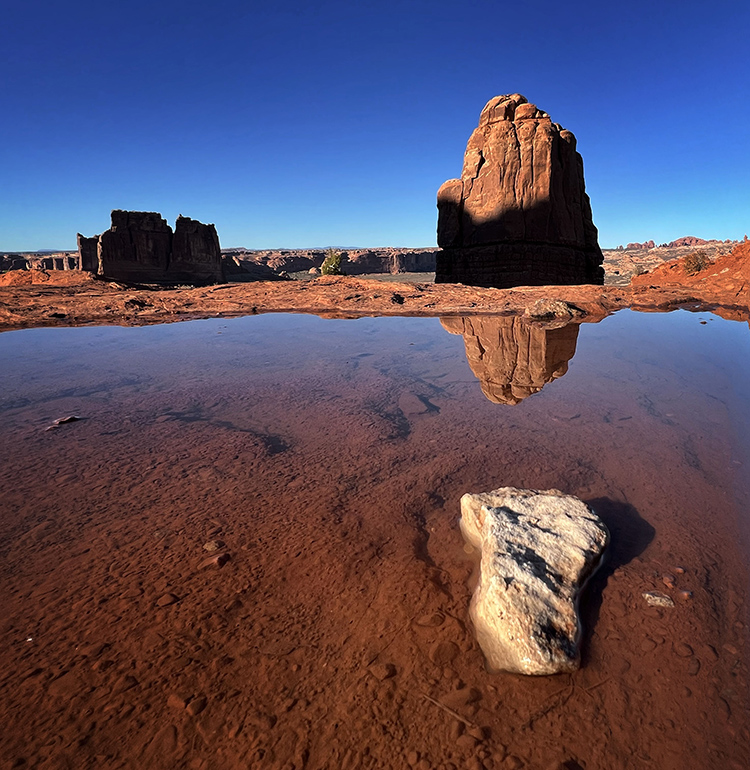
Because both analog film and digital image sensors are not as sensitive in low light as the human eye, night scenes recorded in natural light are typically underexposed to the point where little is visible. However, night scenes can be rendered with daylight.

"Day for night" is a set of cinematic techniques used to simulate the appearance of night while filming during the day. It's often used when it's too difficult or expensive to shoot at night, but it's sometimes selected deliberately because it offers special image qualities. It's not just technique; it's also an aesthetic.

The same techniques cinematographers employ can be used for still images.

Exposure

When shooting day for night, scenes are typically underexposed in-camera or darkened during post-production, reducing saturation and adding a blue tint – though some movies, like Mad Max: Fury Road, deliberately overexpose. There's more than one way to create the impression of night, and each one offers unique qualities.

ND filters are needed only for the brightest scenes or to prolong exposures to create motion blur.

Continue to use ETTR (expose to the right) but use it more cautiously; above all, don't clip highlights. This will offer you more latitude during post-processing. Avoid dramatic underexposure, which can crush shadows, flatten midtone contrast in ways that reduce flexibility during post-processing, and accentuate noise.

Very bright skies can disrupt the effect. If the sky isn't necessary in a composition, eliminate it. If it is, plan your exposure accordingly. Consider making a second, darker exposure for the sky.

Using HDR exposure techniques, even when a normal exposure wouldn't require them, will give you a variety of exposures for shadows and highlights to choose from or allow you to render a lower contrast combination that is more likely to produce convincing effects.

Lighting

Always consider the scene's light and modify your exposure and post-processing accordingly.


Insights Members can login to read the full article.
Email:
or Sign up

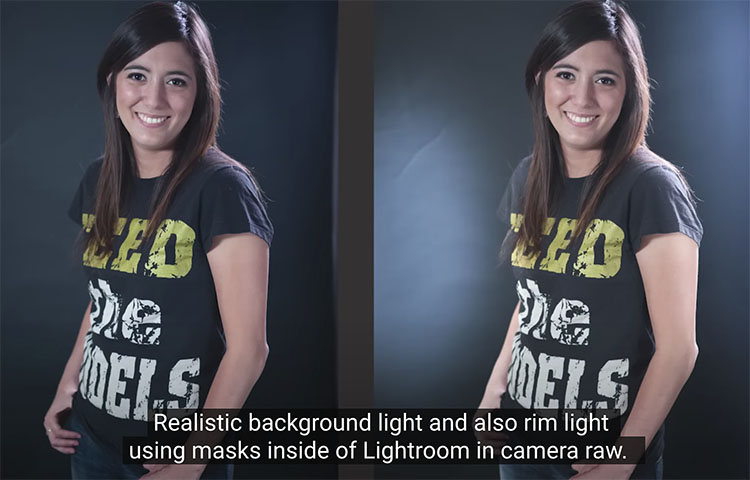
How To Add Rim Light Using AI Masks in Adobe Lightroom & Camera Raw

.

Colin Smith shows you how to add rim lights using ai masks in Lightroom and Adobe Camera Raw.

Find out more from Colin Smith at Photoshop Cafe.
Learn more in my digital photography and digital printing workshops.

2 Ways To Quickly Add Bokeh Flares To Your Images

in focus

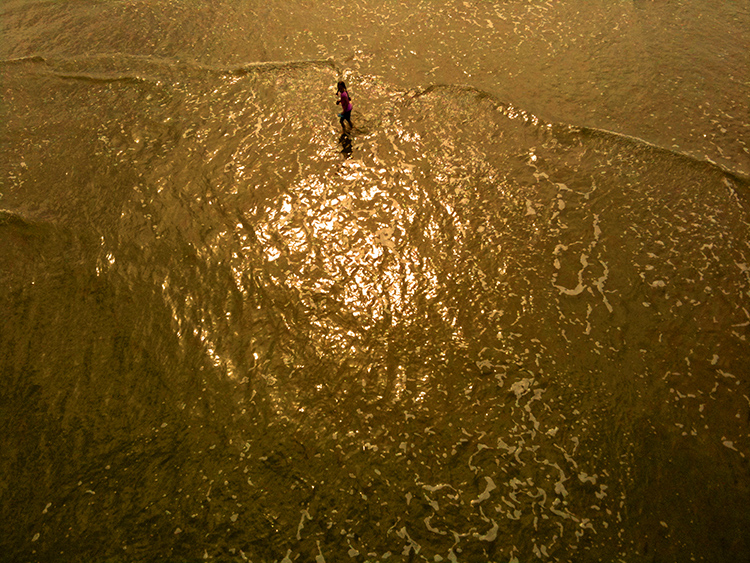
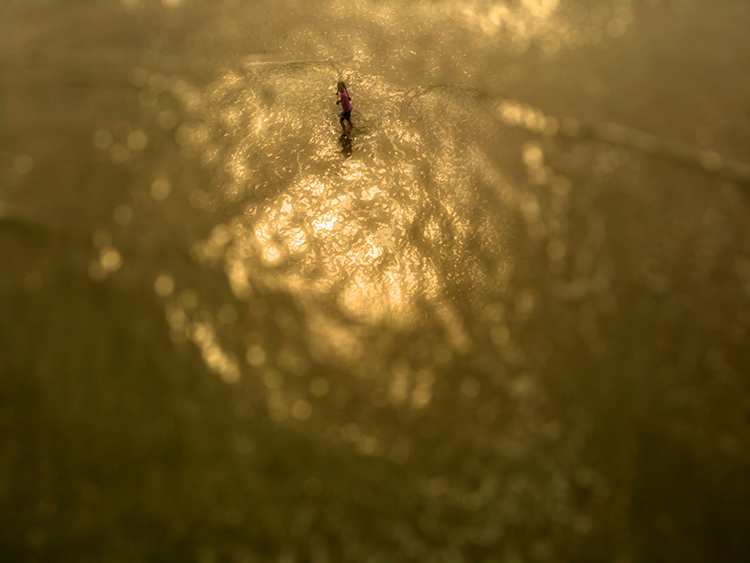
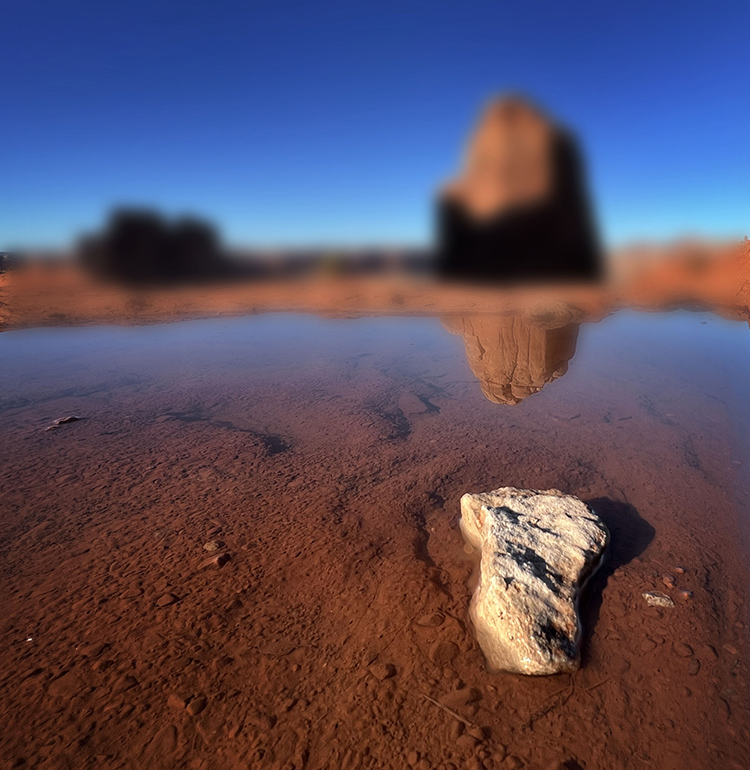
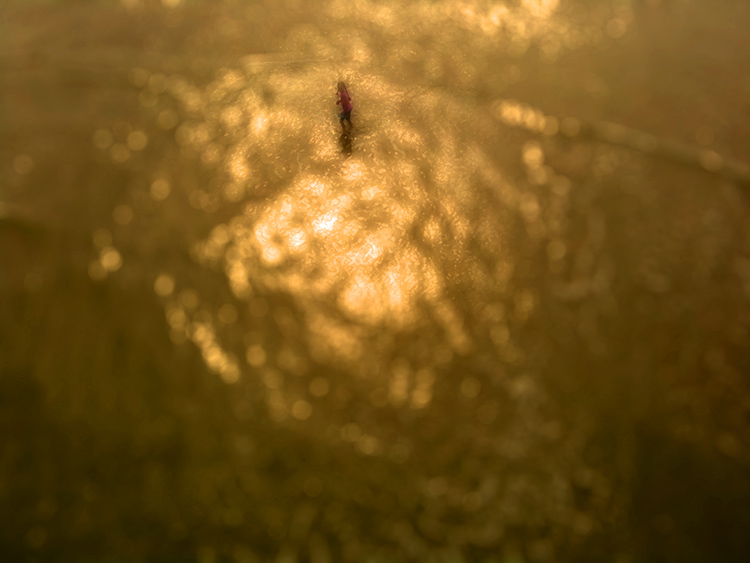
Photoshop's filter Lens Blur

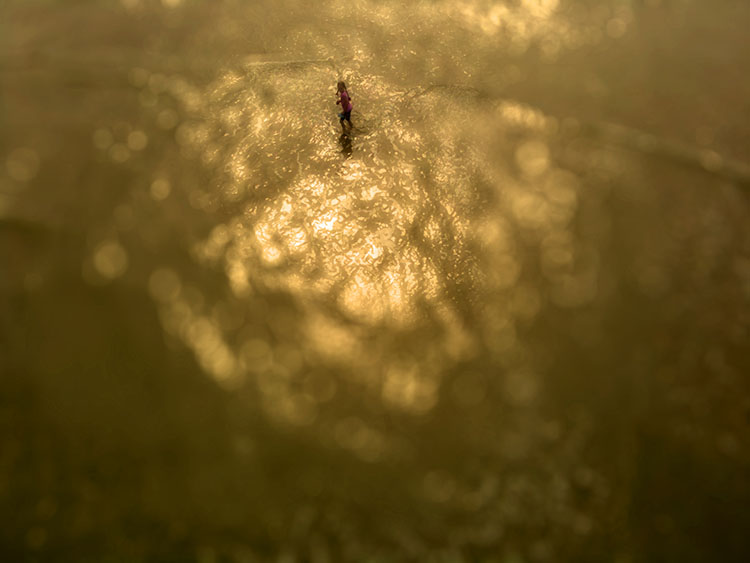
Lens Blur applied a second time selectively

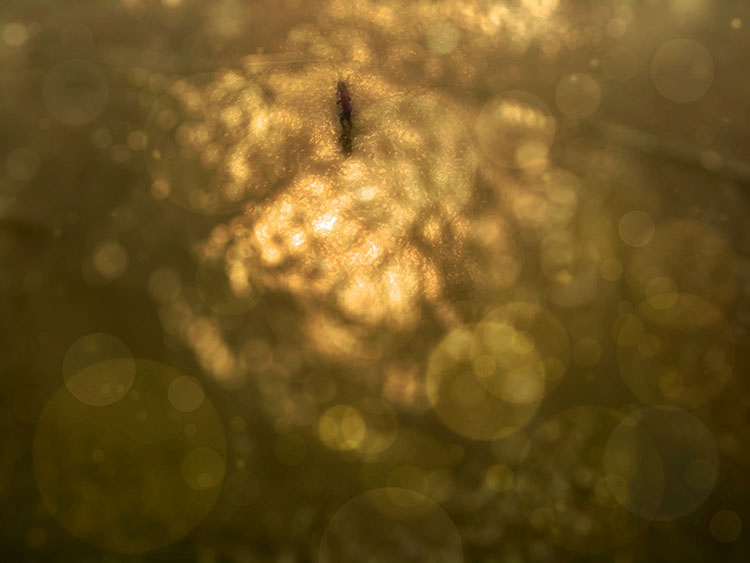
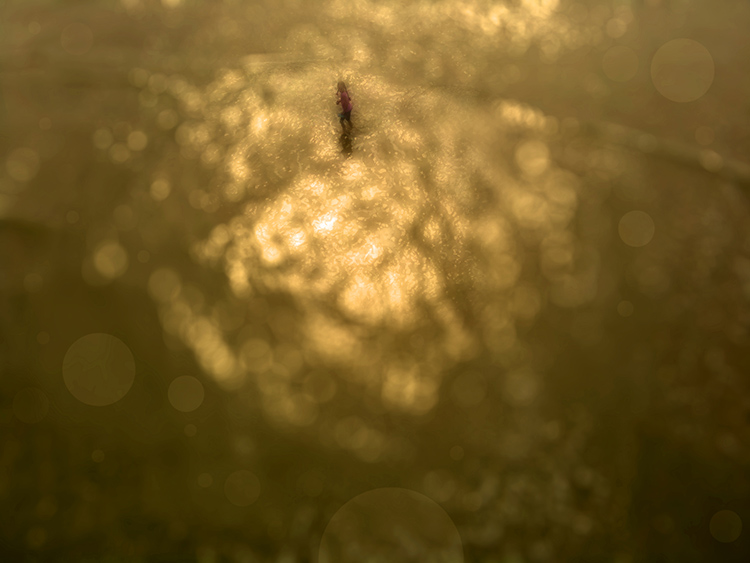
Bokeh flares added with an image and brushes


The word bokeh (Japanese for blur), the quality of the blur produced in out-of-focus parts of an image, is often used to describe the way a lens renders out-of-focus points of light.  You don’t have to have a lens with a very wide aperture to create images with bokeh flares.You can apply bokeh flares to shots with or without analog flares after exposure, using Photoshop.

Blend A Second Image With Flares

There are at least three ways to find bokeh flare images.


Insights Members can login to read the full article.
Email:
or Sign up

How To Combine Focussed & Defocussed Images Using Photoshop

In & Out-Of-Focus Mixed


Combining in and out-of-focus images with Photoshop is a simple matter of placing tow versions of the same image on separate layers.

If you’re simulating an out-of-focus image using blur filters in Photoshop this takes one step. Use the Layers menu and select Duplicate Layer or in the Layers palette drag the layer to the Create a new layer icon ( + ). The two layers will be perfectly registered. The top layer is ready for blurring.

If you’re combing separate exposures of the same image that are in and out-of-focus add a couple more easy steps.


Insights Members can login to read the full article.
Email:
or Sign up

A Grand Overview Of Photoshop’s Blur Filters

Photoshop Blur Filters

There are many reasons to explore blur in your images; remove distractions, direct attention, enhance space, modify mood, and add interesting visual artifacts are six among many. Blur can be controlled at the point of capture and in post-processing. Thoroughly understanding your post-processing options will help you make choices about when and how to control blur in your images before, during, and after exposure.

When it comes to post-processing blur, you’ve got options! Photoshop currently offers fourteen filters; Field Blur, Iris Blur, Tilt-Shift, Average, Blur, Blur More, Box Blur, Gaussian Blur, Lens Blur, Motion Blur, Radial Blur, Shape Blur, Smart Blur, Surface Blur - in order of appearance in the Filter: Blur drop-down menu.

At first glance, the list is overwhelming. Where do you start? Get started with this quick survey of available options.


Insights Members can login to read the full article.
Email:
or Sign up

How To Create Sophisticated Motion Effects With Photoshop’s Path Blur

Photoshop CC’s recent addition to its Blur Gallery, Path Blur offers a creative and flexible way to add directional motion to your images in post-production. It’s astonishing! You’ve got to try it to believe it – and to truly understand it.

The Blur Gallery now has five effects (Field Blur, Iris Blur, Tilt-Shift, Path Blur, and Spin Blur) that can be controlled from a single panel. Once you’ve accessed one, you can quickly access the others at the same time enabling you to create complex blur effects in a single stop. Path Blur alone is capable of delivering lots of complex motion effects with one simple path.

Before applying Path Blur, consider using a Smart Object to make the filter non-destructive, re-editable, and maskable. (I recommend you acquire Raw files as a Smart Objects but in cases where you can’t, such as cases that involve merges or stacks or major retouching, convert your Background layer to a Smart Object – Layer: Smart Objects: Convert To Smart Object.)

To apply the filter follow this path - Filter: Blur Gallery : Path Blur. The Blur Gallery panel will appear, offering you five extraordinary sliders and multiple points of control.


Insights Members can login to read the full article.
Email:
or Sign up

How To Control Blur FX In Photoshop With Amazing Precision

Photographers use blur (or bokeh) for a variety of reasons: to enhance space through depth of field; to add interesting visual artifacts; to simplify them; to change the quality of their expression. In the past, blur was controlled almost entirely through exposure; now it can also be controlled during post-processing, giving photographers an unprecedented array of options and ways to customize the look and feel of their images. Knowing what you can do, how far you can go, and when you can do it may change the way you shoot, one time, sometimes, or all the time.

There are many blur filters in Photoshop; Field Blur, Iris Blur, Tilt-Shift, Gaussian Blur, Lens Blur, Motion Blur, Radial Blur, Shape Blur, Smart Blur, Surface Blur, in order of appearance in the Filter: Blur drop-down menu. (See A Quick Visual Comparison Of Photoshop's Blur Filters here.) The choices are extensive and it pays to familiarize yourself with your options by experimenting with them; you’ll find you have an extraordinary set of options that you can modify and combine creatively. If you only use the filters Gaussian Blur and Lens Blur, you’ll still have game-changing control at your fingertips, once you learn how to extend and modify them.

Photoshop's Lens Blur filter

There are several important non-destructive strategies you can use to gain more control over all filter effects that will enable you to go further in your explorations and generate more sophisticated and compelling results. Try one or all of the moves in this classic progression. Apply a filter to a duplicate layer and then modify its Opacity, Blend Mode, Blend If Sliders, and add a layer mask.


Insights Members can login to read the full article.
Email:
or Sign up