Recover Impossible Blown Out Highlights in Photoshop!

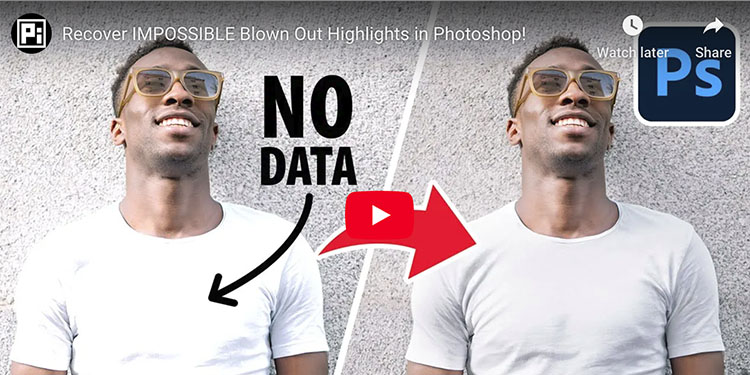
“Recover highlights easily, even if the details are completely lost, with the latest features in Photoshop! n this video, we will learn how to target and precisely select clipped highlights, use Generative Fill to create details, and explore classic Photoshop techniques like Blend Modes and Masking to blend the details perfectly!”

Follow up with …

“Overexposed? Entirely Blown Out Highlights in a White Dress? Easily “Recover” Details With a Simple Photoshop Trick! Using 2 Ingredients: A Reference & a Blend Mode, learn how to easily create the details for the blown-out areas. In this tutorial, we will learn how to use a reference texture image along with Multiply to cover up the areas with no details, and save the day!”

You can use these techniques for shadows too.

Find more of Unmesh Dinda’s content here.
Learn more in my digital photography and digital printing workshops.

The Easiest Way To Match Colors Exactly With Photoshop

.
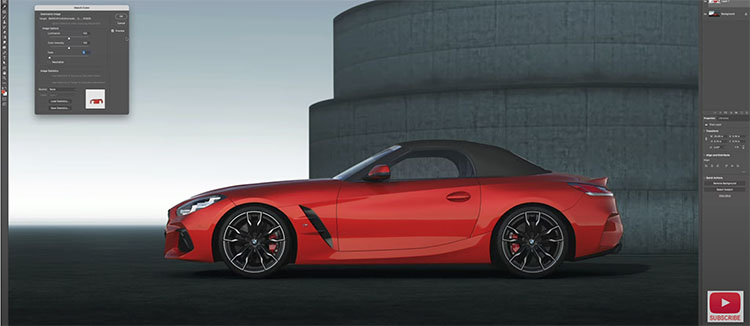
“Learn how to copy colors from one image to another in Photoshop. Colin Smith shows you how to change the color of an object to perfectly match the color of another object in a picture in Photoshop.”
.

How To Add Color To Highlights With Curves In Photoshop

.
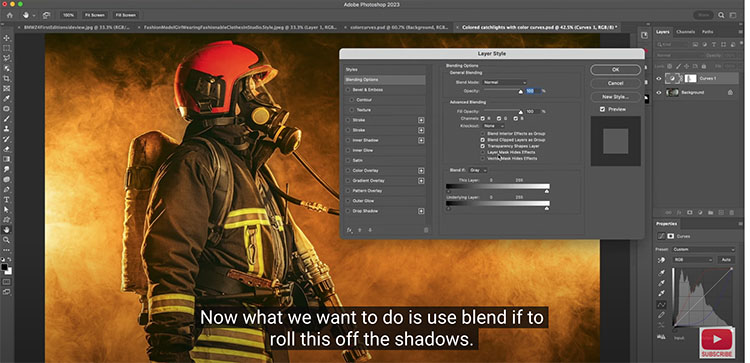
“How to add colored reflections and catchlights in Photoshop. Colin Smith shows you how to switch curves into colored mode to create the most powerful colors and add then to the highlights in an image. Using curves this way opens a world of possibilities in Photoshop.”
.

How To Avoid Making Viewers Squint At Your Images To See Their Highlights

Highlights are crucial to most images, with a few notable exceptions. If highlights are too dull, the whole image feels flat and suppressed. So, many people try to make them as bright as possible without losing detail. (This is a classic practice that’s part of a style, but some photographers prefer even fuller highlights. Edward Weston and Minor White were two such photographers.) In an attempt to make their images glow more, some people go so far as to make images overly bright, washing out midtone contrast, saturation, and clipping highlights, removing detail at the very top of the tonal scale and producing flat white areas. This is a graphic style more than a photographic style – or at best lo-fi rather than hi-fi solution that often requires additional compromises to image quality to feel convincing. Plus, it renders the frame no longer rectangular.


Don't take ETTR to an extreme.


Do make your exposures light without clipping.


Process your files darker.


If you've got clipping in both shadows and highlights, use HDR bracketing.

Exposure

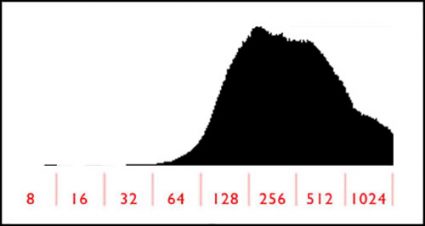
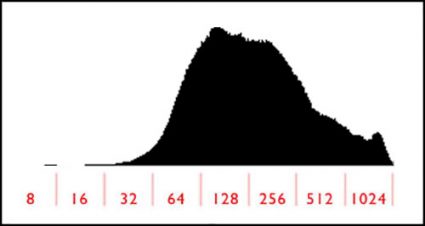
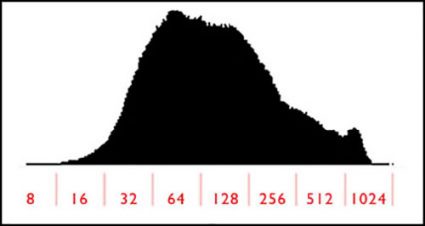
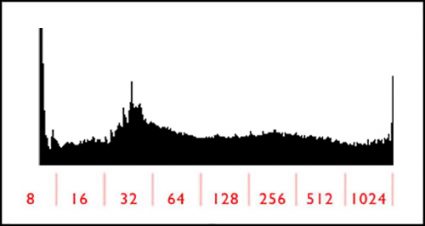
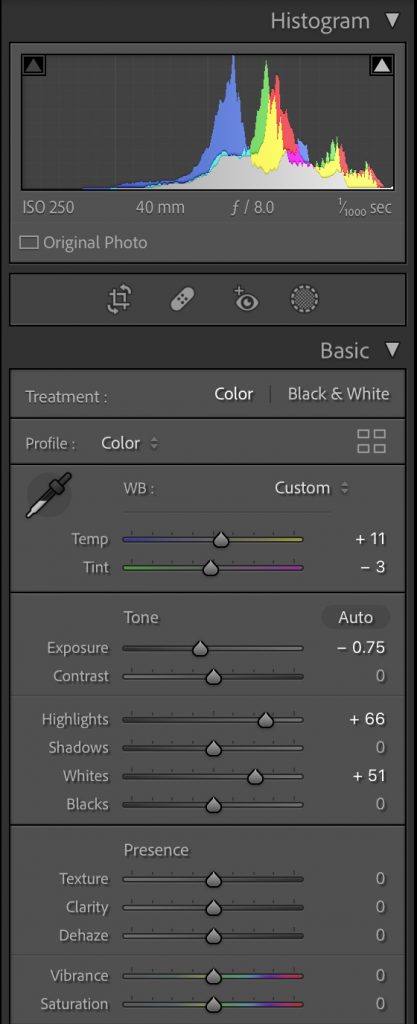
Good highlight detail starts with exposure. Get it. You have to have it to optimize it. This is one of the two reasons to monitor your histograms during exposure; the other is shadow detail. As long as you don’t “hit the wall” on the right-hand side of the histogram, your file will be fine. Remember, the histogram on your camera is based on the JPEG your camera would produce, while the as yet unrendered Raw file has even more data in the highlights. Don’t take ETTR (expose to the right) to an extreme. At some point, data will be clipped, and just before the point data starts to clip, it will start to lose gradation and shift in color.


Basic Panel


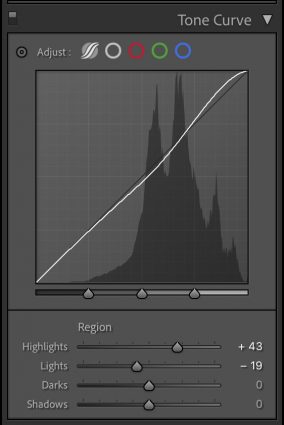
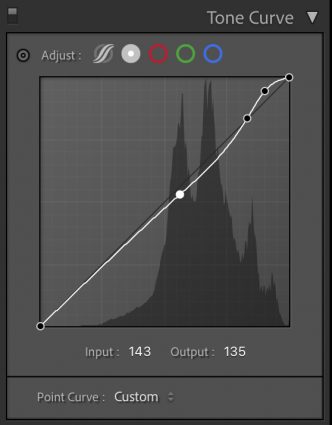
Parametric Curve and Point Curve

Processing

You’ll get more contrast by having something to contrast with; in this case, highlights contrast with shadows. Set them first. The darker shadows are, the more contrast you’ll get. (Losing shadow detail is avoided in a classic style but may be done intentionally for more graphic, gothic, or grunge styles.) Similarly, if you weigh midtones lower, highlights will appear brighter. Every range of tones (shadows, midtones, and highlights) can have its own kind of contrast. To produce more separation in highlights, focus on setting the point where they transition into midtones as low as possible without making the image look too dark. What’s too dark? Subjective. Trust your gut and do it your way.


Insights Members can login to read the full article.
Email:
or Sign up

6 Ways To Get Better Shadow & Highlight Detail In Your Photographs

You want your photographs to glow - right? So what’s better than one kind of glow? How about three?

You can get there by not succumbing to the classic temptations to clip shadows and/or highlights to produce a more obviously dramatic but a less lively, nuanced, and expressive tonal scale. Instead, hold the full dynamic range with a real black and white and also create gorgeous separation in the values nearest to them.

So many times we give the lion’s share of the contrast to the midtones. Midtone contrast is really important. But that doesn’t mean we have to sacrifice the light in highlights by making them too hot to look at comfortably or in shadows making them so dark they turn to murky mud. You can hold separation in these extreme ends of the tonal scale and produce beautiful qualities of light that complement not just contrast. Here’s how.


Insights Members can login to read the full article.
Email:
or Sign up

Use HDR Techniques To Get The Best Image Detail

Download your free copy now!


Use high dynamic range techniques to capture detail in highlights and shadows even in scenes with extreme contrast.


Why Everybody Needs HDR … Sometimes | Coming Soon

What In The World Is HDR ?

What Is Exposure Value ?

Using Histograms – ETTR

Why Your Camera’s Auto HDR Feature Is Inferior 

How To Set Your Camera To Auto Bracketing 

How Many Exposures Do You Need For HDR Merges ? 

Making HDR Merges Is A Four Step Process

5 Photoshop Tools To Make The Most of Shadows & Highlights Without HDR

3 Ways HDR Software Can Benefit Single Exposures | Coming Soon

Using HDR Software To Sharpen Photographs

HDR With One Exposure

HDR With Two Exposures

HDR with Lightroom | Coming Soon

HDR With Photoshop | Coming Soon

HDR Panoramas | Coming Soon

Refine HDR With Photoshop Layer Blending | Coming Soon

7 HDR Artifacts & How To Avoid Or Cure Them 

8 HDR Myths Debunked 

Quick Answers To The 5 Most Asked HDR Questions 


Photoshop’s Contrast Masks Help You Isolate Highlights Or Shadows

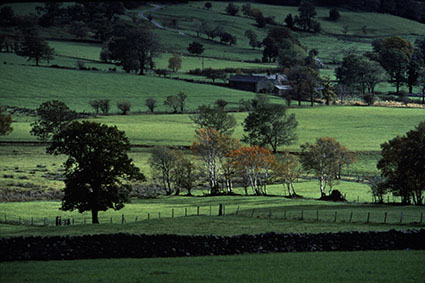
01-lakedistrict

RGB image

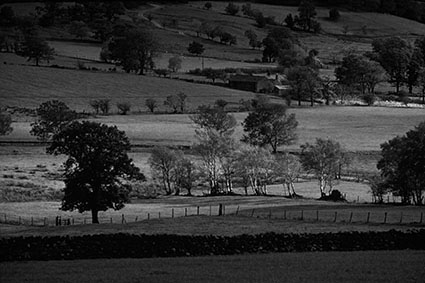
RedChannel

Red Channel

GreenChannel

Green channel

BlueChannel

Blue channel

The relationship between highlights and shadows is a critical aspect of any image. Photographers have been trained to become highly sensitized to these relationships. Today, photographers have more control and greater precision than ever before over these key visual elements, using the digital darkroom. In Photoshop, the type of adjustment chosen will provide very specific control. The specificity of an adjustment can be further refined by using a mask. One type of mask yields extreme precision and is derived directly from the light and dark relationships within an image, a luminance or contrast mask.

A contrast mask will allow you to target a specific range of tones without affecting the others; highlights, shadows, and even midtones. In the analog darkroom it’s quite challenging and time consuming to make contrast masks; in the digital darkroom it’s quite easy to quickly make contrast masks. And, you can refine or modify them infinitely and indefinitely.

Here’s how to do it.

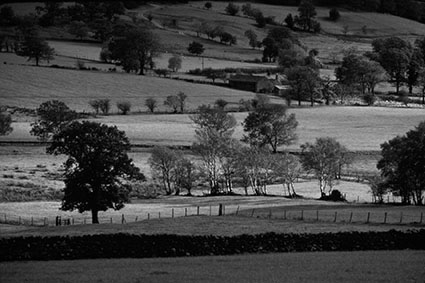
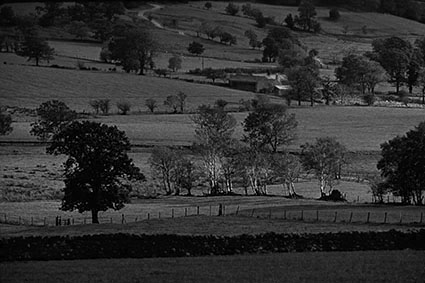
Load a channel as a selection and with that selection still active create a layer mask. The quickest way to do this is to go to the Channels palette and while holding the Command key click on a channel – R, G, B or RGB. This will create a selection based on the luminance (light and dark) values of the channel you choose.

With so many choices before you, which channel should you choose? Choose the channel that is light in the areas you want to adjust and dark in the areas you don’t want affected. When in doubt, load the RGB master channel as this will give you a selection based on luminance. If you choose an individual channel (R, G, or B) related hues will become lighter than others and complementary hues darker than others – i.e. in  the red channel reds will be very light while cyans will be very dark.

The active selection outline will appear complex; a dotted line will appear at all 50% gray values, but the whole image will be affected to varying degrees based on the density of the values used to make the selection. As values grow darker the affect reduces; as values grow lighter the affect increases. Remember this mantra, “Black conceals; white reveals.” You can turn a selection into a mask in one of two ways, make an adjustment layer (Layer: New Adjustment Layer)(the selection automatically becomes an adjustment layer mask) or make a layer mask (Layer: Layer Mask: Reveal Selection).

As a mask is comprised of shades of gray its lightness and contrast can be adjusted. Very often, contrast masks can be improved by having their contrast adjusted. Use Curves for the greatest precision in contrast adjustment. Here are a few strategies for doing this. Increase the contrast of a mask and its lightest areas will allow more of an effect to show through while its darkest areas will allow less of an effect to show through. Darken the mask and it will allow less of a correction through. Lighten the mask and it will allow more of an effect through. In special cases, you may want to raise the black point when applying Curves to a mask; this will allow some adjustment to be applied to the deepest values with increasing intensity in the highlights. Conversely, you could lower the white point to reduce the effect in highlights or you could simply reduce the opacity of the adjustment layer.

Would you like to target the shadows instead of the highlights? Invert the mask (Image > Adjustments > Invert or Command I) to reverse the relationship between highlights and shadows; black becomes white and white becomes black.
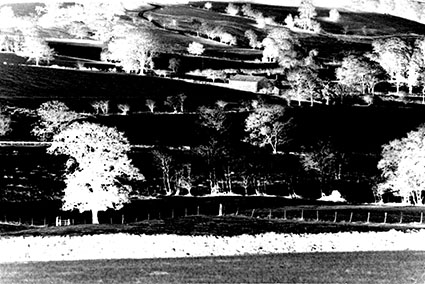
03.5-redinverted

Mask inverted

Contrast masks add the ability to target highlights and shadows to any color adjustment tool that does not already provide this function and to all filters.

Question whether you need a contrast mask when making image adjustments with Curves, which provides the ability to target specific ranges of tone without the use of a mask. If the adjustment you want to make to a specific region of tones in an image is extreme and you want to substantially reduce the affect on adjacent tones, then, and only then consider using a contrast mask in combination with Curves. Guard against introducing posterization when doing this.

Classically, photographers use a contrast mask when darkening very bright highlights or lightening very dark shadows. For these types of corrections, where industrial strength methods are required, consider using the blend modes Multiply (for highlights) or Screen (for shadows) in combination with a contrast mask to reduce the affect on the opposite end of the tonal scale and prevent loss of detail.

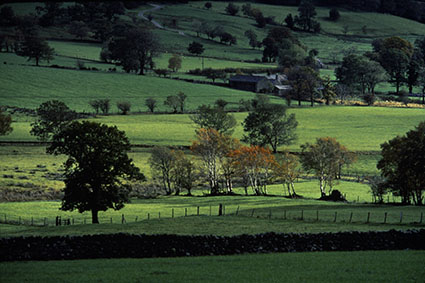
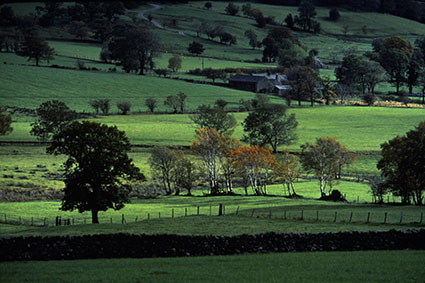
Today, photographers have additional opportunities to enhance color images using contrast masks. In addition to affecting the lightness (luminosity) of highlights or shadows, you can affect their hue and/or saturation. Compare these three solutions; an image with lightened highlights; an image with warmed highlights; and an image with saturated highlights. All three versions will appear more luminous or filled with light, but the qualities of light in each one will differ. After you’ve tried this, try making opposite moves in the shadows. Once you’ve done these experiments, you’ll start seeing new potential in every color image.
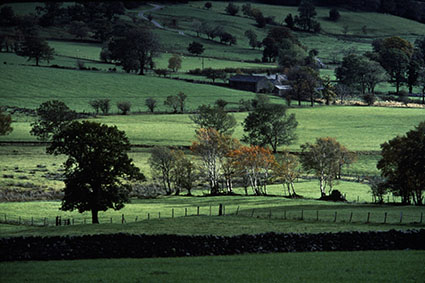
04-ld

Highlight lightened

05-ld

Highlight warmed

06-ld

Highlight saturated

Never have we had so much control over the quality of light within our images. Imagine the possibilities. Better yet, experience them. A world of possibilities for image enhancement will unfold before you.

Read more about Selections & Masks.
Learn more in my digital photography and digital printing workshops.