This One Photoshop Tip Saved My Sanity!


.
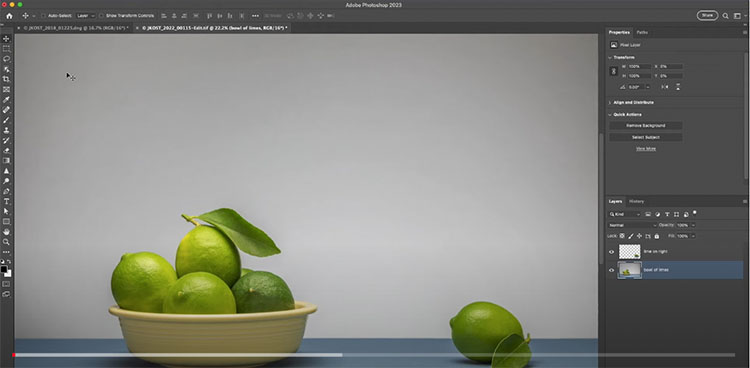
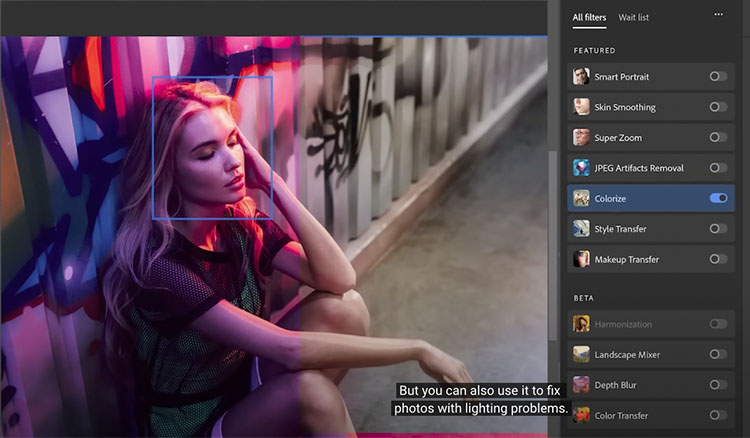
Use Photoshop’s Neural Filter Colorize to remove color casts and fix photos with bad lighting.
.
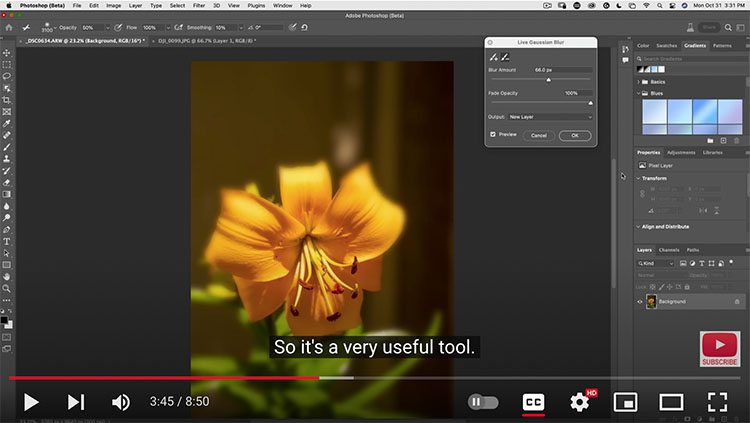
“New features in Photoshop 2023 beta. Discover the powerful new live gradient and live blur in Photoshop and see how to use the new tools on your photographs for a super simple vignette (finally!) as well as new ways to blur the background of a picture.”

.
“Discover an incredible tool to instantly remove anything from a photo, no matter how complex the image is!
In this video, we will compare Photoshop’s Content-Aware Fill to the free Dall-E A.I. image generator for removing objects from challenging photos. We will discuss the limitations of Photoshop and see whether Artificial Intelligence can bridge the gap; and test whether artificial intelligence can fill in empty areas when there is nothing to sample from.”
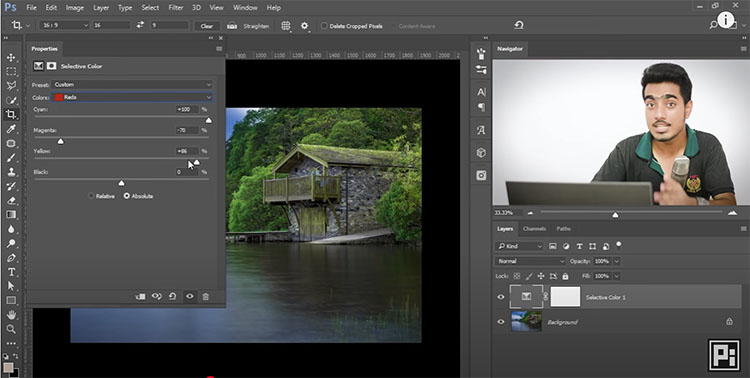
Find more of Unmesh Dinda’s PiXimperfect here.
Learn more in my digital photography and digital printing workshops.
