Relative VS Absolute Color Adjustments – Julianne Kost
Julieanne Kost demonstrates the differences between making absolute adjustments to photographs – using the Develop module in Lightroom- and relative adjustments using the Quick Develop panel.
Julieanne Kost demonstrates the differences between making absolute adjustments to photographs – using the Develop module in Lightroom- and relative adjustments using the Quick Develop panel.
Original
Tints with less black
Shades with more black
Either it’s because it’s old school (It’s one of the first tools introduced in Photoshop.) or because it’s subtle (And it’s wonderfully precise.) or because it’s misunderstood (Is this really an issue with CMYK?), Selective Color is one of the most overlooked color adjustment tools in Photoshop. But I consider it an essential tool.
Photoshop’s Selective Color image adjustment feature is great for two things. First, it’s great for cleaning color casts selectively out of highlights, shadows, neutrals - or for adjusting specific ranges of colors with great precision. Second, it’s great for turning colors into pastels, either lighter or darker, which can soften a palette exquisitely.
Here are six reasons to use Selective Color.
Julianne Kost demonstrates the Lens Blur Filter in Photoshop.
For more check out Julieanne’s blog.
Read more in my Blurring resources.
Learn more in my digital photography and digital printing workshops.
“In this Quick Tip, Julieanne Kost demonstrates the new Color Lookup Adjustment layer and walks you through how to download a template to quickly apply these new “looks” to your images.”
Follow up with my article on Color Lookup Tables here.
Read more in my Color Adjustment resources.
Learn more in my digital photography and digital printing workshops.
“Julieanne Kost demonstrates what you can do in Lightroom’s Develop module to enhance your photographs using color and tonality to change the mood and atmosphere of an image. We all know that the goal is to capture the best photograph in-camera, but what happens when we aren’t at the right place at the right time? In this training video, I will show you how to make subtle changes to increase the photograph’s emotional impact.”
For more check out Julieanne’s blog.
Read more in my Color Adjustment resources.
Learn more in my digital photography and digital printing workshops.
“Julieanne Kost shares five reasons why you should use Fill and Adjustment Layers in Photoshop. Watch this video to learn how to incorporate these insider tips to better optimize your layers.”
For more check out Julieanne’s blog.
Read more in my Color Adjustment resources.
Learn more in my digital photography and digital printing workshops.
Julianne Kost shares three methods for changing colors in Photoshop.
For more check out Julieanne’s blog.
Read more in my Color Adjustment resources.
Learn more in my digital photography and digital printing workshops.
“Learn how to modify the edge of a Layer Mask or Vector Mask in Photoshop.”
For more check out Julieanne’s blog.
Read more in my Color Adjustment resources.
Learn more in my digital photography and digital printing workshops.
“Discover how to select color in Photoshop using the eyedropper tool, foreground, background and heads-up-display color picker.”
For more check out Julieanne’s blog.
Read more in my Color Adjustment resources.
Learn more in my photography and printing workshops.
Instead of RGB, you can use Lab color mode to increase hue contrast in your images in powerful ways that no other color space offers.
How do you do it?
In Lab color mode use Curves to accentuate contrast by creating s or reverse s curves for the a and b but not the L channels without moving the midpoint.
It’s that simple. (Yes, I promise I’ll expand on this.)
However, when you use this technique there are many details that it pays to be aware of.
When To Use It
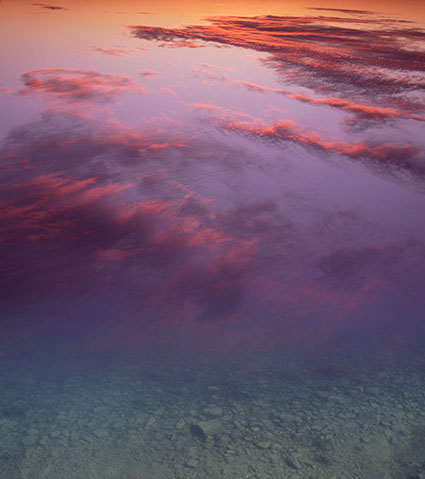
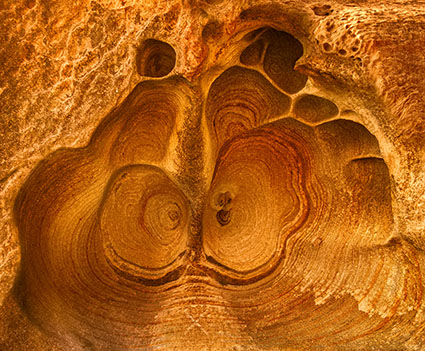
While this technique can be used on any image, it’s particularly useful when you are processing files that are predominantly one color – forest greens, oceanic blues, sandstone reds, etc. The resulting hue contrast gives these images more life by making subtle variations in hue more pronounced and more three dimensional by accentuating the differences in hue between highlights and shadows.
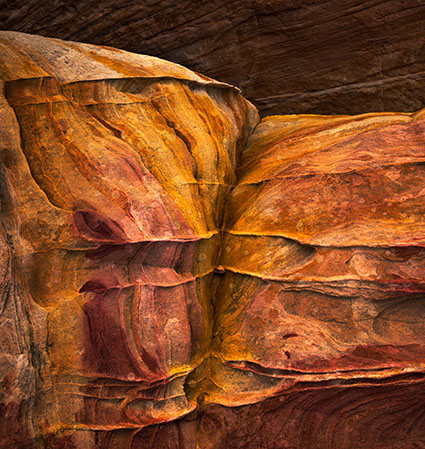
Original
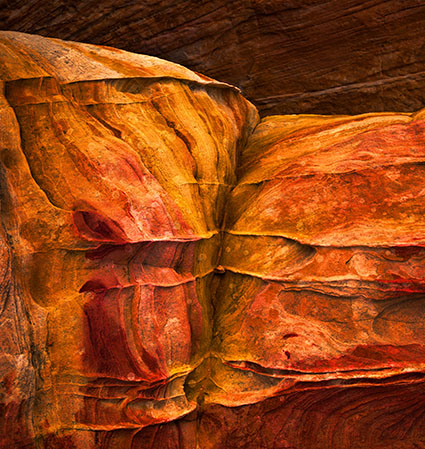
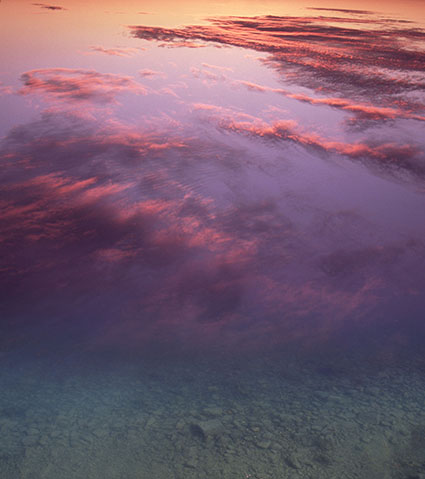
Saturation increased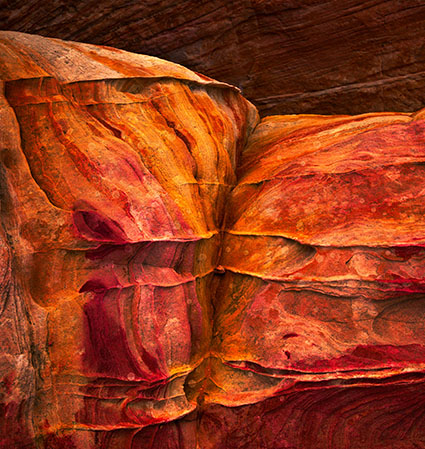
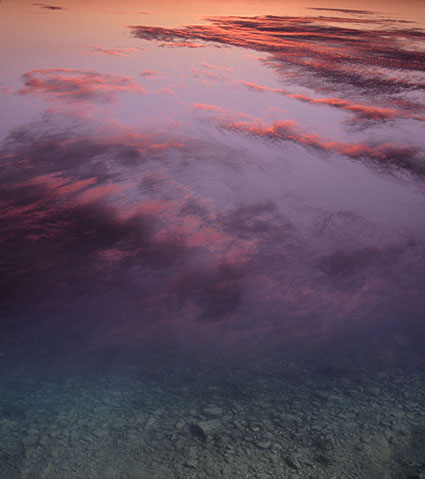
Lab a and b channels adjusted
Comparing It To Similar Techniques
This technique is similar to split-toning or cross-toning images, introducing one color into the highlights and another into the shadows, except that the hues are the captured colors accentuated rather than colors that are arbitrarily added. (For this reason this technique won’t work with black-and-white images.)
This technique is similar to increasing saturation or vibrance, which also makes different hues more pronounced but sometimes intensifies them to the point of making them appear unnatural. By comparison the modest increase in saturation boosting hue contrast in Lab produces is surprisingly naturalistic – and you may choose to keep it or not.
To the untrained eye the differences between this technique and others may seem subtle but once you train your eye you’ll appreciate the color richness it offers; they can approximate but never equal it. It’s like comparing the sound qualities of low and high fidelity audio recordings. Lab offers hi-fi color.
What The Heck Is Lab Anyway ?