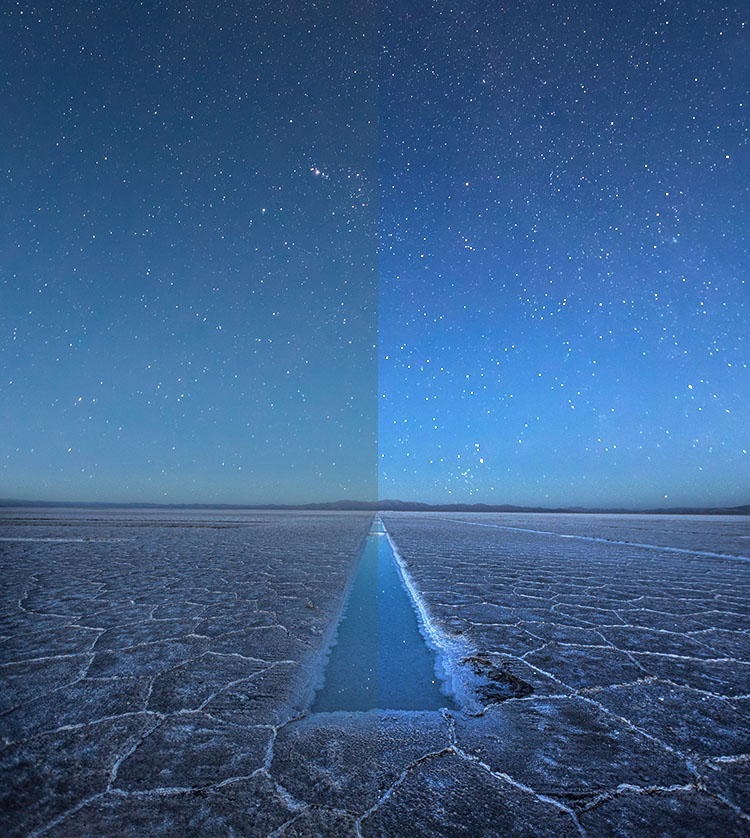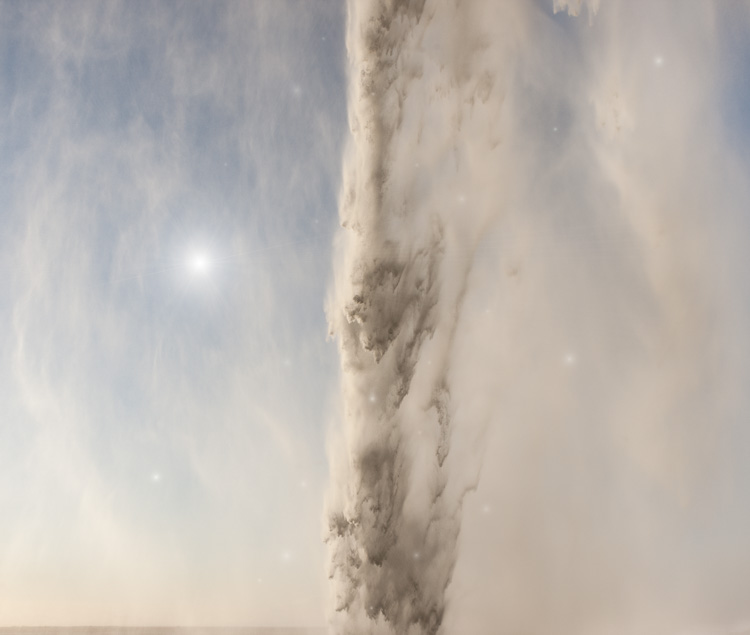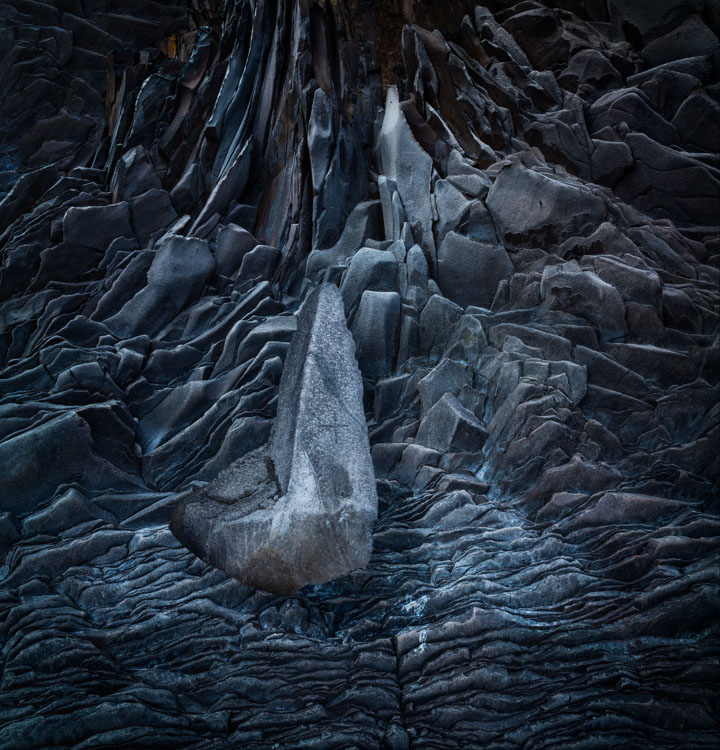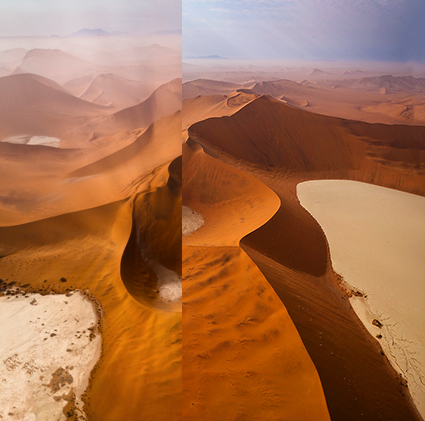
The Key To Lively Images – Midtone Contrast – And How To Get It

Contrast catches the eye. When looking at images short of an exciting subject and a dynamic composition, nothing does more to grab and hold attention. More contrast, more energy. Contrast is life.

Contrast is not as simple as one slider – thankfully. There’s real control here and so near infinite creative possibilities. Equally beneficial for both black-and-white and color images, there are many ways to enhance contrast, and every tool produces different qualities of life. Master these tools, and you’ll craft visual statements that speak with more confidence and complexity.

Let’s move through our options as we would in a classic workflow, from coarse to fine control.


Insights Members can login to read the full article.
Email:
or Sign up

The Quickest Way To Get 200% Or More From Lightroom’s Adjustment Sliders

Did you ever wish you could get more out of a slider in Lightroom (or Adobe Camera Raw)?

Here’s how to go beyond the maximum amount a slider allows.

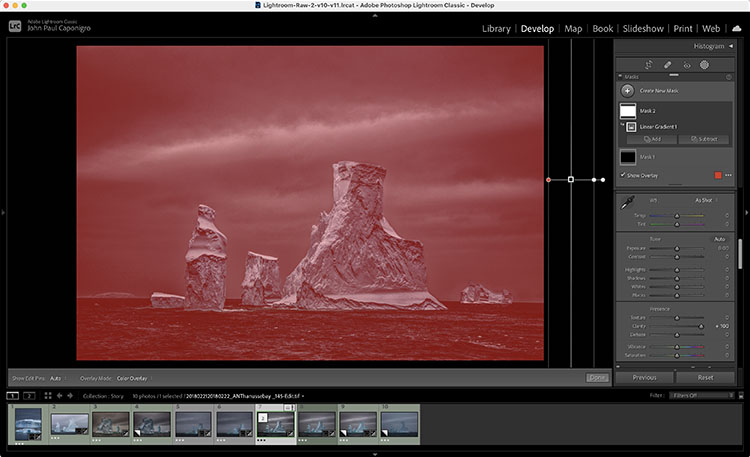
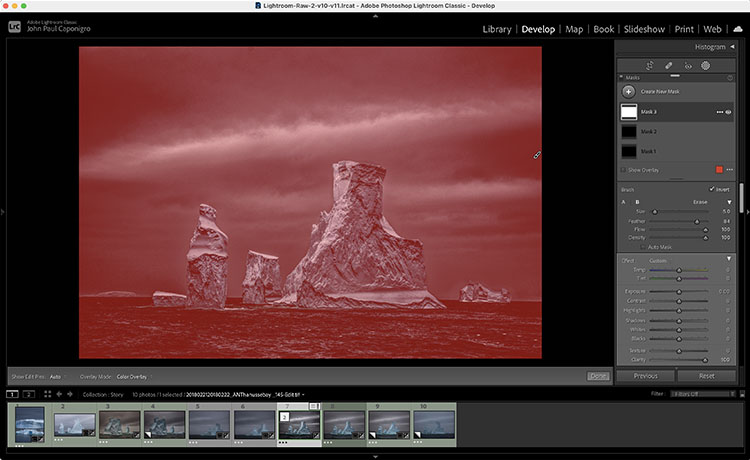
Use Create New Mask and make a Gradient or Brush … outside the image area. Click the gradient outside the border and drag away from it. Or, click the brush outside the border and check the Invert box. Then use one or more sliders to go beyond their maximums. 

You can do this as many times as you like. 150%, 200%, 300%, 400%, 500% … there’s no limit.

This is faster and more uniform (less uneven) than brushing the entire frame.

This only works with the sliders available in the Masking panel.

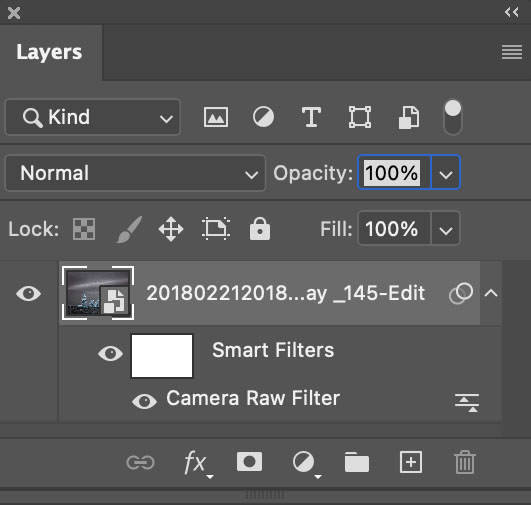
If you want to do this with sliders that aren’t in the Masking panel, open the file in Photoshop and apply the Camera Raw filter.

But wait, there’s more. You can apply this principle selectively too. If you’re in Lightroom or Camera Raw use a brush to add more. If you’re in Photoshop, use a Camera Raw smart filter with a mask. There are no limits.

Find more resources on Raw processing here.
Learn more in my digital photography workshops.

What’s New in Lightroom Classic 11 For Photographers – Plus More On New Easy Masking Features

.

Adobe released the October 2021 Update to Lightroom Classic. This video will walk you through what’s new.

.
Plus, take a deep dive into Lightroom’s new masking features.
.
0:00 Intro
1:48 Don’t Freak Out
3:00 Mask Basics
4:46 Brush and Gradient Masks
6:35 Subtract with Select Sky
8:32 Brush and Gradient Presets
9:38 Using the Linear Gradient
11:41 Luminance Range Masking
14:41 Color Range Masking
16:40 Select Subject
19:12 Select Sky
20:38 Advanced Portrait Example
.
.

6 Ways To Get Better Shadow & Highlight Detail In Your Photographs

You want your photographs to glow - right? So what’s better than one kind of glow? How about three?

You can get there by not succumbing to the classic temptations to clip shadows and/or highlights to produce a more obviously dramatic but a less lively, nuanced, and expressive tonal scale. Instead, hold the full dynamic range with a real black and white and also create gorgeous separation in the values nearest to them.

So many times we give the lion’s share of the contrast to the midtones. Midtone contrast is really important. But that doesn’t mean we have to sacrifice the light in highlights by making them too hot to look at comfortably or in shadows making them so dark they turn to murky mud. You can hold separation in these extreme ends of the tonal scale and produce beautiful qualities of light that complement not just contrast. Here’s how.


Insights Members can login to read the full article.
Email:
or Sign up

DPD’s New Advanced Lightroom & Photoshop Seminar

Hand_BeforeAfter
Learn how to make the most of your images!
Come join us for a 3 day no-holds-barred seminar on digital image processing led by two long-time industry leaders!
Demonstrations will include essential new features you need to know about in Lightroom 5 and Photoshop CC. Master the most advanced cataloging, keywording, searching, and filtering capabilities of Lightroom. Learn best practices for using Lightroom at home, on the road, and even on a network. See how you can efficiently share your images in slideshows, web galleries, social networks and print. You’ll know what to do in Lightroom and what to do in Photoshop, when to do it, and how to move back and forth seamlessly between the two.
We’ll cover all the ins and outs of developing Raw files. You’ll see what every slider in Lightroom’s Develop Module / Adobe Camera Raw does. And then we’ll show you how to double process and even use Camera Raw as a filter allowing you to use all of Photoshop’s advanced masking capabilities. You’ll see two top pros process their own files and each other’s files.
You’ll be dazzled by game-changing multi-shot processing techniques – including HDR, panorama, focus-stacking and more. You’ll be wowed by our creative uses of Photoshop’s most advanced sharpening and blurring tools. Witness the most advanced color adjustment strategies you’ll find anywhere. Combine them with the most sophisticated selections and masks to master the interpretive art of dodging and burning.
You’ll be able to take your files to a whole new level!
Register now!
Sossusvlei_BeforeAfter

Adobe’s Lens Profile Corrections


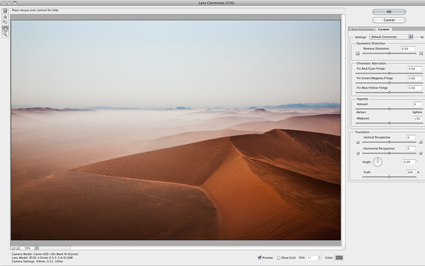
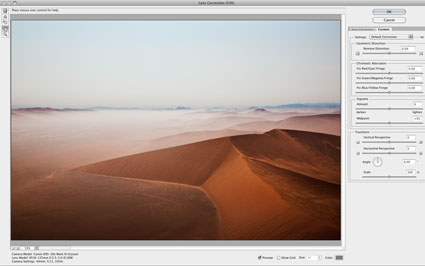
Adobe’s lens profile corrections are simply amazing. Lens Corrections automate correction of standard lens distortions, including geometric distortion, chromatic aberration, and vignette. In addition to correcting lens distortions, this feature can also be used to adjust perspective and rotation.
 
Adobe provides support for a growing list of camera manufacturers, camera models, and lenses: Canon, Nikon, Pentax, Samsung, Schneider, Sigma, Sony, Tamron, and Zeiss.
Adobe Lens Profile Creator
If Adobe doesn’t supply a lens profile for your particular lens you have three choices.
First, you may be able to access a lens profile created by another user on the Adobe Lens Profile Creator forum. Find and share lens profiles at Adobe labs. Of course, these lens profiles will only be as good as the creators were diligent about creating them.
Second, you can visually adjust the parameters of an existing lens profile and save the new settings under a new name for future use. There’s plenty of room for user error with this method but it’s more efficient than creating manual corrections from scratch. Expect to check the results frequently when you apply these settings to different types of images.
Third, you can create your own custom lens profile with the free Adobe Lens Profile Creator utility. Download the Adobe Lens Profile Creator at Adobe Labs.Adobe Lens Profile Creator is a utility designed for photographers who want to create custom lens profiles for their own lenses. The process of creating a custom lens profile for your lens involves capturing a series of images of a printed checkerboard pattern with your specific camera and lens, converting that set of raw images into Digital Negative (DNG) file format (using the Camera Raw plug-in, Lightroom, or the free Adobe DNG Converter), and importing the raw DNG images (or JPEG/TIFF images when creating lens profiles for a non-raw workflow) into the Adobe Lens Profile Creator to generate a custom lens profile. If you create new lens profiles, you can share them with the rest of the user community on the Adobe Lens Profile Creator forums, publishing them directly from inside the Lens Profile Creator. These profiles will then be available via new versions of the Adobe Lens Profile Downloader. This is an extended and complex process few photographers will want to go through, but for those using unsupported cameras and lenses worth the time and effort in the long run.
Using Adobe’s Lens Profile Corrections
You can access Adobe’s Lens Corrections in three locations; Adobe Camera Raw, Lightroom 3, or Photoshop CS5’s Lens Correction filter. (Lens profile corrections were first introduced in Lightroom 3. To get Lens Profile Corrections in Adobe Camera Raw CS5, you need to download a version that has been updated after the release of Lightroom 3. You can download the latest free update at adobe.com.
It’s far less destructive to make these types of adjustments to Raw files during conversion rather than after conversion. It’s also more flexible. (Use a smart object and reaccess the controls any time by simply by double clicking the smart object.) However, if you want to apply Lens Corrections within Photoshop, after a file has been rasterized, you can use CS5’s updated Lens Correction filter.
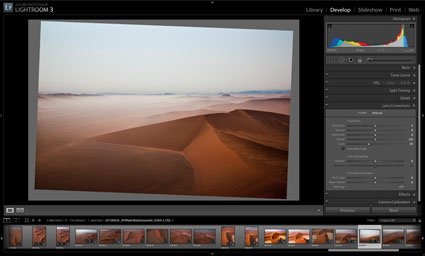
In ACR and Lightroom, you’ll find two tabs under Lens Corrections; Profile and Manual.
Under Profile, click Enable Lens Profile Corrections to activate this feature. Using the EXIF data in your Raw file, the software will automatically select the Make (of your camera), Model (of your lens), and the Profile (for that lens). You can use the supplied lens profiles, download a custom profile made by another user, or create your own (manually or with Adobe’s Lens Profile Creator).
Checking Enable Lens Profile Corrections will also allow you to access three sliders –  Distortion, Chromatic Aberration, and Vignetting – for manually fine tuning the results. If you like the results of one correction but not another, you can decrease or increase the effects in one or more of the three fields.
Under Manual, you’ll find controls for visually creating your own lens profile corrections …
Read more on Digital Photo Pro.
Read more in my online lessons.
Learn more in my digital photography and digital printing workshops.