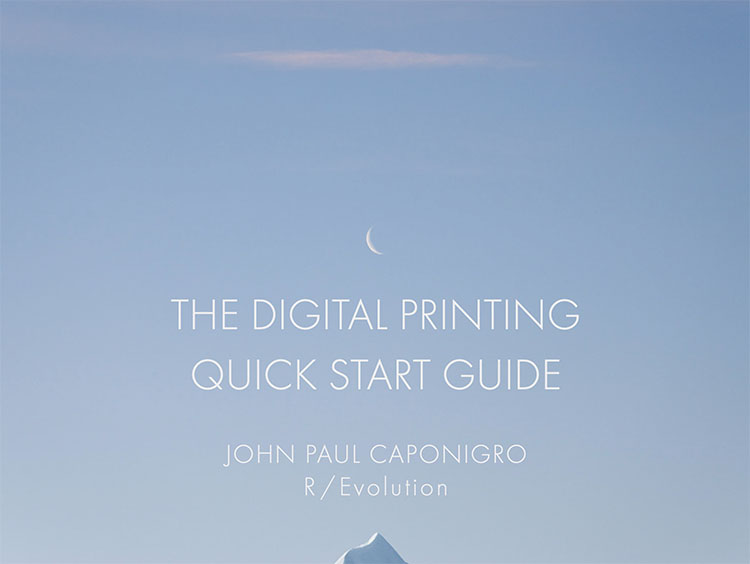
Download your free copy now!
Mastering selections and masking will help you take your images to the next level.
Local Adjustments In Lightroom and Camera Raw | Coming Soon
When To Use Lightroom’s Local Adjustment Tools | Coming Soon
Why Photoshop’s Local Adjustment Capabilities Are Superior To Lightroom’s | Coming Soon
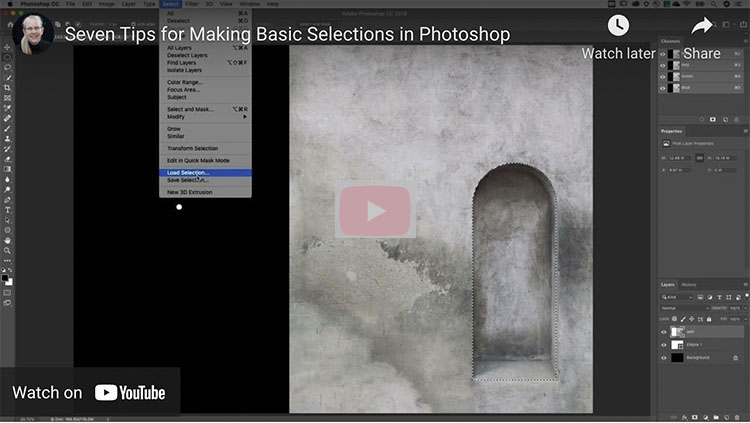
Photoshop’s Marquee Tools
Quick rectangular and elliptical selections.
Photoshop’s Lasso Selection Tools
Go to drawing tools for irregular selections.
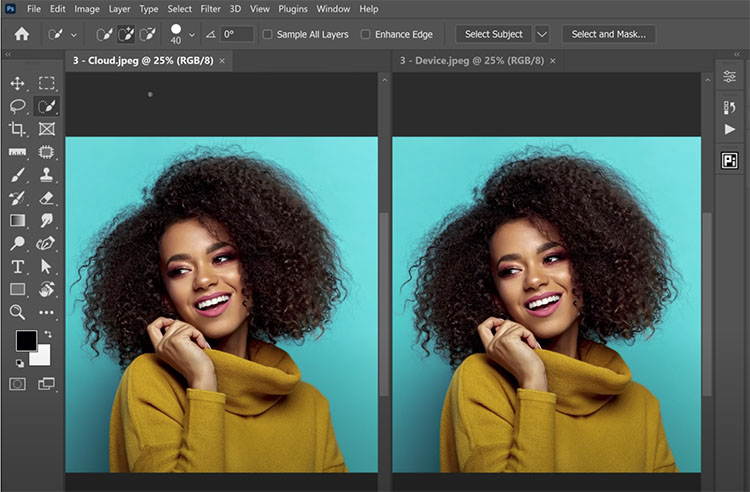
Photoshop’s Magic Wand & Quick Selection Tools
Let Photoshop do the work for you.
Two Keys To Combine All Of Photoshop’s Tools
Easily add or subtract from selections.
Viewing Masks
You can see a mask in a number of ways.
Mask Key Commands
Key commands make masking and selections faster and easier.
Painting The Simplest & Most Useful Masks In Photoshop
Photoshop’s Quick Mask Combines All Selection And Brush Tools
Eight Useful Tips For Brushing Masks In Photoshop
How To Make Masking Easier With Photoshop
Gradient Masks
Fine Tuning Gradients
Fine tune your gradients with masking techniques.
Masking Hue
Masking Saturation
Masking Luminosity
Contour Masks
Edge Masks
Combining Masks | Coming Soon
Frame (11/10) | .99
Make your images stronger by locally adjusting the frame.
Points (11/10) | .99
Make your images stronger by locally adjusting points.
Lines (11/10) | .99
Make your images stronger by locally adjusting lines.
Planes (11/10) | .99
Make your images stronger by locally adjusting planes.
Video – Photoshop Masking Key Commands
Video – Photoshop Making 2 Masks For 1 Layer
Video – Photoshop Feathering Selections & Masks
Video – Photoshop Combining Gradient Masks
Sign up for Insights for news of new content!


