The Most Natural Way to Increase Saturation and Enhance Color in Photoshop

6 Reasons You Need Photoshop’s Selective Color

Original

Tints with less black

Shades with more black
Either it’s because it’s old school (It’s one of the first tools introduced in Photoshop.) or because it’s subtle (And it’s wonderfully precise.) or because it’s misunderstood (Is this really an issue with CMYK?), Selective Color is one of the most overlooked color adjustment tools in Photoshop. But I consider it an essential tool.
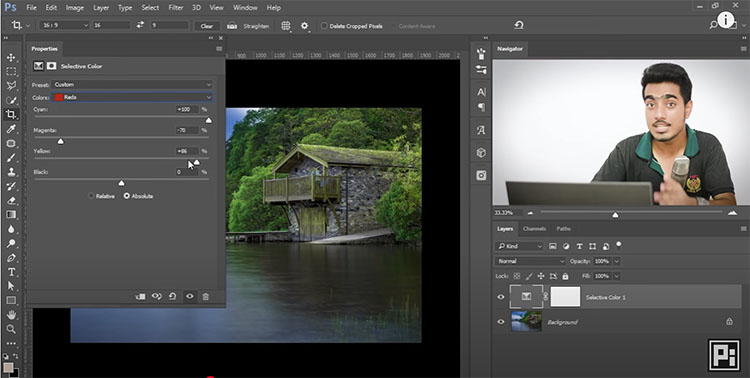
Photoshop’s Selective Color image adjustment feature is great for two things. First, it’s great for cleaning color casts selectively out of highlights, shadows, neutrals - or for adjusting specific ranges of colors with great precision. Second, it’s great for turning colors into pastels, either lighter or darker, which can soften a palette exquisitely.
Here are six reasons to use Selective Color.
Controlling Selective Color Changes In Lightroom – Julianne Kost
“In this episode of The Complete Picture, Julieanne demonstrates how to use Hue, Saturation, Luminance and the Adjustment Brush to selectively control color in Lighrroom Note: although this video was recorded in Lightroom, the same techniques are available in Adobe Camera Raw in Photoshop CS6.”
View more Photoshop videos here.
Learn more in my digital photography and digital printing workshops.


