10 Benefits Of Building Bodies Of Work
“There’s nothing worse than a sharp picture of a fuzzy concept.” – Ansel Adams

One image is an idea. A body of work is a way of thinking. A collection of singular (5-star) images doesn't create a body of work. Singular images prove your craft. A body of work proves your artistry.

Benefits Of Working In Series

The benefits of developing projects are many. When you learn to present your images as a focused series rather than a random collection of photographs, you'll feel more fulfilled and be more accomplished, developing a deeper sense of your goals, vision, and style. You'll be able to share your images with others more meaningfully and memorably, increasing the chances of publication, exhibition, sales, and collection.

More Images Make Images More Useful

How many images does it take to create a body of work? At least twelve. Think of what you can do with a number of images. 12 or more images can fill a portfolio box or an exhibition space. 12+ images can make an exhibition and/or fill a portfolio box. 24+ images can make a catalog. 36+ images can make a book. Thinking about these outcomes before you begin to shoot can be useful.

Less Is More

You want each body of work to be as strong as possible. Clarify the signal. Eliminate the static. It's better to present just 12 strong images than to bury those same 12 images amid a flood of weaker images. In any body of work, maintain a high percentage of your highest quality work (4 and 5-star images). This is particularly true of small bodies of work. With so few players to state, develop, and conclude a theme, you've got to make every one count. 

While weak work weakens strong work, less obvious smart or strongly felt work strengthens it. Images that don't represent your highest quality but still have integrity (3-star images) can be very useful for adding complexity, nuance, and context. Don't overlook these kinds of images, but limit them. Pockets of weaker images create eddies and lulls that can dilute or divert the flow of the main idea. Too many become distracting. To avoid this, punctuate or surround them with stronger images.

One of the benefits of developing a body of work is that you make relative comparisons between many of your images, learning which of your images are stronger or more interesting, what makes them that way, and how to make more in the future.

Theme

What separates a few great images with style (how you say what you say) from a body of work is vision (what you have to say), which gives style purpose. (See The Differences Between Vision & Style.) You'll find out what your voice (vision and style combined) is when you develop a body of work as it reveals your themes (enduring preoccupations). When you develop your themes, you go further and dig deeper. >


Insights Members can login to read the full article.
Email:
or Sign up

Tips To Help You How To Sequence Your Images Like A Pro

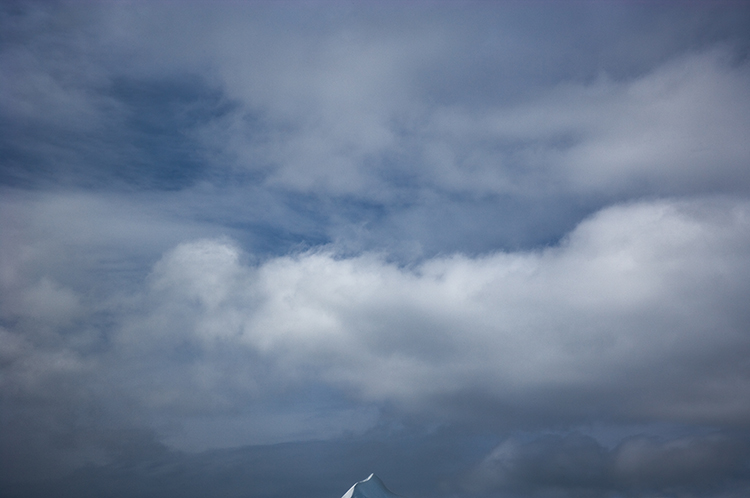
Clouds roll in.

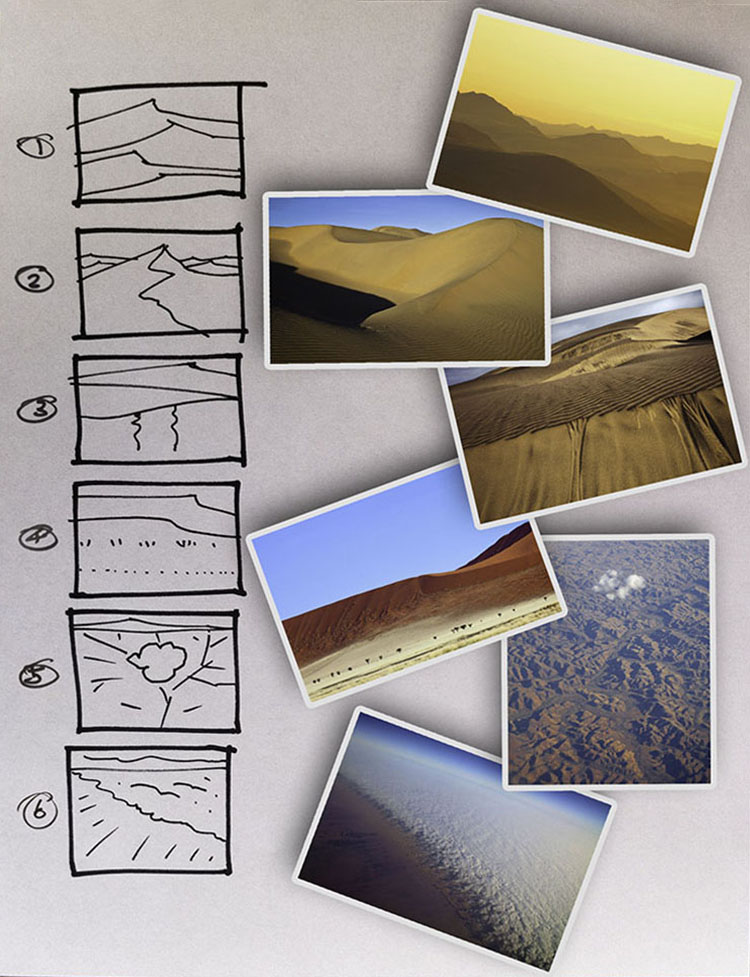
The sky clears.

Sequence can enhance images and may even change the stories they tell.


Sequence

How you present your images can be as important as which ones you select. It’s the art of sequencing (and it is an art), which involves specific techniques that you can learn. What are some of the guiding principles involved? Here are a few.

Quality

Start strong. Finish strong. Make getting there interesting. Whether a symphony, a novel, or an exhibit, it’s good advice for arranging any creative project.

Identifying your strongest image is essential. It sets the highest level of quality, against which all others will be measured. It alone may help you create an appropriate structure for the rest of your work. This singular image is often used to lead a body of work (in the announcement of your project and possibly as the first images seen in the sequence), becoming the most frequently viewed image.

While you may want to arrange your images from strongest to weakest for your own information, you certainly don’t want to present them to other people this way. Instead, you want to tease out your strongest images along the way, sustaining attention toward a strong finish.

While not every image you include in a project needs to be equally strong, a majority of images included should be representative of your best work. The rest should be almost as good. Use lesser images only when they help illustrate essential points that would otherwise be overlooked or add complexity and dimension.

No amount of arranging will make up for the lack of high-quality work. It may be easier to build mass into a project by including lesser amid stronger works; this is rarely an effective strategy. Quality makes the primary impact. Volume is secondary. Even if taken to an extreme, a large dose of average work is far less impressive than a small dose of high-quality work.

To sequence a project, you can use the metaphor of building a fence. The strongest pieces can be thought of as posts. The less strong pieces can be thought of as rails. You want to start and end with the very strongest pieces to create a strong structure. You want to periodically reinforce runs of less strong units with one or more stronger units. You don’t want long runs of rails without posts, or the structure may fail. A fence made only of posts becomes something else entirely, a wall with no variation or grace. The number of strong pieces you include determines how long your fence can be before it gets weak or falls apart.

Story

It’s helpful to identify the story you’re telling. This will impact not only your selection of images but also your presentation of them. Think of each individual picture as a chapter in a book. Simple phrases and sentences can help you. You can logline the entire story, and you can also logline single images (if not every image, then key images that mark transitions) to better understand the function they serve.

Read More

Use The Power Of Storyboarding To Structure Your Photographic Explorations

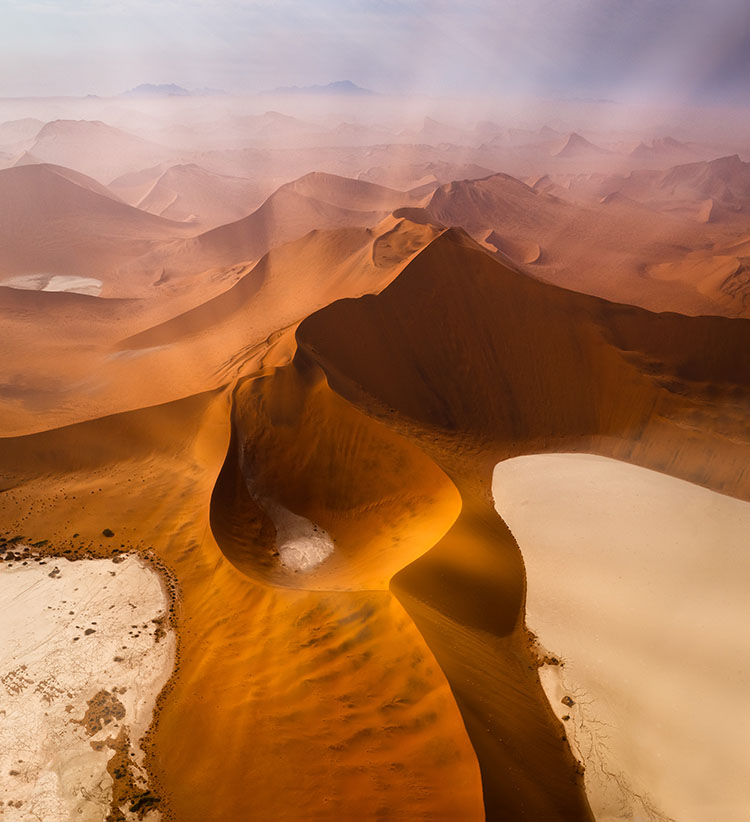
The first time I went to Namibia I used this storyboard to find more ideas and structure my thinking.

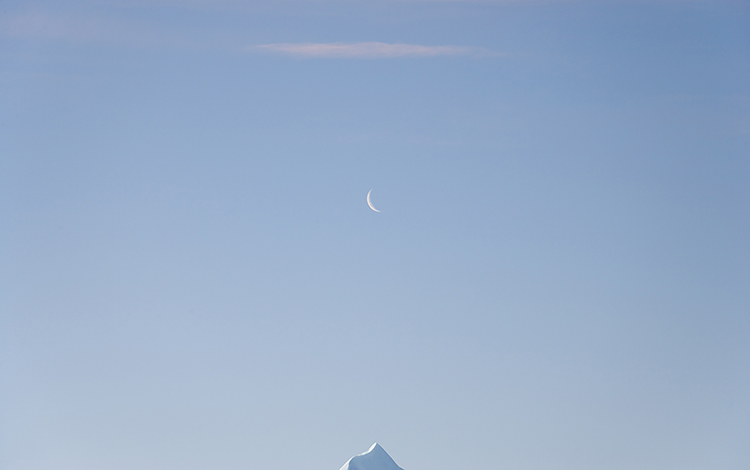
Find out how it worked out at the end of this article.


Movies are rarely shot without storyboarding them. Consider storyboarding your still photography projects too.

A storyboard is a hand-drawn map or timeline that identifies the various types of images needed to advance a story and the transitions between them. They identify the beginning, middle, and end of a story and the shots needed to move from one to the other. Storyboards create a guiding structure or framework that can help focus and strengthen your work. 

You can use storyboards to structure your thinking when you’re developing still photography projects. Storyboards can help you do many different things, including finding out what your story is, generating ideas, identifying the shots you need, creating stronger relationships between separate images, and telling your story in more compelling ways.

Creating a storyboard doesn’t take long. You can create a simple storyboard in as few as two sketches – before and after or beginning and end. Then you can continue adding more frames to develop your story further.


Insights Members can login to read the full article.
Email:
or Sign up

How to Sequence & Design Your Next Book Like a Pro – Mat Thorne

How to Sequence and Design Your Next Book Like a Pro from Blurb Books on Vimeo.

Mat Thorne, pro photographer and design whiz, shares his secrets for great book design. Mat was the Art Director at the prestigious Maine Media Workshops and has designed books for some notable figures in contemporary photography. In this webinar, he walks you through book design and layout essentials and touches upon tips and tricks to help you with every aspect of bookmaking, from workflow to typography to final layout.
Learn more in my online Bookmaking resources.
Learn more in my Publish & Exhibit workshop.