Creative Image Sharpening With HDR Software

SharpeningCompared

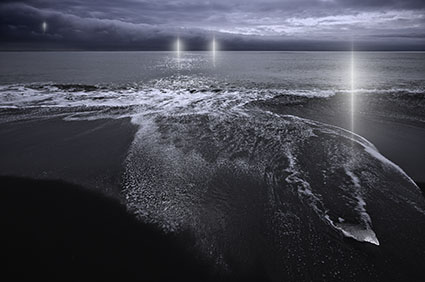
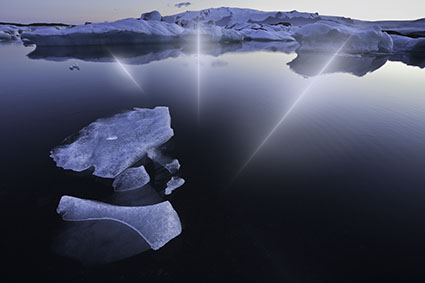
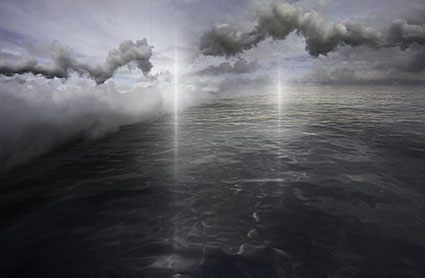
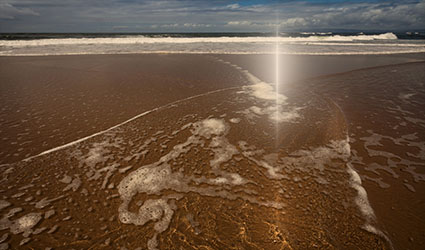
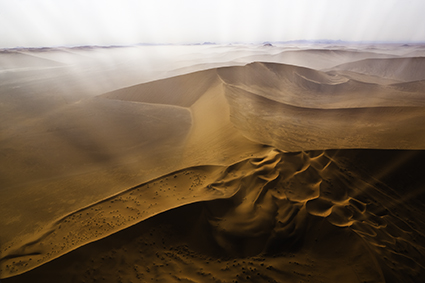
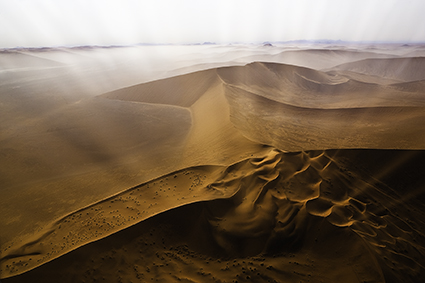
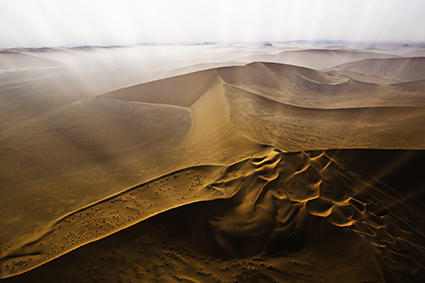
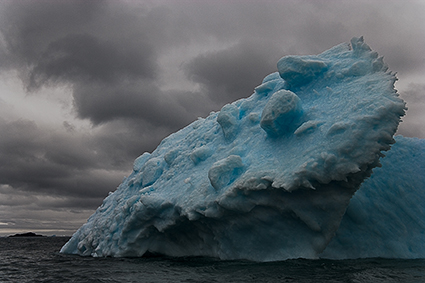
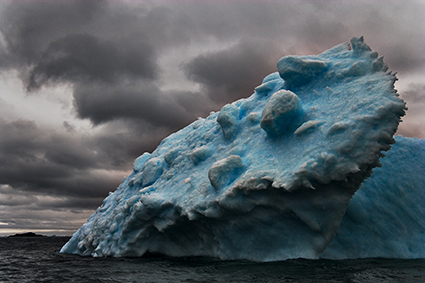
Unsharpened / Hybrid / Strong HDR

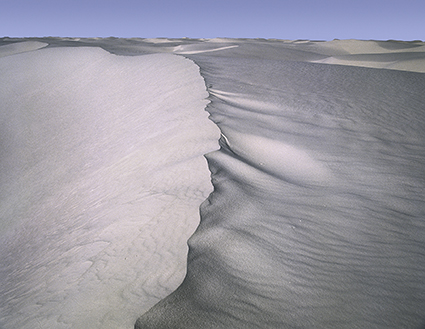
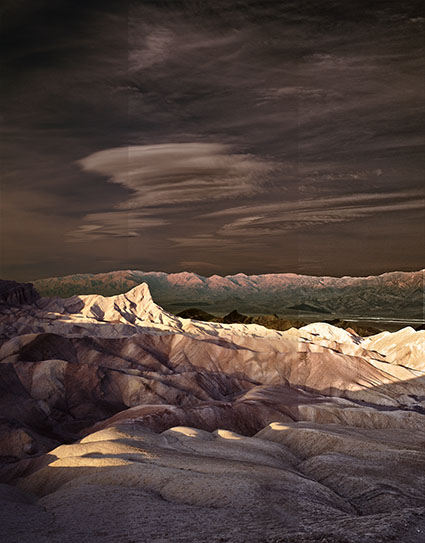
HDR software is most typically used to render shadow and highlight detail, but it can also be used to enhance tonal separation and detail in any range of tones, even in images with extremely low contrast. The very same tools that are used to compensate for HDR side effects can be used to sharpen any image.

When multiple bracketed exposures are merged into a single processed file, shadows and highlights that exceed the dynamic range of a camera’s sensor are compressed into the dynamic range of a digital file, taking the mid-tones with them. Depending on the HDR software used, a variety of tools are available to restore contrast and separation in mid-tones. If used aggressively, these tools produce the telltale signs of contemporary or grunge HDR artifacts – halos and texture accentuation. These are the very same artifacts that digital sharpening routines use more conservatively to make images appear sharper - only they look different.

Unlike the hard halo and line produced by the filter Unsharp Mask and more like the soft line produced by the filter High Pass, HDR sliders can give you still more points of control over line and texture, each with a slightly different flavor.


Insights Members can login to read the full article.
Email:
or Sign up

What In The World Is Detail Frequency ?

refraction73_MG_1171

High frequency

refraction74_20100809__ICEjokulsarlon_0148

Medium Frequency

refraction6420080816_iceland_reykjanes_0496

Low Frequency

Frequency is a term that’s being used more and more. That’s because new tools offer you more control over frequency than ever before. Noise reduction, sharpening, and HDR all offer unprecedented control over the look and feel of detail in our images. Frequency is used to describe the amount of detail packed into a given area of an image. This is measured by the amount of tonal variation between rows or columns of pixels. Imagine measuring an image with a line that passes across it (horizontally from left to right or vertically from top to bottom). The mean or average tonal value along lines can be charted and then compared to values from other measurement lines, especially those nearest to each other.


Insights Members can login to read the full article.
Email:
or Sign up

3 Things Creative Sharpening Can Do For Your Images

Refraction LXIX 2

Of the three stages in a sound sharpening workflow – capture sharpening, creative sharpening, and output sharpening – creative sharpening is the stage that has the most impact. The goal of creative sharpening is to give an image a specific look and feel. There are at least three things creative sharpening can do for your images.

One, creative sharpening can prioritize; it can direct attention to specific areas of an image.

Two, creative sharpening can enhance; qualitative aspects of images like texture and line, can be amplified to produce stronger responses.

Three, creative sharpening can be used to accentuate different qualities of light; a great deal of detail is carried by the luminosity component of color and changing it changes the overall appearance of light within the image.

Used consistently creative sharpening can produce a distinctive style that is more easily recognizable to viewers. (Remember, sharpening is a way to enhance details and it may also be used with its counterpart blurring to make effects appear even stronger by comparison.)


Insights Members can login to read the full article.
Email:
or Sign up

The Advantages Of Sharpening With Photoshop’s Layers

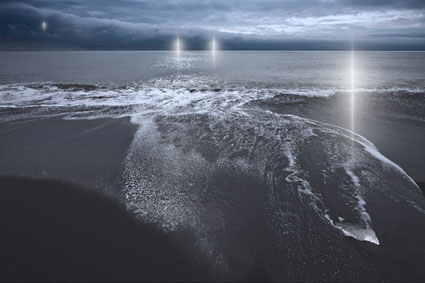
1_sharp_refraction_LXXIII1 copy

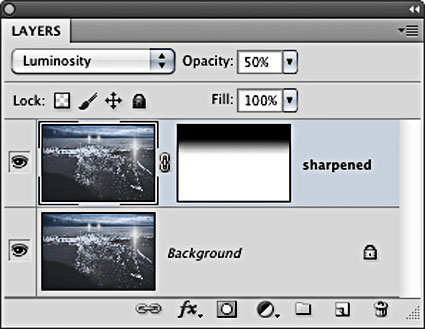
2_sharpenedlayerstack copy

Layers have Blend Modes and can be masked

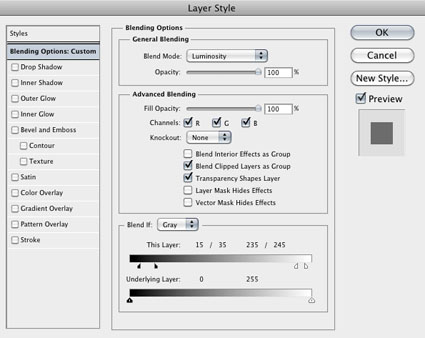
3_layerstyle copy

Double click a layer to activate its Blend If sliders  

There are many reasons to use layers when sharpening your digital images.

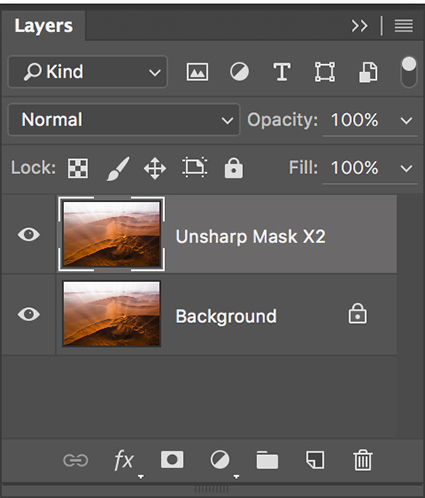
How do you do this? Simply duplicate the Background layer and sharpen the new layer.

Eliminate Saturation Shifts
Layers can be used to eliminate saturation shifts. Change the Blend Mode of a sharpening layer from Normal to Luminosity. Color noise will also be reduced this way.


Insights Members can login to read the full article.
Email:
or Sign up

Creative Detail Enhancement with HDR Software

 
HDR software is most typically used to render shadow and highlight detail, but it can also be used to enhance tonal separation and detail in any range of tones, even in images with extremely low contrast. The very same tools that are used to compensate for HDR side effects can be used to sharpen any image.
When multiple bracketed exposures are merged into a single processed file, shadows and highlights that exceed the dynamic range of a camera’s sensor are compressed into the dynamic range of a digital file, taking the midtones with them. Depending on the HDR software used, a variety of tools are available to restore contrast and separation in midtones. If used aggressively, these tools produce the tell tale signs of contemporary or grunge HDR artifacts – halos and texture accentuation. These are the very same artifacts that digital sharpening routines use more conservatively to make images appear sharper - only they look different.


Insights Members can login to read the full article.
Email:
or Sign up

Capture Sharpening With Lightroom & Adobe Camera Raw 

01_CaptureSharpen

02_CaptureSharpen
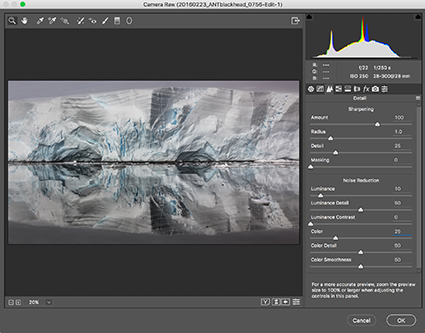
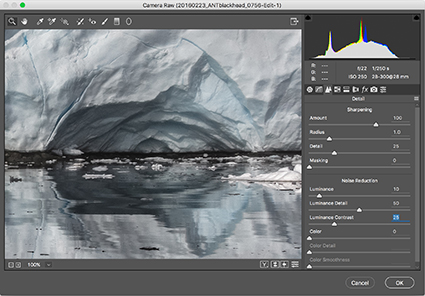
Adobe Camera Raw's Detail panel

Optimal image sharpening is best done in three stages – capture (Do it during Raw conversion.), creative (Do it in Photoshop.), and output (Automate it.).

This article covers the first stage of sharpening – capture sharpening.

Capture sharpening benefits all images. Capture sharpening compensates for inherent deficiencies in optical and capture systems. All lenses and sensors have specific characteristics and deficiencies. They do not all have the same characteristics or deficiencies.

To speed your workflow, default settings for the best starting point for capture sharpening can be determined for all images created with the same lens/chip combination and saved for subsequent use. To optimally sharpen an image, you’ll need to modify these settings to factor in additional considerations – variances in noise (ISO, exposure duration, temperature), noise reduction settings, and the frequencies of detail (low/smooth to high/fine texture) in an image.


Insights Members can login to read the full article.
Email:
or Sign up

Advanced Creative Image Sharpening Techniques – Double Pass & Hybrid

1_Sharpen_No

No sharpening.

2_Double_USM

Double pass Unsharp Mask sharpening.

4_Hybrid_HighPass

Hybrid Unsharp Mask and High Pass sharpening.

Different sharpening techniques make the world look different. A world of difference can be seen between the thin hard line of Unsharp Mask and the broad feathered line of High Pass Sharpening.
Can you choose a combination of both? Yes you can! You can choose the texture of one, the halo of another, and the line of yet another, applying them either globally or selectively. You can customize the look and feel of detail in any image or image area with astonishing precision and flexibility.
2_Double_USM
2b_Sharpen_DoublePass


Insights Members can login to read the full article.
Email:
or Sign up

Creative Sharpening With Photoshop’s High Pass Filter

2_LowRadiusHighPass_

A low High Pass filter setting.

3_HighRadiusHighPass

A high High Pass filter setting.

There are three methods of sharpening in Photoshop that we should all be aware of – luminance, edge, and High Pass sharpening. In this order, the three methods become progressively more complex and go to greater lengths to reduce the accentuation of noise.

To minimize the accentuation of noise, luminance sharpening requires that the filter Unsharp Mask’s Threshold setting be set precisely. When this is not enough, edge sharpening adds a mask that targets the contours of an image, allowing more aggressive sharpening with fewer side effects. Like, edge sharpening, High Pass sharpening (named after the filter used to produce the effect) targets contours in an image, but it does so without the need for a mask; a mask which is more complex to produce. Unlike edge sharpening, the contour accentuation it produces is soft, feathered, and wide. The effect is substantially different and can be used for many creative effects. High Pass sharpening is very similar to the effects of ACR and Lightroom’s Clarity slider, but it offers more control and more varied effects.


Insights Members can login to read the full article.
Email:
or Sign up

Creative Sharpening With Photoshop’s Unsharp Mask

3b_usm_lowradius
Precise sharpening can improve almost any image. It helps to know when to apply it, what type of sharpening to apply, how to apply it, and where to apply it.

Forget the filters Sharpen, Sharpen More, and Sharpen Edges. They’re just default settings of Unsharp Mask. Even Smart Sharpen offers few advantages over Unsharp Mask; it’s particularly useful for compensating for trace, but not substantial, amounts of motion blur. My advice? Start with the classic and master it.

Why is a filter that makes images appear sharper called Unsharp Mask? In analog chemical photography, unsharp masks are made with out-of-focus negatives that are registered with an original positive image. During exposure, the blurring adds contrast around contours, making images appear sharper. Digital unsharp mask works the same way, it uses blurring algorithms to add contrast to contours, again making images appear sharper.

What are the ideal settings for Photoshop’s Unsharp Mask filter? There are no ideal settings that will accommodate all images – or image-makers. Settings will be influenced by resolution, ISO, subject, and practitioner. As creative sharpening is primarily an aesthetic decision, individuals are likely to prefer different amounts and types of image sharpness. When it comes to the effects Unsharp Mask generates, there is a general range of believability most viewers share, but whether you play it safe or push the envelope is entirely up to you. You can craft your own sharpening style. To do this, you have to know how the tool works and what to look for.

What are the controls Unsharp Mask offers? Unsharp Mask offers only three controls – Amount, Radius, and Threshold.
What do they do? Amount controls contrast; a higher setting will create a brighter halo, darker line, and contrastier texture. Radius controls how thick halos and lines get. Threshold suppresses the effect in adjacent pixels, base on their relative luminosity; with a very low setting only adjacent pixels that are very close in color will be affected; with a very high setting, many more color values will be affected.


Insights Members can login to read the full article.
Email:
or Sign up