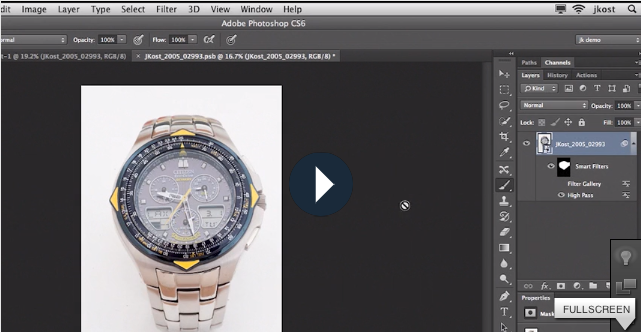
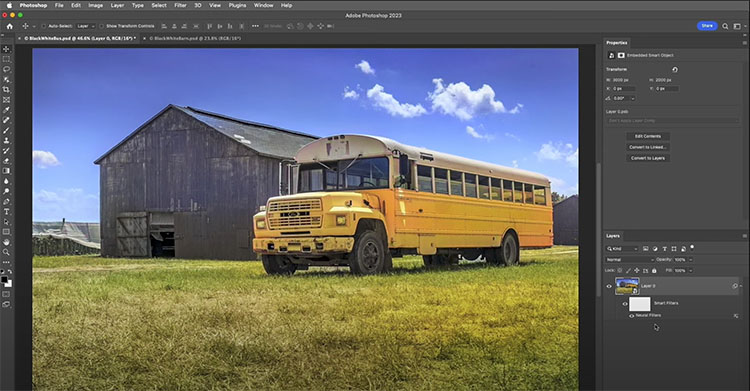
5 Reasons to use Smart Filters in Adobe Photoshop

“In this video, Julieanne demonstrates five reasons to use Smart Filters in Photoshop, including how to edit, mask, stack, move, duplicate, and change blend mode and opacity of Smart Filters in Photoshop.”

View more of Julieanne’s videos.
Learn more in my digital photography and digital printing workshops.

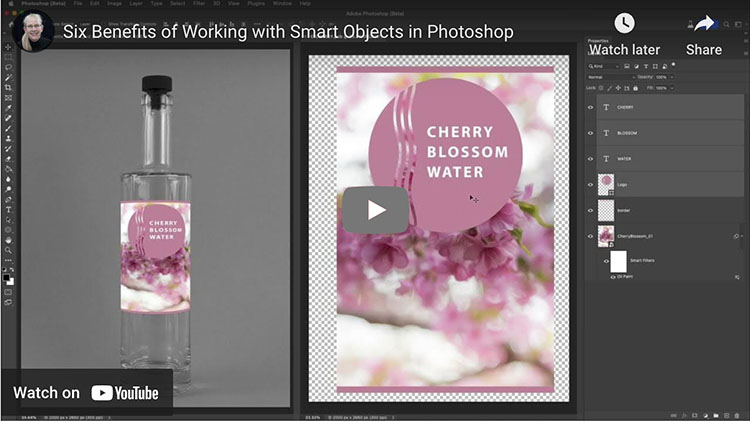
6 Benefits Of Using Smart Objects In Adobe Photoshop

In this video, Julieanne will walk through six benefits of working with Smart Objects in Photoshop, including transforming and distorting Smart Objects, editing and replacing the contents of Smart Objects, creating duplicated instances, and more!”

View more of Julieanne’s videos.
Learn more in my digital photography and digital printing workshops.

4 Reasons You Should Use Photoshop's Smart Objects

SmartObjects425
Smart Objects are smart layers, and they have been in Photoshop for years. They have been evolving, but few people truly understand them and fewer still take full advantage of them. There are major benefits to learning what Smart Objects offer you and how they can change your workflow. Here are four things Smart Objects can do for you.
1. Change Or Update RAW Conversion Settings.
2. Apply Filters Nondestructively.
3. Apply Nondestructive Scaling And Distortion To Layers.
4. Blend Multiple Exposures Or Layers With Stack Modes. 
The first benefit, Change Or Update RAW Conversion Settings, is the most essential; something every Photoshop user should know how to use. Here’s how to use it.
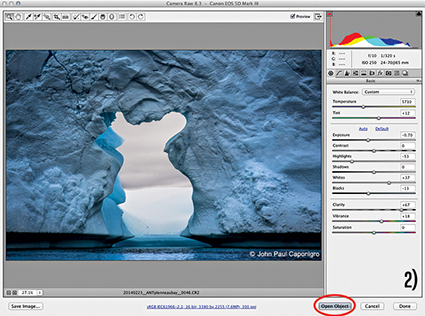
Whether you’re using Lightroom or Bridge/Photoshop, if, and only if, you acquire a RAW file as a Smart Object, by double-clicking it, you’ll be able to change conversion settings and even update the RAW-processing algorithms to the latest version. Forgot to adjust a setting? Found better settings? Want to take advantage of advances made in the latest process version of ACR? All of these are reasons to use Smart Objects.
To acquire a RAW file as a Smart Object in Lightroom, go to Photo > Edit In > Open As Smart Object In Photoshop. With Adobe Camera Raw, click the blue underlined line at the bottom of the window to access Workflow Options and check Open In Photoshop As Smart Objects, which will set this as a default for opening files. The Open Image button will change to Open Objects. Notice that in Photoshop the bottom layer uses the file name instead of Background, and it contains a small rectangular icon that indicates it’s a Smart Object.
But wait, there are three more reasons to use Smart Objects. You’ll find the steps for the other three benefits detailed in my column on Digital Photo Pro.
There’s more than one kind of Smart Object; those that reaccess Raw file data and those that don’t. Smart Objects have limits; the list is steadily diminishing. Smart Objects come at a price; larger file sizes. While Smart Objects aren’t simple, but they’re extremely powerful and flexible. For this reason, I consider them essential components of an optimum Photoshop workflow. Exactly how and when you implement Smart Objects will depend on the specific challenges you face with a given image. While everyone needs to be aware of the possibilities Smart Objects offer, make your use of Smart Objects as simple as possible, but not simpler. You’ll find that even the most minimal implementation of Smart Objects will be extremely helpful.
Read more on Digital Photo Pro
Learn more in my digital photography and digital printing workshops.
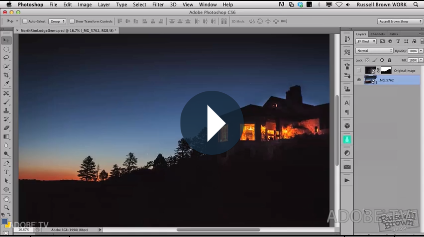
Advanced Image Editing Techniques With Photoshop CS6


“Learn how to start with a everyday good image and then make it look like a prize winning photo. This will all be done with some tips and techniques found in Adobe Photoshop CS6. This project combines Adobe Camera Raw, Smart Objects, Adaptive Wide Angle, and finally Puppet Warp to enhance the image.”
View more Photoshop videos here.
Learn more in my digital photography and digital printing workshops.

Using Photoshop Stacks To Remove People – Deke McClelland


Deke McClelland shows you how to use stacks to remove moving objects in a scene.
This is a game changing technique I emphasize in all of my field workshops.
It will open up new possibilities for you, change the way you shoot, and raise your success rate.
Learn more from Deke McClelland here.

Read more in my digital photography and digital printing ebooks.

Learn more in my digital photography and digital printing workshops.
Get More From Smart Objects


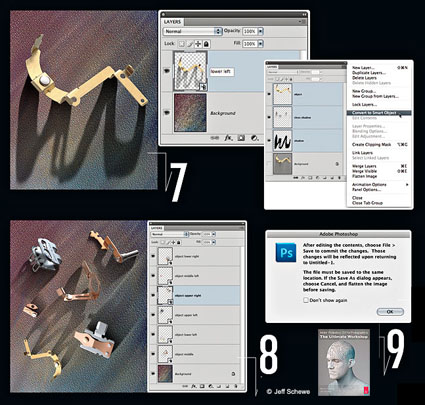
“Any “object” that needs the ability to adjust size and rotation without the normal limitations of layered images is an excellent candidate for Smart Objects … When doing a traditional multilayer composite, the resizing and rotation of a layer can cause image degradation. Positioning and sizing an object has to be a precise operation because if you use Free Transform to make a layer smaller and then find out you actually need it back at the original size (or bigger), you basically have to start over. The way to deal with this situation when doing a complex composite is to make those layers into Smart Objects. Smart Objects are embedded image objects that allow resizing, rotation and other select editing without changing the pixels in the object. The image layers are actually treated as a separate file embedded within the master file. You can’t do all editing on the Smart Object, but you can open the original layers as a temporary file and do pixel-level editing there and then save the changes back into the Smart Object; the changes will auto-update in the image in which the objects are embedded.” – Jeff Schewe
Read more about Smart Objects at Digital Photo Pro.
Get Schewe & Evening’s book CS5 for Photographers: The Ultimate Workshop.
Learn more with my online resources.
Learn more in my digital photography and digital printing workshops.