10 Benefits Of Building Bodies Of Work
“There’s nothing worse than a sharp picture of a fuzzy concept.” – Ansel Adams

One image is an idea. A body of work is a way of thinking. A collection of singular (5-star) images doesn't create a body of work. Singular images prove your craft. A body of work proves your artistry.

Benefits Of Working In Series

The benefits of developing projects are many. When you learn to present your images as a focused series rather than a random collection of photographs, you'll feel more fulfilled and be more accomplished, developing a deeper sense of your goals, vision, and style. You'll be able to share your images with others more meaningfully and memorably, increasing the chances of publication, exhibition, sales, and collection.

More Images Make Images More Useful

How many images does it take to create a body of work? At least twelve. Think of what you can do with a number of images. 12 or more images can fill a portfolio box or an exhibition space. 12+ images can make an exhibition and/or fill a portfolio box. 24+ images can make a catalog. 36+ images can make a book. Thinking about these outcomes before you begin to shoot can be useful.

Less Is More

You want each body of work to be as strong as possible. Clarify the signal. Eliminate the static. It's better to present just 12 strong images than to bury those same 12 images amid a flood of weaker images. In any body of work, maintain a high percentage of your highest quality work (4 and 5-star images). This is particularly true of small bodies of work. With so few players to state, develop, and conclude a theme, you've got to make every one count. 

While weak work weakens strong work, less obvious smart or strongly felt work strengthens it. Images that don't represent your highest quality but still have integrity (3-star images) can be very useful for adding complexity, nuance, and context. Don't overlook these kinds of images, but limit them. Pockets of weaker images create eddies and lulls that can dilute or divert the flow of the main idea. Too many become distracting. To avoid this, punctuate or surround them with stronger images.

One of the benefits of developing a body of work is that you make relative comparisons between many of your images, learning which of your images are stronger or more interesting, what makes them that way, and how to make more in the future.

Theme

What separates a few great images with style (how you say what you say) from a body of work is vision (what you have to say), which gives style purpose. (See The Differences Between Vision & Style.) You'll find out what your voice (vision and style combined) is when you develop a body of work as it reveals your themes (enduring preoccupations). When you develop your themes, you go further and dig deeper. >


Insights Members can login to read the full article.
Email:
or Sign up

Why Singular Images Are So Important And Why They’re Not Everything

Call them 5-star images. They’re the images that make an instant impression, capable of grabbing a viewer’s attention amid a flood of other choices. Singular images are the ones that get the most likes on social networks, the top (and sometimes only) image on a webpage, the first and last images in a slideshow, the one used for a card to an exhibition or a poster promoting it, the cover plus the opening and closing pages of a book. Singular images are the heat.

Singular images are classically composed with strong graphic structures that are simplified and dynamic. The dramas they tell are easily grasped and digested. Color contrast (of luminosity, hue, and/or saturation) is high. Rarely will a singular image have technical flaws; they can afford no distractions. It’s rare that a singular image doesn’t exhibit these characteristics. For an image to be considered singular without them, it has to be exceptionally strong in other areas.

Some high-impact images don’t have legs. They sizzle and fizzle. They may be graphically compelling, but they may not offer anything exceptional beyond their execution. You may need to give images a waiting period to discover this. When determining whether an image’s payout is short or long, ask yourself some questions. Does the image sustain attention? Does it tell an interesting story? Does it make the viewer think? Does it work on multiple levels? Does it elude easy definition? Does it haunt the viewer long after it is seen? The very best singular images do it all. These are the truly great images.

It takes time to amass a number of singular images. Singular images often involve strokes of luck. No matter how talented, skilled, and prepared you are, it’s almost impossible to guarantee inspiration. But you can learn to recognize when it’s present and what it takes to cultivate and sustain it ...


Insights Members can login to read the full article.
Email:
or Sign up

Tips To Help You How To Sequence Your Images Like A Pro

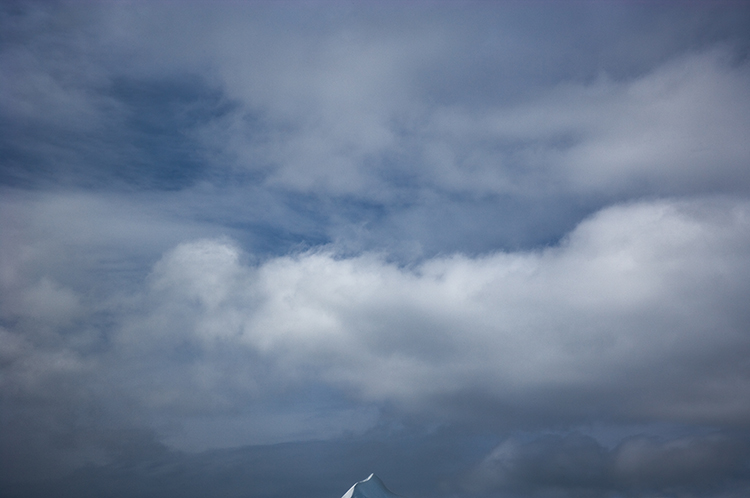
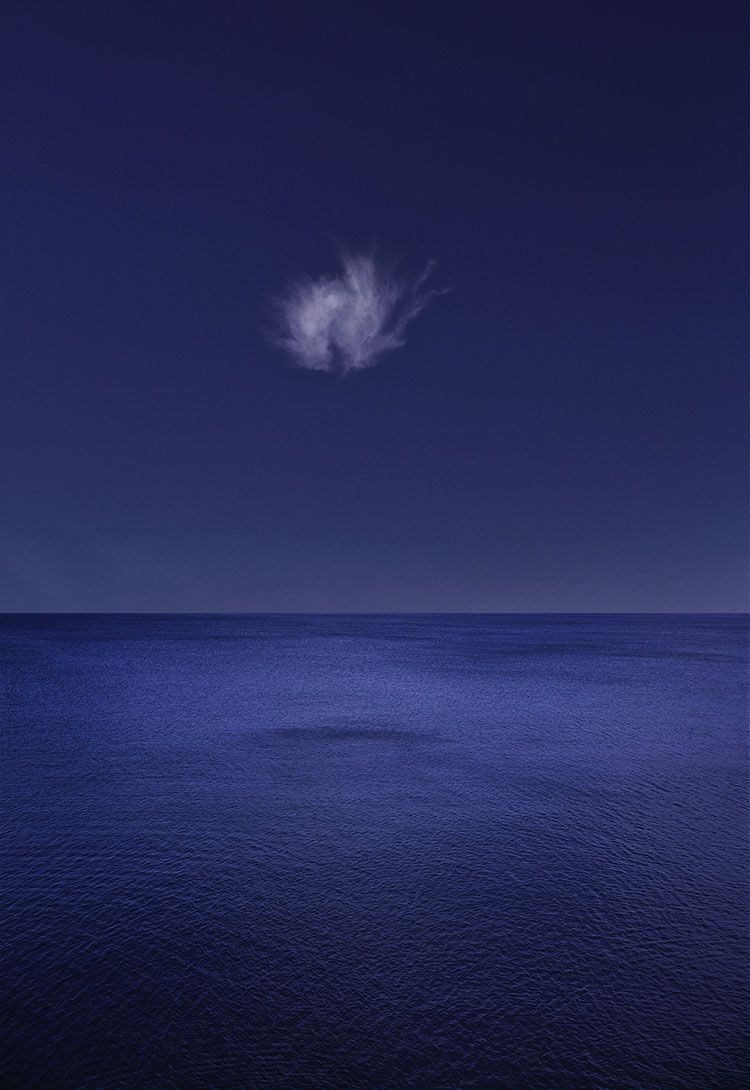
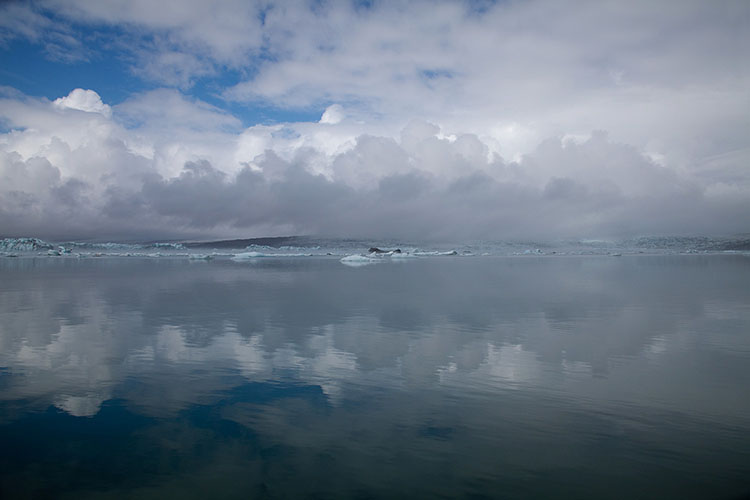
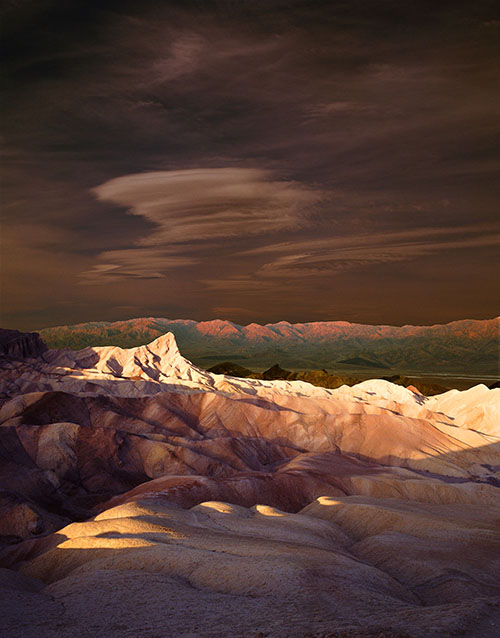
Clouds roll in.

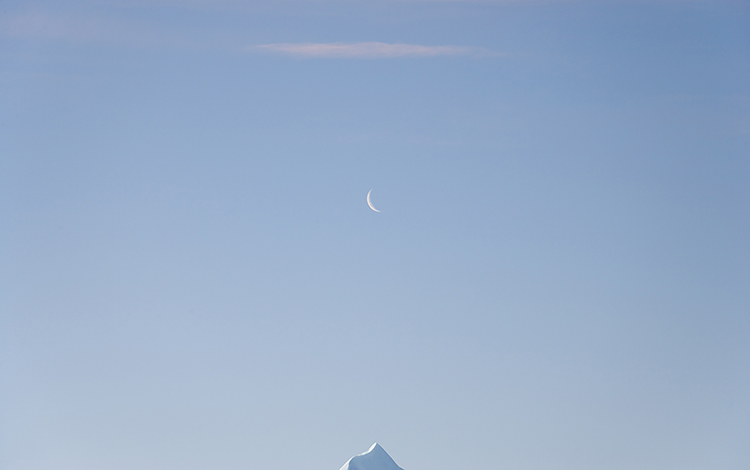
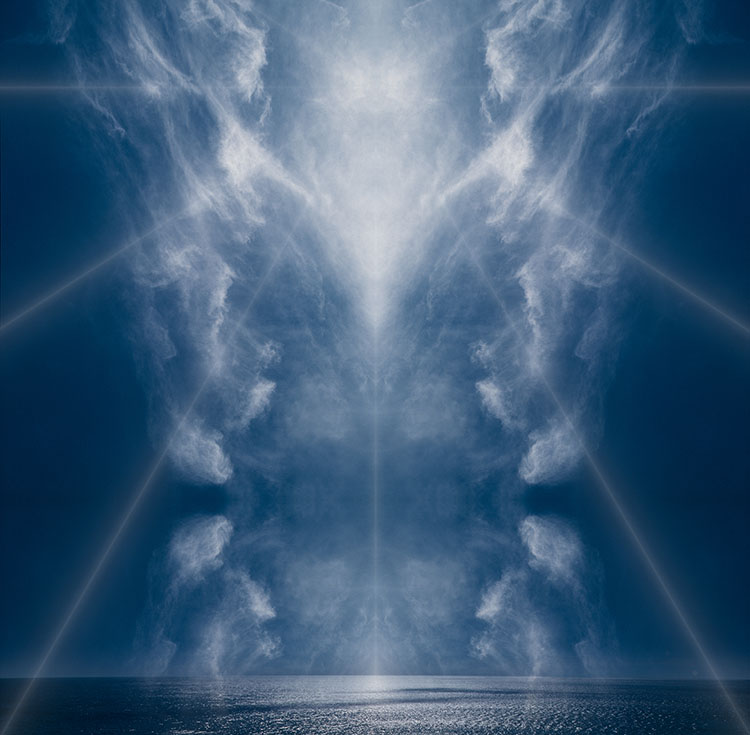
The sky clears.

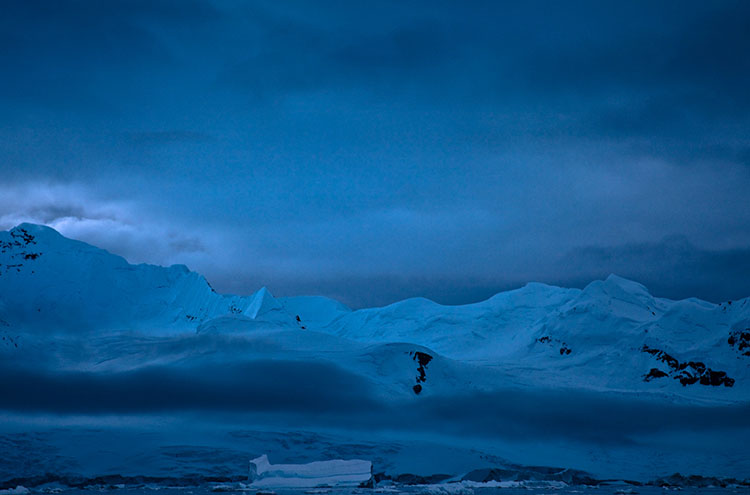
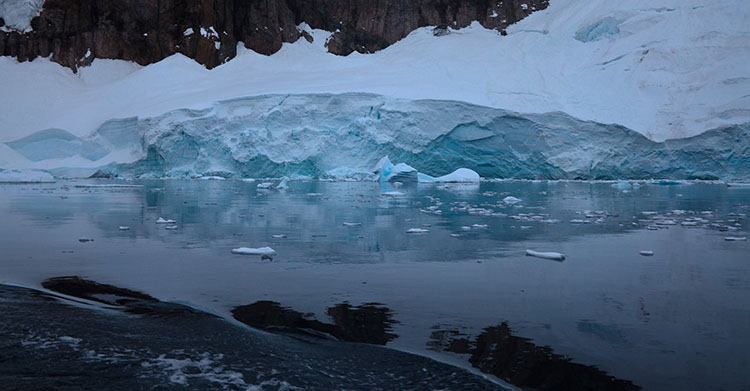
Sequence can enhance images and may even change the stories they tell.


Sequence

How you present your images can be as important as which ones you select. It’s the art of sequencing (and it is an art), which involves specific techniques that you can learn. What are some of the guiding principles involved? Here are a few.

Quality

Start strong. Finish strong. Make getting there interesting. Whether a symphony, a novel, or an exhibit, it’s good advice for arranging any creative project.

Identifying your strongest image is essential. It sets the highest level of quality, against which all others will be measured. It alone may help you create an appropriate structure for the rest of your work. This singular image is often used to lead a body of work (in the announcement of your project and possibly as the first images seen in the sequence), becoming the most frequently viewed image.

While you may want to arrange your images from strongest to weakest for your own information, you certainly don’t want to present them to other people this way. Instead, you want to tease out your strongest images along the way, sustaining attention toward a strong finish.

While not every image you include in a project needs to be equally strong, a majority of images included should be representative of your best work. The rest should be almost as good. Use lesser images only when they help illustrate essential points that would otherwise be overlooked or add complexity and dimension.

No amount of arranging will make up for the lack of high-quality work. It may be easier to build mass into a project by including lesser amid stronger works; this is rarely an effective strategy. Quality makes the primary impact. Volume is secondary. Even if taken to an extreme, a large dose of average work is far less impressive than a small dose of high-quality work.

To sequence a project, you can use the metaphor of building a fence. The strongest pieces can be thought of as posts. The less strong pieces can be thought of as rails. You want to start and end with the very strongest pieces to create a strong structure. You want to periodically reinforce runs of less strong units with one or more stronger units. You don’t want long runs of rails without posts, or the structure may fail. A fence made only of posts becomes something else entirely, a wall with no variation or grace. The number of strong pieces you include determines how long your fence can be before it gets weak or falls apart.

Story

It’s helpful to identify the story you’re telling. This will impact not only your selection of images but also your presentation of them. Think of each individual picture as a chapter in a book. Simple phrases and sentences can help you. You can logline the entire story, and you can also logline single images (if not every image, then key images that mark transitions) to better understand the function they serve.

Read More

Use The 8 Classic Shots Of Photo Essays To Tell Better Stories

Every picture tells a story. Combine pictures to form an essay, and your storytelling options multiply. This is one way to tell a more complete story, add depth, complexity, counterpoint, nuance, show change over time, and so much more. A photo essay transcends a single lucky shot. It demonstrates commitment, focus, versatility, and skills of another order. 

Essays have definite structures, with a clear beginning, middle, and end – often with standard components that flesh out and advance a story in critical ways. Journalists excel at this type of storytelling. Sometimes they even use cinematic conventions, components, and strategies. Moviemakers storyboard their creations before filming commences. Cinematographers and film editors ultimately develop their own styles with how they handle these devices, and they can also become a part of your style.

Identifying the necessary components of an essay is the first step. Once you know the types of images you need to tell your story, you’ll know what to shoot while you’re on location and maybe even when you need to be there. If you don’t identify these elements beforehand and make sure you come back with each of them, you may find you lack critical pieces. There will be holes in your story. And you may have to return to finish it – if you can. 

Even if your work isn’t narrative, learning these skills will help you create more images, be more versatile, make stronger comparisons and contrasts, and create more effective continuity and transitions between images.

These are the classic elements used to structure a photo essay presented in order of appearance.

1 Introduction
2 Set the Stage
3 Identify the Main Character
4 Significant Detail
5 Human Interest
6 Decisive Moment
7 Outcome
8 Conclusion 

You could say all other images included in an essay are just variations of these few types of images. I’d be surprised if exceptions couldn’t be found, but they would be exceptions. These are worth committing to memory and ultimately making second nature. If you do, you’ll become a more capable and versatile photographer.

What is the function of each image type? 


Insights Members can login to read the full article.
Email:
or Sign up

Use The Power Of Storyboarding To Structure Your Photographic Explorations

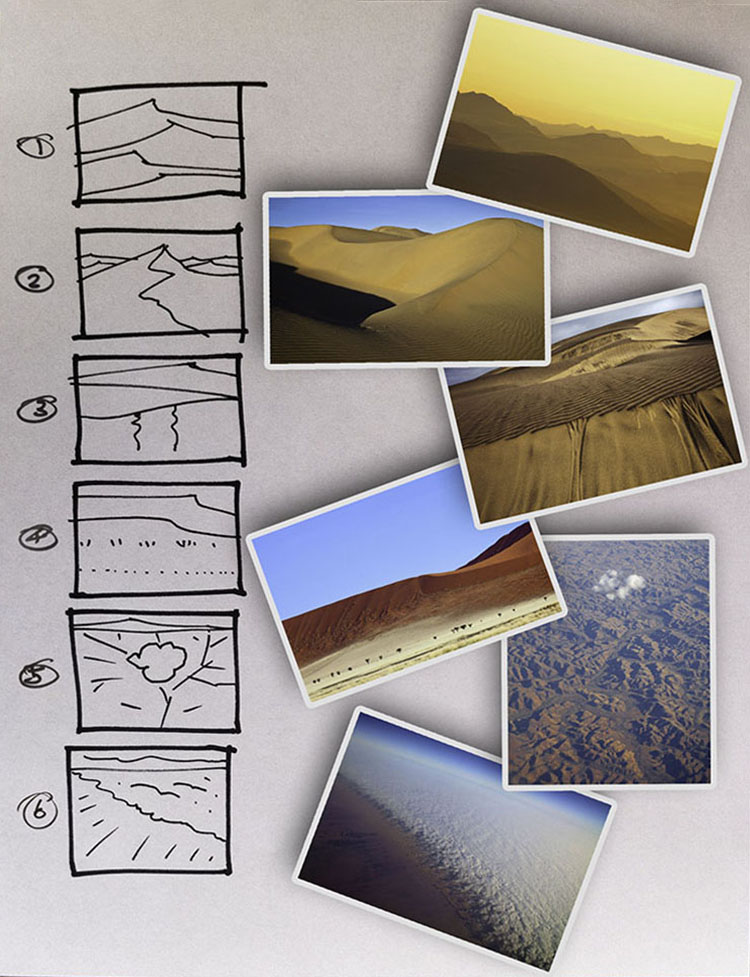
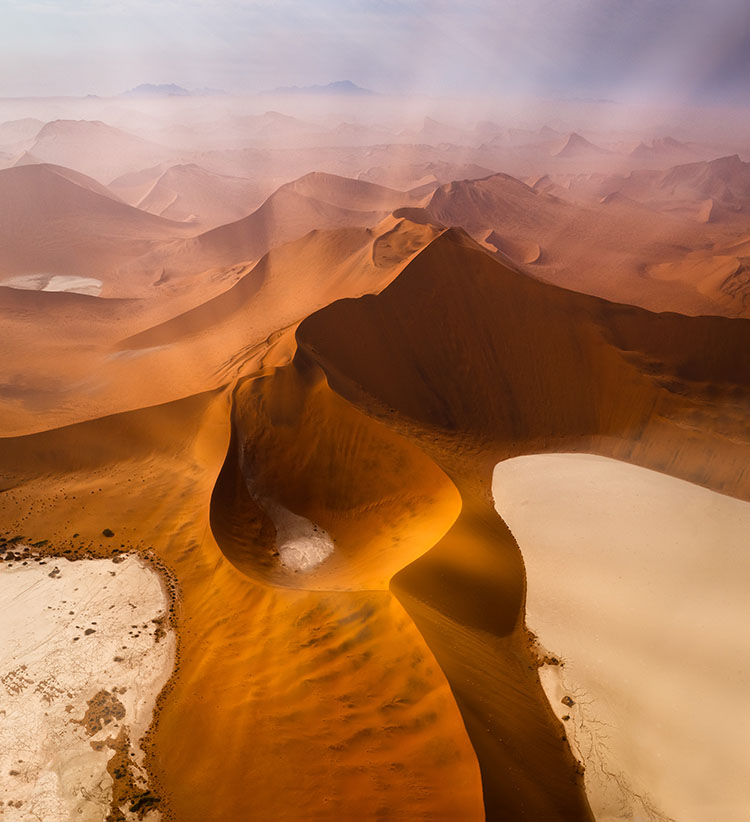
The first time I went to Namibia I used this storyboard to find more ideas and structure my thinking.

Find out how it worked out at the end of this article.


Movies are rarely shot without storyboarding them. Consider storyboarding your still photography projects too.

A storyboard is a hand-drawn map or timeline that identifies the various types of images needed to advance a story and the transitions between them. They identify the beginning, middle, and end of a story and the shots needed to move from one to the other. Storyboards create a guiding structure or framework that can help focus and strengthen your work. 

You can use storyboards to structure your thinking when you’re developing still photography projects. Storyboards can help you do many different things, including finding out what your story is, generating ideas, identifying the shots you need, creating stronger relationships between separate images, and telling your story in more compelling ways.

Creating a storyboard doesn’t take long. You can create a simple storyboard in as few as two sketches – before and after or beginning and end. Then you can continue adding more frames to develop your story further.


Insights Members can login to read the full article.
Email:
or Sign up

Every Picture Tells A Story … But How Does It Tell It?

Visual stories can be simple or complex, quiet or dramatic, short or long ... the possibilities are endless.

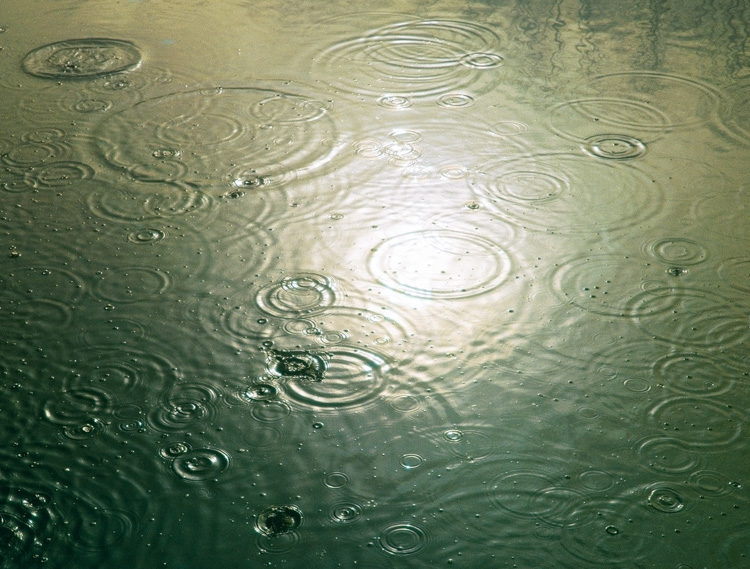
Even in abstract images things happen, at the very least formal elements interact.

Sometimes stories are told with images through their relationships with other images.

Every picture tells a story. Every picture? Every picture!

Even abstract images tell stories. The stories they tell are not about their subjects. By definition, they don’t have subjects. Or do they? They have themselves. So they tell stories about themselves. They tell stories about the things that make them – color, line, texture, shape, proportion, etc. How all of those things relate is a drama of form.

How many kinds of stories are there? There are scientific stories that tell us what things are and how they work. There are historical stories that tell us how things were, how they changed, and what they’ve become today – some even speculate about how things will be tomorrow. There are emotional stories that tell us how people respond emotionally to things. There may be more kinds of stories, but these are the big ones. When it comes to images, the stories they tell are usually only about a few kinds of things. The images themselves. The things images contain. The processes things go through. The feelings people have in response to things and processes. The concepts created through interpretation. Things: Nouns. Processes: Verbs. Feelings: Adjectives and Adverbs. Concepts: Abstract Ideas.

So if every picture tells a story, one way to determine the strength of an image is to ask, “How strong is the story?” Put another way, one way to improve your images is to tell stronger stories. A story doesn’t have to be big or dramatic to be strong; it just has to be told well. Tell stories strongly. Tell them with stronger form; tell them by more clearly delineating actions; tell them by disclosing emotional responses more passionately; tell them by inspiring us to find the bigger picture beyond each picture or group of pictures.


Insights Members can login to read the full article.
Email:
or Sign up

How To Use Association To Go Deeper With Your Photographs

My early curiosity about clouds displaying invisible forces at work, lead to associations of nephomancy (divination by clouds) and later clouds as divine messengers.

The working title for this series, Glory (later changed to Illumination) was drawn from religious iconography in western art history.

The working title for this series was Heaven's Breath but it was later released as Exhalation, leaving room for viewers' interpretations. The many personal associations I bring to my imagery remain subliminal but strongly felt giving them consistency and depth.


Our work is as deep as the relationships we have with it. Mastery involves much more than researching subjects and perfecting craft, it also means doing some soul searching. So how can you deepen your relationships with your work? How can you understand the inner life of your work better? One way is to associate freely.

Free association is a classic psychological technique that can be used to reveal and clarify internal relationships. While most association is done linguistically, you can use anything as a touchstone for association; sounds, gestures, tastes, smells, images, etc. Use one or more at the same time. Whatever you choose to associate with, record your associations with something that doesn’t get in the way of the free flow of your association process. If you use words, use the language that comes most easily to you. If you use something else (colors, sounds, images) make sure that collecting them can be done fast, fluidly, and flexibly. Do record your associations. If you don’t record them, you’ll forget most of them and the patterns they make will elude you. 

Simply observe what comes to mind. Don’t critique or censor yourself during the process; nothing shuts down this process faster. Let it all out. Be thoroughly spontaneous and utterly candid with yourself. You may or may not choose to do this with others. It’s your choice. Try different approaches and see how each influences the experience and results.

There are several ways to guide association.


Insights Members can login to read the full article.
Email:
or Sign up

How To Use Metaphor To Make Stronger Photographs

Zoomorphism animates and connects these images.


Photographs can often be well-crafted transcriptions of their subjects and nothing more. It’s usually that elusive ‘something more’ that makes great photographs, elevating them beyond craft to art. How can you bring more to your images? One way is to use a guiding metaphor.

What is a metaphor? In language, spoken or written, a simile implies a shared quality (This is like that.), while a metaphor states that two things are the same (This is that.). When a metaphor is used, it’s understood that poetic license is being taken. A metaphor isn’t used to create misinformation and confusion, it’s used to emphathetically draw attention to shared qualities.


Insights Members can login to read the full article.
Email:
or Sign up

Three Keys To Analyzing Images – Content, Form & Feeling

1 Realistic images emphasize content.

2 Graphic images emphasize form.

3 Expressionistic images emphasize feeling.

4 Impressionistic images may evoke content, form, and/or feeling.


Making verbal statements about visual images can be challenging. But, it’s also very useful. Learning to make useful statements about images can help you clarify the type of work you’re looking at or making. It can help you identify an artist’s intentions, including your own. It can help give you direction. It can help you improve your images. It can help you develop projects and predict outcomes. It can help you more effectively communicate with others. When it comes to appreciating and making images, words can be very useful. You don’t need to have a degree or be a professional writer to use words well. Sometimes, a few simple words can end up being the most useful – especially if they’re the right words.

One useful way to comment on images is to discuss three important and related aspects of images - content, form, and feeling. While all images have these dimensions, you can describe the kind of image a work of art is based on how it weights these three concerns. 

Here are several types of images that weigh these concerns differently.


Insights Members can login to read the full article.
Email:
or Sign up

Three Ways To Tell A Story More Creatively – It, I, You

Using words can help you find new perspectives that can be translated into images. How? Tell a story, from at least three different points of view – it, I, and you.

First, tell the story in the third person (it) as a distant observer – “Just the facts ma’am.” 

What images are needed to tell your viewers a complete story about your subject?

This perspective tends to be more objective, emphasizing facts and linear timelines so you do more research. It values clarity, balance (all sides of a story), and completeness (the whole story). It tends to avoid metaphor and stylistic distortion. It’s rarely the easiest way to build empathy for you subject. Be careful not to keep too much distance from your subject and find ways to make your viewers care.

Next, tell the story in the first person (I) as an involved participant – “How do I feel?” 

What images are needed to tell your viewers the story or you experience with your subject?

This perspective makes it personal and so draws your viewers closer to you by helping them to live vicariously. This viewpoint can become highly subjective and opens up a lot of room for interpretation. It can become like a journal. In translating this to images you might include the traces of things you do and leave behind or even yourself. (Go ahead and stand by or with your subject but be careful not to leave your subject behind.)

Finally, tell the story in the second person (you) as if you were the subject – “How does it feel to be you?” 

What images are needed to tell your subject’s story from the inside out?

This perspective encourages empathy, initially in you and later in your viewers. You can move deeper into this perspective by asking, “If I were you I would sense, think, and feel …” It might seem strange at first to do this with inanimate subjects – like rocks or buildings or roads. Remembering what it was like to be a kid playing these kinds of games will help you a great deal here. (We all know how creative kids can be, so have fun and play a little.) This perspective may encourage you to photograph from different perspectives; get closer or further, lower or higher, or turn around and photograph what your subject might see. Often, this voice will help you discover the most unusual perspectives.


Read more in my Storytelling resources.

Learn more in my Creativity & Photography workshops.